views
Making a Simple Firewood Rack
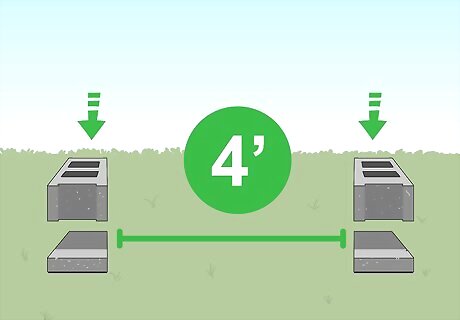
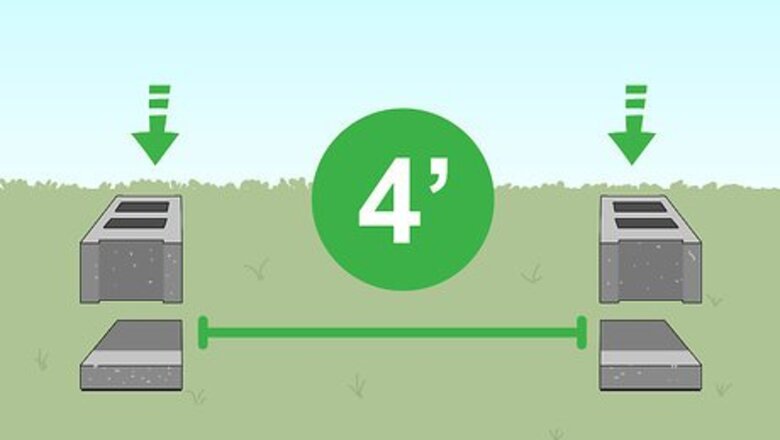
Space 2 cinder blocks 4 feet (1.2 m) apart on concrete slabs. Get 2 cinderblocks that have holes in them. Use a measuring tape or ruler to measure the distance between the 2 blocks and position them so they are parallel. The holes on the cinder blocks should be facing up. If you don’t have concrete slabs lay down a 1 inch (2.5 cm)-thick layer of gravel under each cinder block. Concrete blocks or gravel will prevent bugs from eating away at the wood.
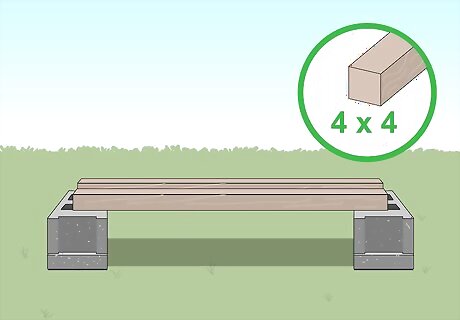
Lay 2 4x4 boards on top of the cinder blocks. Each 4x4 board should be 5–6 feet (1.5–1.8 m) long. Lay the boards on top of the cinder blocks on their wide side. The boards should run parallel and be around 4–6 inches (10–15 cm) apart depending on the size of your cinder blocks. This will form the base that you’ll rest your firewood on. Make sure the boards don’t completely cover the holes in the cinder blocks. If your boards are longer than 6 feet (1.8 m) long, use a saw to cut them down to size. You can also use thick landscaping timbers as an alternative to the 4x4 boards.
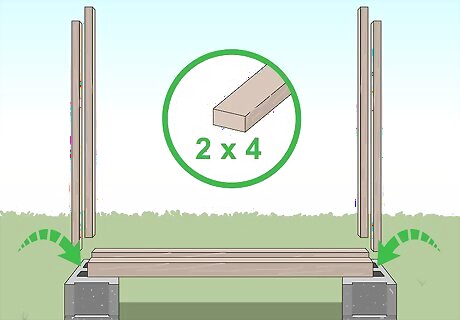
Stick 4 2x4 boards into the cinder block holes on both ends of the rack. Stick 2 boards into each hole at each end of the rack. Each 2x4 board should be at least 4 feet (1.2 m) long. The boards should be sticking up vertically out of the cinder blocks. The 2x4 boards will hold the wood in and ensure that it doesn’t overflow on the sides of the rack.
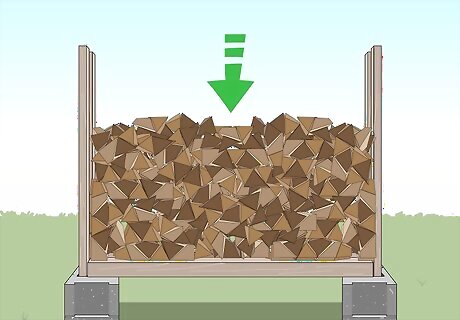
Stack your firewood on the 4x4 boards. As you fill the rack, the 2x4 boards on the sides will bow out and help carry the load of all the wood. You can safely stack the wood 2–3 feet (0.61–0.91 m) high using this rack.
Creating a Framed Firewood Rack
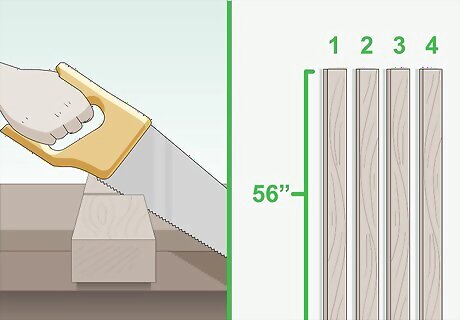
Cut 4 2x4 boards 56 inches (140 cm) long. Mark and measure 4 2x4 inch boards so that they are 56 inches (140 cm) long. Then, use a circular saw or hand saw to cut them to the appropriate size. These boards will comprise the base and roof of the firewood rack. Wear safety goggles whenever you cut the wood. Cut the wood in a well-ventilated area.
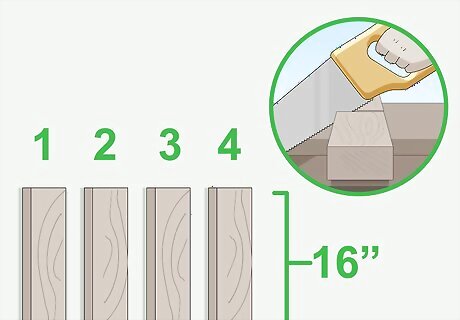
Saw 4 2x4 boards 16 inches (41 cm) long. Use the same method that you used to cut the 56 in (140 cm)-long boards to cut the smaller boards. These boards will connect the 2 longer pieces together in the middle. You can also use scrap 2x4 wood if you have any leftover.
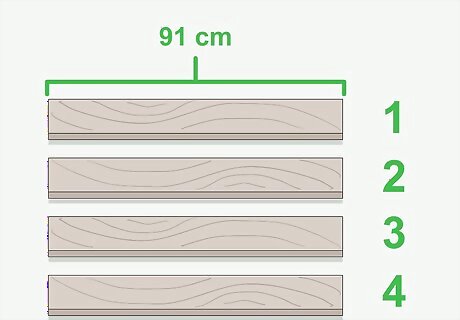
Cut 4 2x4 boards so they are 3 feet (91 cm) long. Measure and cut 4 more 2x4s to create the framing for the walls of your rack. Lay out the pieces on the floor to make sure that you have all the required pieces for the rack. The framing boards can be as long as you want, depending on how high you want to stack your wood. For the purposes of this project, we’ll make the rack 3 feet (91 cm) high.
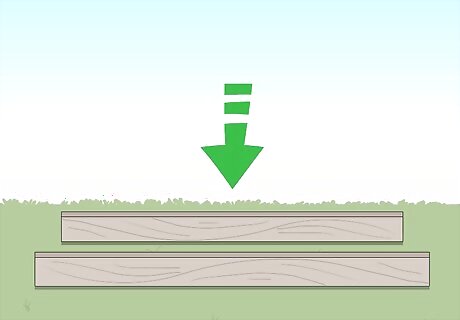
Set 2 56 in (140 cm)-long 2x4 boards on the ground. Set the 2 boards 16 inches (41 cm) apart. This will serve as the long sides for the base of your firewood rack. Make sure to work in a large enough area so you can move around comfortably.
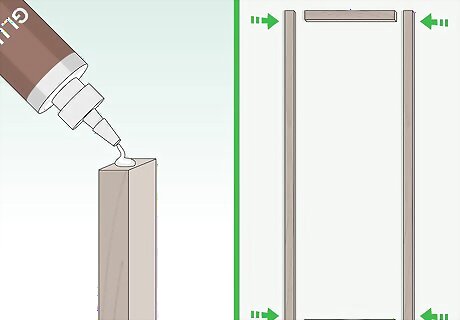
Glue 16 in (41 cm)-long 2x4s in between the longer boards. Apply wood glue to the thin ends of the 16 in (41 cm) boards. Place the board in between the 2 boards at one end of the board and push the 2 56 in (140 cm)-long 2x4s together to adhere the smaller center piece to each side of the rack. Repeat the process on the other end of the long boards so that it’s connected on both ends. This will be the base for your firewood rack. The base should be shaped like a rectangle.
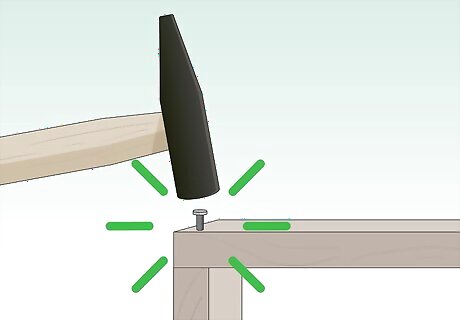
Nail the long boards into the 16 in (41 cm)-long 2x4s. Drive 2 3 in (7.6 cm) nails into the outside of the long boards so that the nail goes into the 16 in (41 cm)-long 2x4s. Go to the other end of the rack and repeat the process. The 16 in (41 cm)-long boards should be nailed into the longer boards 2 times on each end. Each nail should be spaced 2.5 inches (6.4 cm) apart. Nailing the framing pieces together will reinforce the firewood rack and will prevent it from breaking.
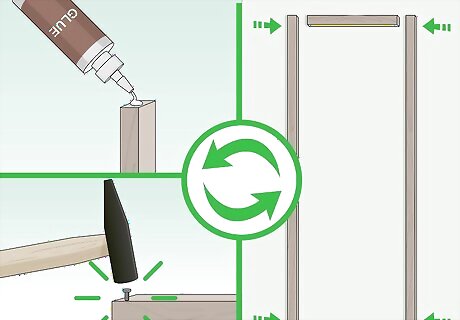
Repeat the process to make the top of the rack. The process to create the top of the firewood rack is the same as creating the base. Connect the remaining 2 56 in (140 cm)-long 2x4 boards together using 2 more 16 in (41 cm)-long pieces. Remember to use both wood glue and nails to reinforce the frame of the rack.
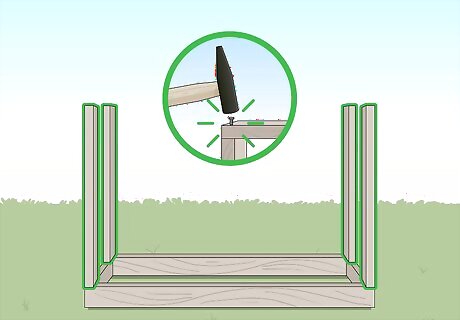
Nail 4 3 ft (91 cm)-long boards into the corners of the bottom rack. Align the remaining boards in each corner of the rack and nail them into the bottom rack with 3 in (7.6 cm) nails. Each board should be positioned in the corner the same way so that you can easily attach the roof to the rack. Put 2 nails in each of the 3 ft (91 cm)-long boards.
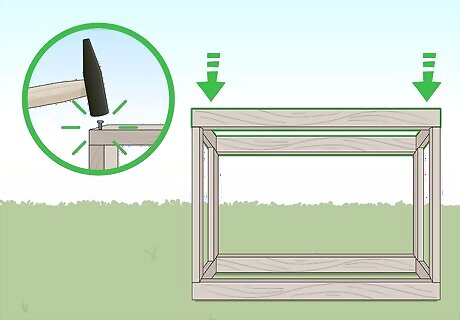
Nail the top frame into the 3 ft (91 cm)-long boards. Lower the frame onto its side so that you can easily position the roof around the 3 ft (91 cm)-long boards. Nail each of the boards into the top frame to complete your project.
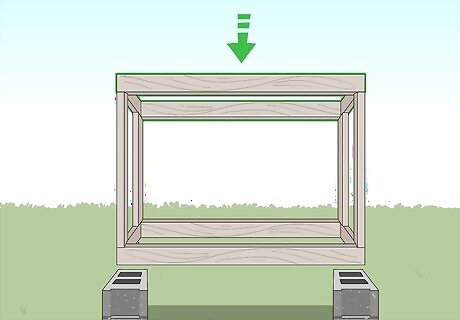
Place the rack on concrete slabs or gravel. Keeping the rack slightly elevated off the ground will increase the longevity of the wood. You can now stack your wood in a contained firewood rack.
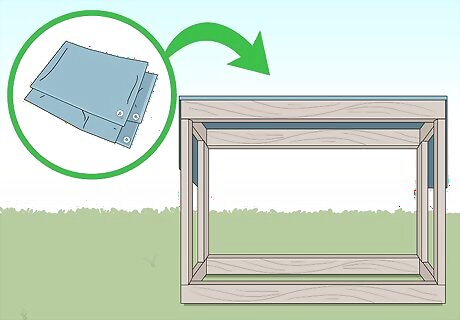
Place aluminum siding or a tarp over the rack to add a roof. A roof will prevent your wood from getting wet if you plan on keeping your rack outside. Get a piece of aluminum siding or tarp that's the same size as the top frame of the rack and place it over the rack. Then, use nails to secure the siding to the rack. Space each nail 3 inches (7.6 cm) apart.


Comments
0 comment