views
Using a VGA Cable
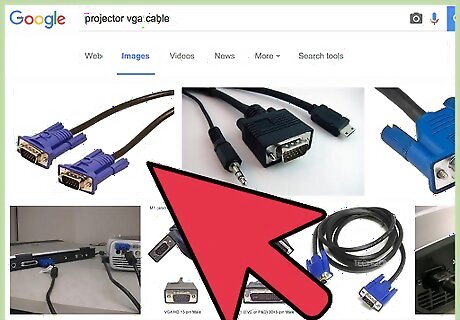
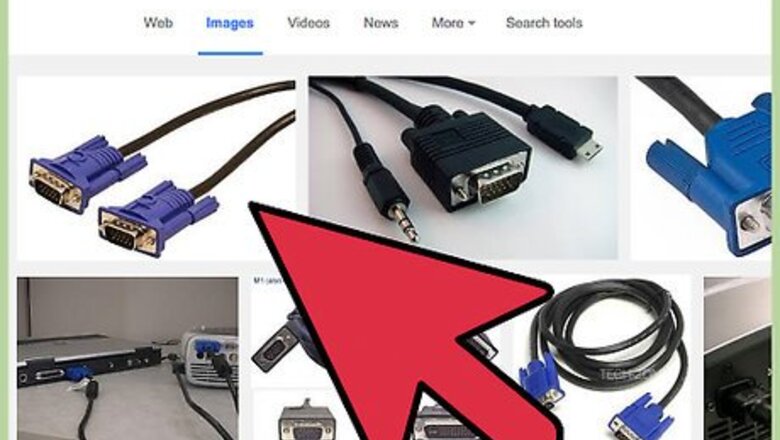
Get the right cables. Have a standard VGA cable on hand; it should come with the projector. If you don’t have one, you can purchase one from your local electronics store. You can’t connect the VGA cable directly to your iPhone. You’ll need an Apple VGA-to-Lightning adapter first, which is available at Apple stores. Note that this adapter is different for iPhone 5, 5S, 6, 6 Plus (models after November 2012), and iPhone 4, 4S (models before November 2012). The adapter for iPhone 4, 4S is called VGA-to-30 Pin adapter.
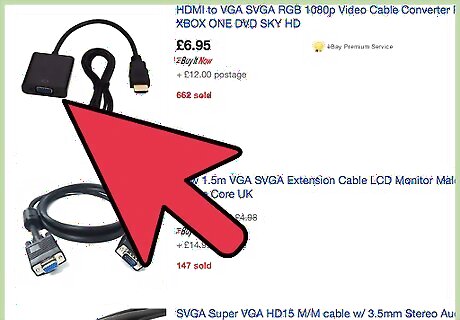
Connect the VGA cable to the adapter. The VGA cable is the projector cable that is plugged into the computers. Connect that cable to one end of your VGA-to-Lightning adapter. Tighten the cores of the VGA cable so that it stays connected properly.
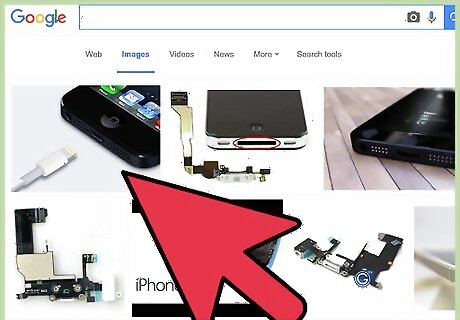
Connect the adapter to the iPhone. Connect the other end of the adapter to your iPhone. It will go in the charging socket of your iPhone. Once done, your iPhone will be connected to the main system of the projector.
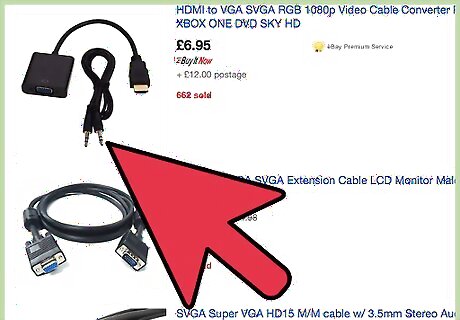
Connect the audio cable. Connect the audio cable of the Projector to the iPhone. This cable will fit in the headphone jack of your iPhone. This will enable the audio of your presentation, if it has one.
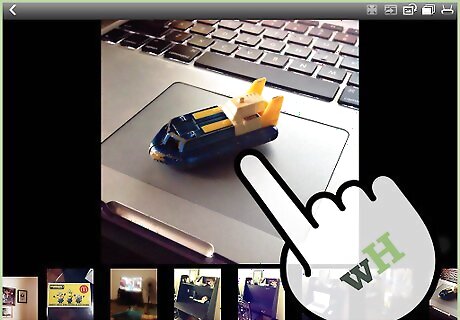
Project your presentation. When your projector is switched to the correct input, you’ll see your iPhone screen on the projector display. You can navigate your iPhone as normal and the screen will be mirrored through the projector. Open the app that contains what you want to share and give your presentation. Open to the first screen of your presentation before switching the projector to the correct input. This will ensure that the audience only sees what you want them to see.
Connecting Wirelessly
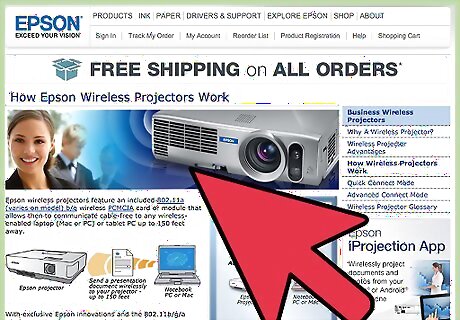
Make sure the projector is using the same network as your iPhone. Connecting to a network varies on the projector, and not all projectors support wireless. If you’re unsure how to connect it to the same network as your iPhone, consult its Users Manual. Note that streaming range depends on the projector’s capacity.
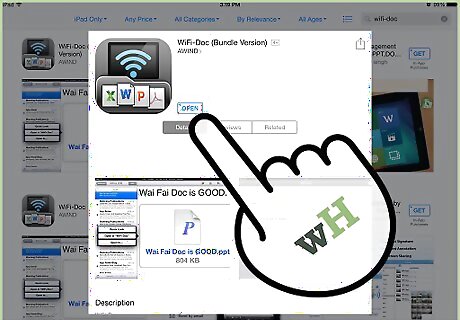
Launch WiFi-Doc. Locate and tap the WiFi-Doc application on your iPhone. It’s icon has the Wi-Fi symbols on it along with the logos of MS PowerPoint, Word, Excel, and PDF Reader. If you don’t have Wi-Fi Doc installed on your iPhone, you can download it for free from the App Store.
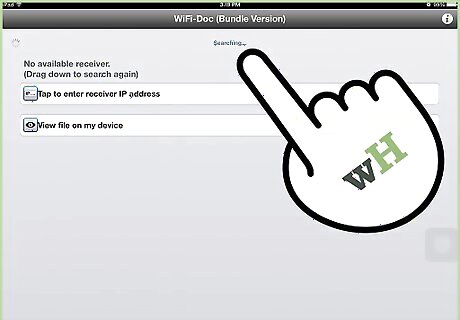
Connect to the projector. When you open the application, it will scan and show you nearby devices that it can connect to. Locate and tap the projector you want to connect to. Enter the password for the projector, if necessary; otherwise, tap “Connect.”
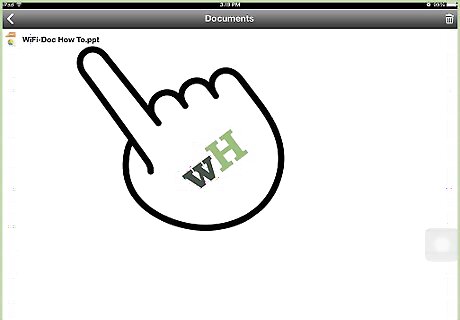
Select the presentation file type. Once you are connected to the projector, Wi-Fi Doc will display file-type options, like PDF, Documents, Pictures, and so on. Tap the file-type of your presentation. For instance, if your presentation is a PDF file, tap “PDF.”
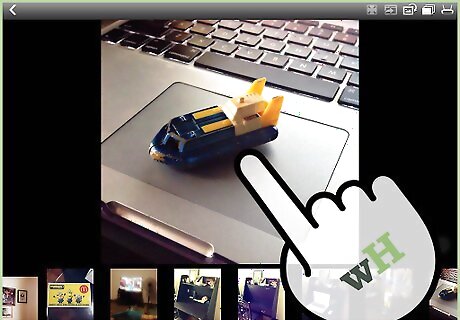
Present your file. Afterwards, Wi-Fi Doc will display all files of that particular type. Scroll through the list, and tap on your presentation file. The file will then open and be displayed on the projector. The file will continue to be streamed on the projector as long as you don’t press the Back button of your iPhone. For example, if you are streaming pictures on the projector, you can continue projecting by just swiping on the screen of your iPhone to view the next picture. If you press the Back button on your iPhone, all pictures on your iPhone will be displayed on the device screen but not on the projector. You can tap on any picture to continue projecting.


Comments
0 comment