
Measuring the Area
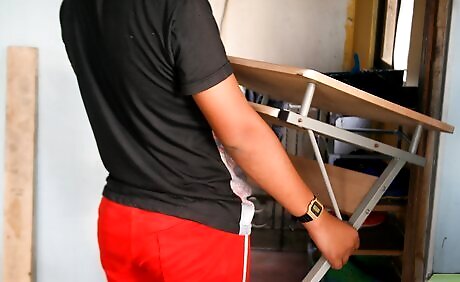
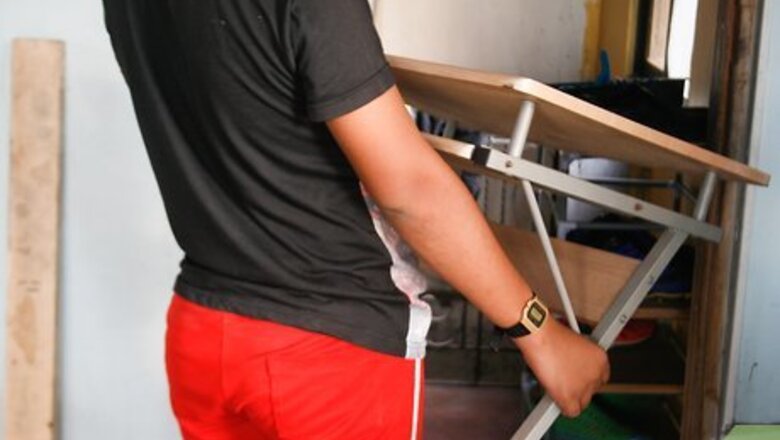
Remove all furniture from the room before measuring the space. Keep the furniture in storage or an adjacent room until you cut and install the tiles. This will give you a clearer view of the room to ensure accurate measurements. Vacuum or mop the floor as well, and throw away any trash or debris covering the ground.
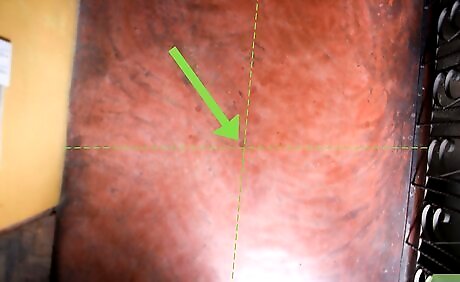
Start from the center of the room. Beginning from the center helps you keep the tiling pattern balanced. Mentally divide the room into 4 different quadrants and start measuring in the approximate middle. Finding the center is easiest for square or rectangular rooms. If your room is oddly shaped, start in the approximate middle.

Measure the tile layout lines, if desired. If you are adhering many tiles, making layout lines on the floor can help you make the tile patterning even. Use a tape measure to record the length and width of your tile. Make this measurement your guide as you record how many peel-and-stick tiles you will need to cover the floor.
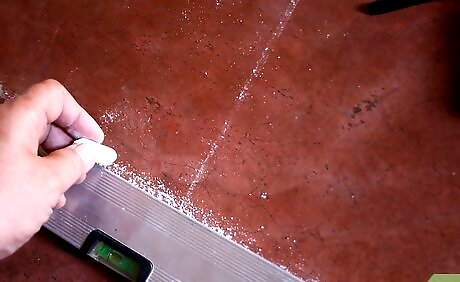
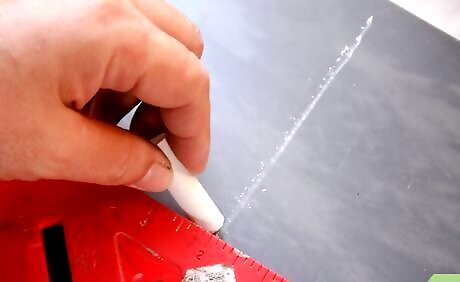
Use chalk to mark the layout lines. Beginning from the center of the room and outward, use chalk to record where you will lay out the peel-and-stick tiles. While measuring the layout lines, mark them in chalk to use as a guideline when you cut and adhere the tiles. Make partial lines around the sides and corners of the room so you know what shape to cut certain tiles.
Cutting the Tiles

Place the peel-and-stick tiles in the room for 48 hours. Leave the tiles in the room for at least 2 days before you plan to cut and adhere them. This will help them acclimate to the room's temperature so the adhesive remains sticky. Do not leave the tiles in extreme hot or cold temperatures, as this can damage the adhesive. Check the tile's installation directions for specific temperature-related instructions.
Mark the cutting lines on your tile with chalk. If you need to adjust your tile's size, make a line for your scissors to follow in chalk. Set a measuring stick on the tile where you want to draw your line and run your chalk across the line for accurate measurements. If you don't have a measuring stick, use another object with a flat and firm side as an alternative.
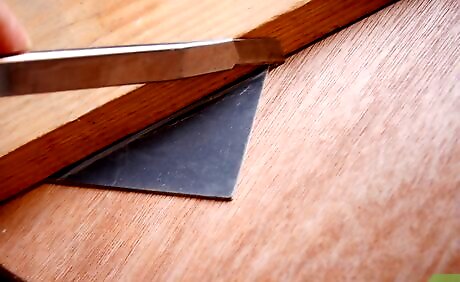
Cut a tile to size with a utility knife. Use a utility knife to score the lines, following the chalk lines you made as a guide. When you're finished cutting, compare your newly-cut tile to the floor's layout lines.
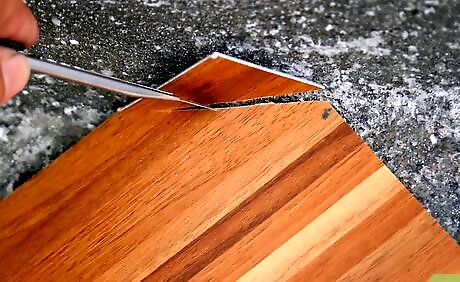
Adjust the tile's sizes later as needed. If, while aligning the sides and corners of the room, you notice that your tiles are the wrong size, you may need to make adjustments. Cut the new tile size with the utility knife and align it with the floor measurements. Adjust the sizing before before taking off the tile's adhesive backing. Buy at least 1-2 additional tiles in case you accidentally cut a tile too small.
Adhering Peel-and-Stick Tiles

Lay the peel-and-stick tiles to check their fit. Before removing the adhesive backing, place the tiles within their chalk measurements to make sure they align. If a tile is too large for a side or corner piece, you will need to cut them to size.

Lay the tiles out from the center of the room. Remove the adhesive tile and align it with the chalk measurements. Press on the tile firmly with your hands to keep it secure. Align the tile on the floor slowly to avoid misalignment.
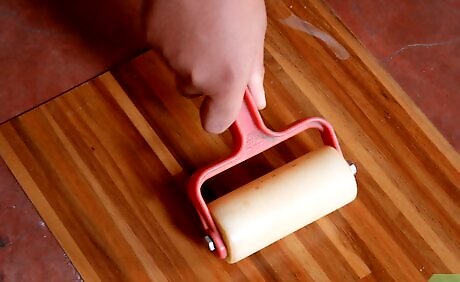
Roll over the tile with a rolling pin. After pressing down on the tile, use a rolling pin or floor roller to help it adhere on the floor. Roll back and forth over the tile several times, pressing into the pin with your body weight to apply firm pressure. You should roll the tiles one at a time after you adhere them to the floor. If you don't have a rolling pin, you can also step on the tile. Your body weight will help secure the tile in place.


Comments
0 comment