views
Deleting a Status Using Your PC Browser
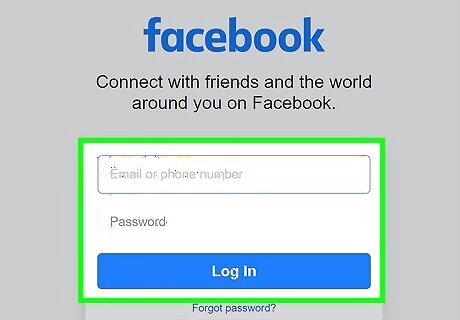
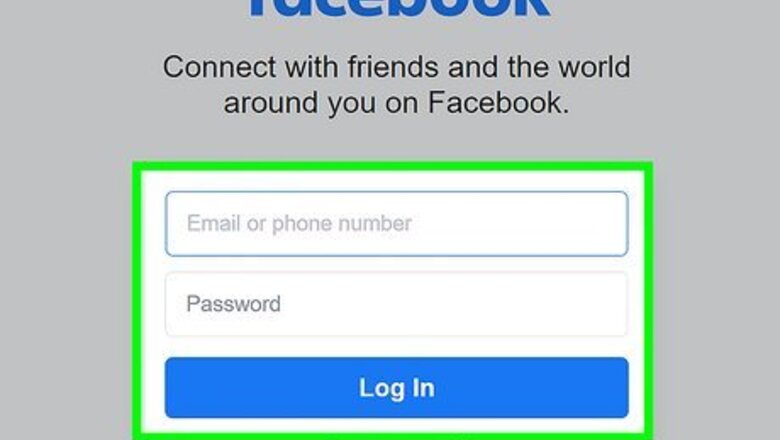
Log into your Facebook account. Using any web browser on your computer, visit Facebook’s home page. Enter your registered email address and password in the fields at the top right corner of the page, and click the “Log in” button to access to your account.
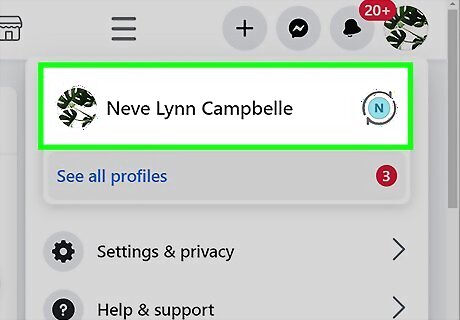
Go to your Timeline, or your profile page. You will find all your status updates on your Timeline. Visit your Timeline by clicking your name either on the top header of the page or on the top left corner of the page.
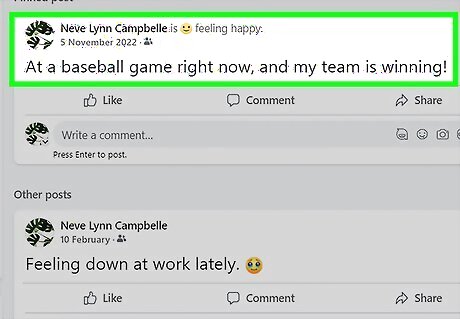
Find the status you want to delete. Status updates are listed newest to oldest. To find older updates, just scroll down the page. Scroll through your Timeline to find the status you want to delete. The more you scroll down, the more statuses will be loaded onto the page. To find statuses more than a year old, you can use the year links at the top right side of the page. Click on the year, and your Timeline will automatically scroll down to the posts of that year.
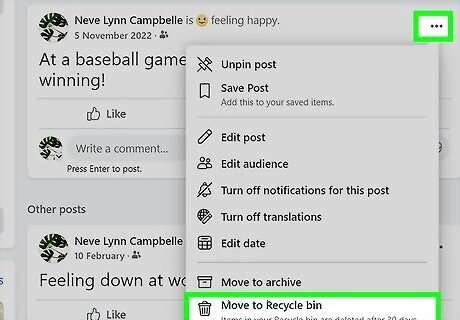
Delete a status. After you find the status you want to delete, click on the down arrow at the top right corner of the post. A drop-down menu will appear. Select “Delete” from the drop-down menu, and a dialog box will appear asking for confirmation. Click “Delete post” to confirm, and the status will be deleted permanently.
Deleting a Status Using the Facebook App
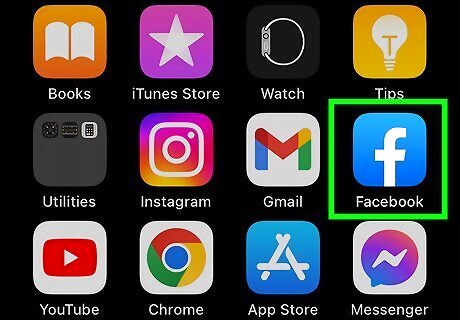
Launch Facebook. Look for the Facebook app on your device’s home screen or app drawer, and tap it.
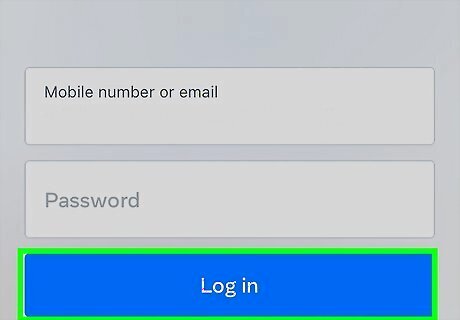
Log into your account. If you logged out of your previous Facebook session, you will be asked to log in again. Enter your registered email address and password on the fields provided, and tap “Log in” to access your account.
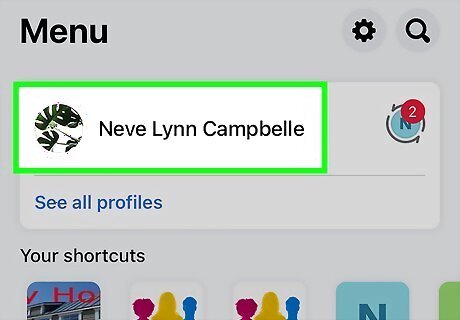
View your profile. Tap on the three vertical lines at the top left corner of the screen to open the Main Menu of the app. On the menu, tap your profile name, which is the very first thing you’ll see on the menu.

Locate the status you want to delete. Scroll down your profile page to the bottom to find the status you want to delete. The more you scroll down, the more statuses will be loaded on the page.
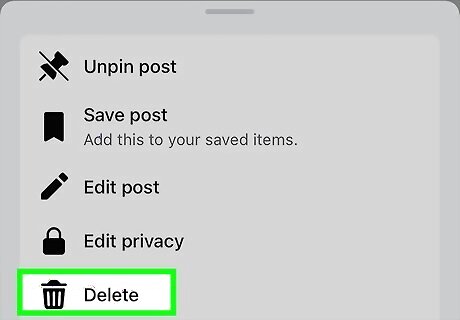
Delete the status you want. After finding the status you want to delete, tap the down arrow at the upper-right corner of the post. A dialog box will appear. Scroll down the options in the dialog box, tap “Delete.” Tap “Delete” again when prompted to confirm your decision, and the status will be removed permanently from your Timeline.


Comments
0 comment