

Entering the Dungeon
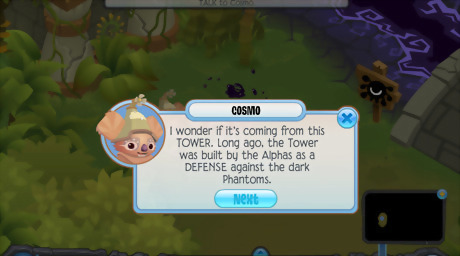
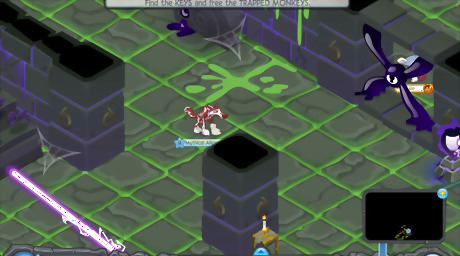
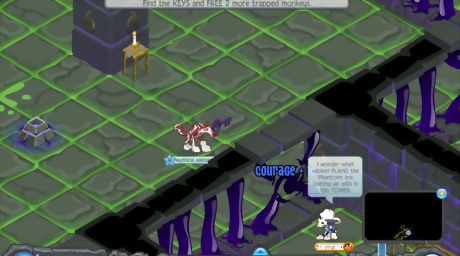
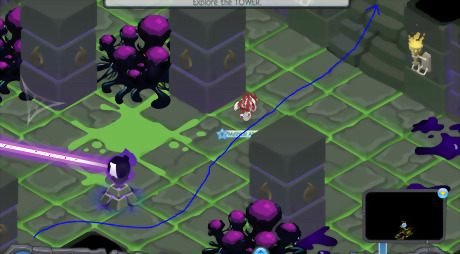
Talk to Cosmo. At the beginning of the adventure, you'll appear in a clearing with a bridge where it's raining phantom goop. Cosmo will tell you that long ago, the tower ahead of the bridge was built in favor of the Alphas, but the phantoms have taken it over. He tells you to get captured on purpose so that you can learn the secrets within the tower and free the trapped monkeys.
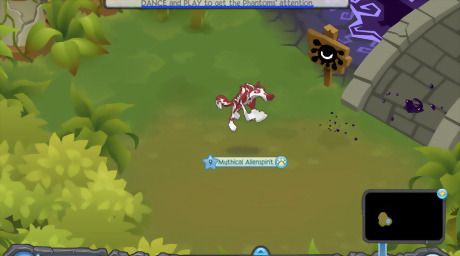
Dance, hop, and play to get the phantoms attention. The clearing will glow red and several phantoms will appear, taking you into a cell within the tower.
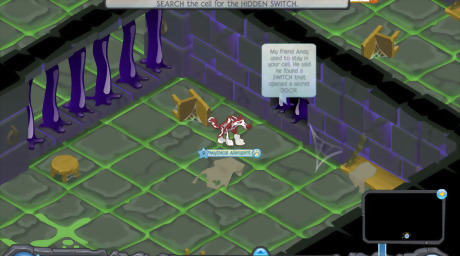
Explore the cell. You will spawn in a seemingly locked cell after the phantoms capture you. Move to the right and an unknown monkey will inform you that there is a secret switch that can unlock your cell.
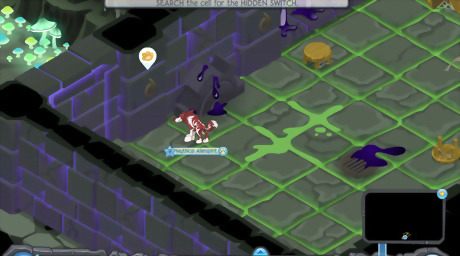
Free yourself from the cell. Move all the way to the locked door of the cell. When you get close enough, a paw print icon will appear, representing the secret switch. Click on it and the door will open.
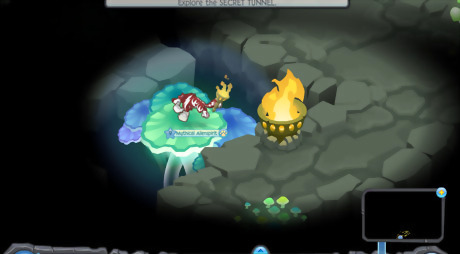
Go through the secret tunnel. Grab a torch along the way as you will need to light fire drums along the way to advance to the next areas of the tunnel by going over the bridges that grow. Light the first fire drum you see, advance through the tunnel, and light the second fire drum. Go up until you reach the room with Andy in it.
Rotate the mirrors and adjust the light. This will unlock the door into the main fortress. Andy will inform you that he can't figure out how to unlock the door and asks for help. You should see a mirror turned away from the blue crystal with a green turning icon above it. Click the icon three times and the light will shine on the blue crystal, unlocking the door.
Rotate the second set of mirrors. Unlike easy mode, where the two mirrors far from the blue crystal are adjustable, the one beside it and the one to the far left in front of the blue crystal are adjustable. Adjust the first mirror, where the light is already shining towards, and click on it three times. The light should move to the mirror in front of the mirror you just adjusted. Then click on the second adjustable mirror, diagonal to the first adjustable one, and click it three times. The light will shine onto the blue crystal, unlocking the gate.
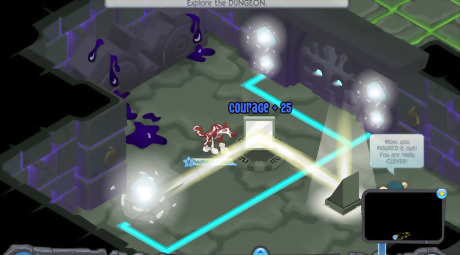
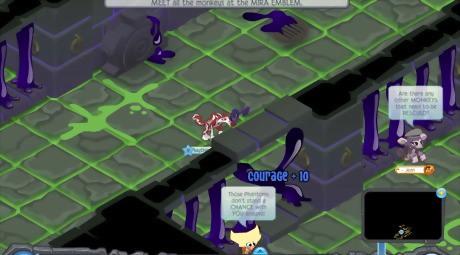
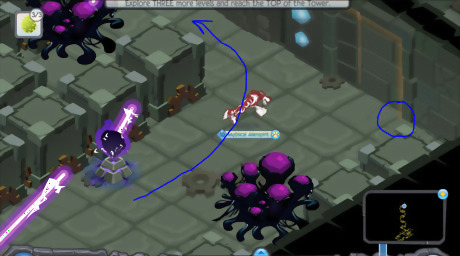
Enter the dungeon. Go through the dungeon and you'll find several locked cells. Don't go too far up ahead. Go close to the first monkey you see trapped in a cell. He'll tell you about a new form of defense that's introduced in this adventure - phantom watchers. Phantom watchers are phantoms that act as watch lasers, which can put you to sleep instantly, so careful when trying to move around them.
Sneak through and explore the dungeon. Sneak past the first phantom watcher, avoiding its laser. Beware of anymore lasers that may be up ahead. They have long ranges and can put you to sleep instantly. As you sneak through the dungeon, you'll see cells with trapped monkeys and gem chests. You'll need keys to free the monkeys and unlock the chests.
Freeing the Monkeys
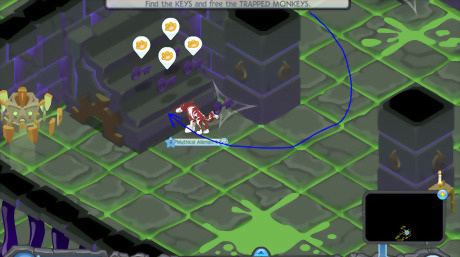
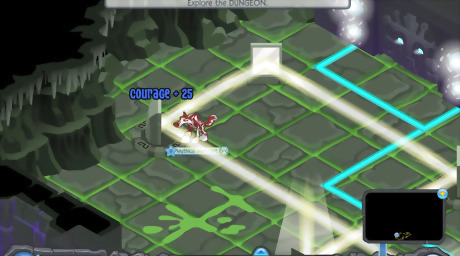
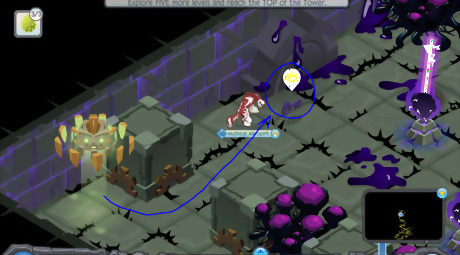
Find the keys. After sneaking past the first watcher, there'll be another up ahead. Go up the stairs nearby (which also leads up to a Mira Emblem, needed later on to open a gate) if you need a quick escape from its laser. You'll see a path leading right down diagonally in the path of the stairs' direction. Go through it once the coast is clear. Go further down into the open area that it leads to and then to the left, dodging any lasers as needed. You'll find a small set of stairs with 5 keys. This is the same area where you'll grab keys to free the monkeys. Grab one of them.
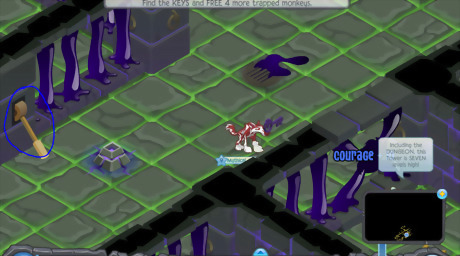
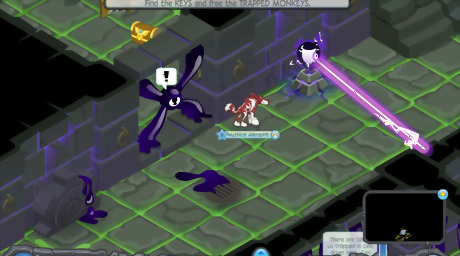
Free the first monkey. Grab a key and head down with it. Note that there are more phantom watchers within the dungeon in hard mode than there are in easy mode. Dodge the phantom watcher's lasers at your right and go down and through the pathway to the left. Be careful, as there is another phantom watcher in the middle of this pathway. You'll also find a lever right behind this phantom watcher. Click on the pawprint icon just above it to turn off that phantom watcher. Go slightly down to the right and you'll find a monkey named Philippe. Free him by clicking on the exclamation point above his cell.
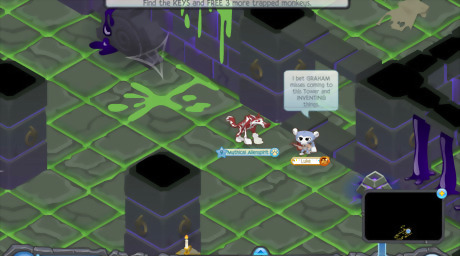
Free the second monkey. Grab a second key and go right. All phantom watchers in the area should have been turned off from when you clicked on the lever. Reach Luke's cell and unlock it by clicking on the exclamation point that hovers in front of the bars. If you go into the cell with Luke in it, you'll find another hidden lever where the brown hook on the wall is. Click on it and you'll find a chest full of 400 gems. Secretchest1.png
Free the third monkey. Get another key. From where you found Luke, go down. You'll see another trapped monkey named Virgil. Click on the exclamation point above his cell to free him. If you go to the cell beside where Virgil is or was, you'll see a chest inside of it which can be unlocked by a key. Unlock the cell and open the chest. It'll be full of 300 gems. Don't worry about losing the key - there'll be another key inside to replace the key you used to get the chest. Secretchest2.png
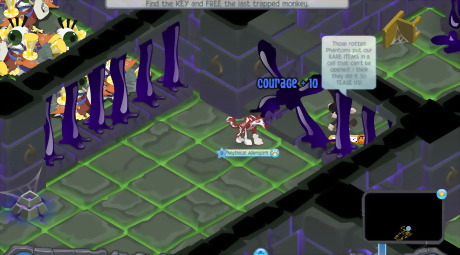
Free the fourth monkey. Get another key. Go into the main passageway that you originally snuck through to get to the room containing the stairs with the 5 keys. Go right. You'll see an inaccessible cell with a large amount of rare items that the phantoms have locked away after stealing from the monkeys. Go further to the right and you'll find a monkey named Monty. Free her by clicking on the exclamation point above her cell.
Free the last two monkeys. Get the last key and go all the way to the far left of the main passageway. Go down and you should see a cell with two monkeys, Piper and Jean, in it. Unlock the cell and free the final monkeys. Above the monkeys' cell, you'll see another cell with a treasure chest in it. If you want the chest, you'll have to get it before you free the monkeys. Click on the exclamation point and open the chest when the door is unlocked. It will be full of 100 gems. Don't worry about losing the key. There will be another one inside of the cell to replace the key you used to get to the chest.Secretchest3.png
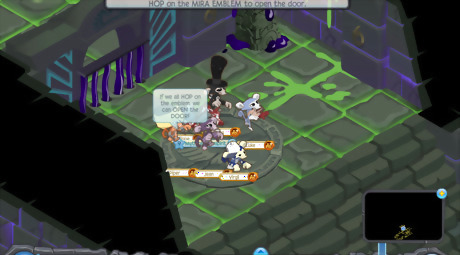
Hop on the emblem. Go up the larger set of stairs (not the staircase with the keys) and join the monkeys in hopping on the Mira Emblem to open the gate. The more players you have with you jumping, the faster the gate will open. Once the gate opens, enter the room that becomes unlocked to you.
Escaping the Tower
Get through the first level of the tower. Enter through the gate and you'll find a large room before you full of phantom pods and block pillars. There will be one phantom watcher in the center of the room with a very long range. Use the pillars and phantom pods to your advantage in dodging its beam till you reach the far right of the room where a staircase will be. Go up it slightly and you'll find a lever - click on the paw print icon above it to turn off the phantom watcher. Throughout the adventure, you'll find several clumps of phantom pods which you can destroy for courage and gems. However, it's best to destroy them after you turn off the laser in a tower level, as they can proof useful in blocking the lasers from reaching you.Destroying.png Some items increase the damage your animal makes even if they don't have an animation when you attack a phantom obstacle, such as spiked collars, stegosaurus tails, gazelle horns, etc. These items can also increase the damage of other items as well as deal damage of their own, even if they don't have an animation when you attack. A list of items like these can be found here.Screen Shot 2018 12 03 at 6.59.09 AM.png
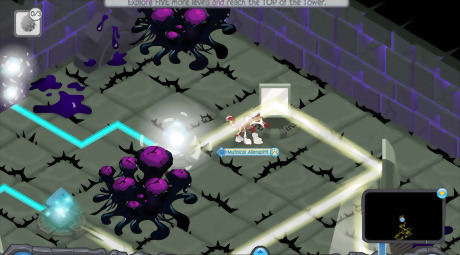
Figure out the second level. Go up the staircase. You'll arrive on a level with a mirror puzzle and a few phantoms. At the bottom left corner of the room, there will be a patch of boomseeds which you can get to easily without having to step into any of the phantoms' range. Get a few boomseeds and destroy the three phantoms in the room. This can be done easily without alerting any of the phantoms to your attention. Two mirrors are adjustable in this level - one right beside the blue crystal near the top right, and one at the bottom to the left of the slanted mirror. Click on each of these mirrors three times and the blue crystals will light up, unlocking the gate.
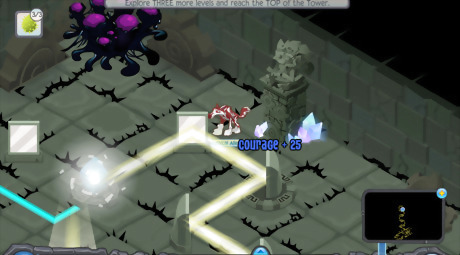
Get through the third level. Go up the staircase. You may want to grab more boomseeds before doing so however. Arrive in a room full of stone blocks, three phantom watchers with long ranges, and phantom pods. To escape this one, you'll have to find a key and unlock the gate, quickly going up the staircase and clicking on the lever before the phantom watchers' lasers get to you. Wait till the phantom watchers move past you, and then quickly destroy the phantom pod nearest to the Zios checkpoint. Move through the now-unblocked area quickly and grab the key. Dodge around the phantom watchers, this time from the right side of the room, and wait till they all rotate to the left, opposite where you are. Quickly move up and click on the exclamation point above the locked gate. Go up the stairs slightly and click on the lever to turn off the phantom watchers. If, after or before getting the key, you need a quick escape, you can go back through the area that you destroyed the phantom pod in and hide in the corner made by the wall and the first stone block pillar in the bottom row at the left of the room. Then sneak past the watchers when the coast is clear. Hiding.png Keep in mind that unlike easy mode, if you have the key and you lose your lives in any way, the key will drop wherever you were put to sleep and you may have to sneak past phantom watchers to get the key again. If you can't escape and you have the key, try to get as close to the Zios checkpoint as possible before the phantom watchers catch you. That way, you won't have to sneak past watchers to get the key again since their range doesn't extend to to the checkpoint. Sleepping.png
Solve the fourth level. Go up the stairs. Once again, there'll be a mirror puzzle as well as some phantoms. If you need boomseeds, a pile will be at the opposite side of the room, at the top left. You can get to this easily and destroy the three phantoms without entering their range. There are 2 adjustable mirrors - the one closest to the gate and one closest to the Graham statue at the far right of the room. You only need to click on one of them. Click on one of them three times and the blue crystal should light up, unlocking the gate.
Escape the fifth level. Go up the staircase. Enter a room with more phantom watchers and a large amount of block pillars. When you first enter, there'll be a corner formed by a large amount of block pillars. To get past the first phantom watcher, hide snugly in that corner. When the watcher moves past you all the way to the left, the second watcher above it will be directed toward the top of the room, leaving you a clear path to sneak through temporarily. Get through it quickly. Hide in the corner of the room you come near if you need a quick refuge. Then move to the left of the room. Wait till the third watcher is all the way left. Then destroy the phantom pod and hide in the now-unblocked corner till it moves all the way right. Go left quickly, destroy the phantom pod blocking the way, grab the key, and once again hide in the same corner within the blocks. When the coast is clear, move right fast and click on the exclamation point above the gate. Go up the stairs and click on the lever, turning off the watchers.
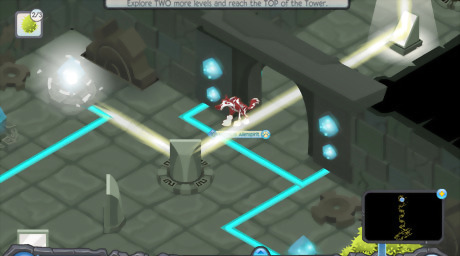
Figure out the sixth level. Arrive at a level with a mirror puzzle and phantoms. If you need any boomseeds, a pile will be in the corner you are closest to when you arrive. Destroy the phantoms without getting into any of their ranges. In this level, there are two blue crystals that must be lit to unlock the gate to the final tower, but in order to do that, you also have to light a third crystal that belongs to an extra gate at the far right of the room. This extra gate doesn't lead anywhere that contributes to your progress except for a few animal passages, but it still needs to be opened to release more light that will help open the main gate at the front of the room. Drop a boomseed on the rock that's blocking the light near the left of the room. Two mirrors below the rock will be adjustable. Adjust the bottom one three times. The excess gate will be unlocked, releasing more light, which can be used to light the other two blue crystals. Adjust the mirror right in front of that extra gate three times. Go down and adjust the mirror directly in front of the slanted mirror at the left of the room once. Then adjust the mirror directly above that one three times. The gate will be unlocked. In hard mode, there is a Monkeys Only passage as well as a Kangaroos Only passage behind that one. In the process of solving this puzzle, you'll unlock a second gate at the far left of the room when the crystal that doesn't contribute to lighting the main gate is lit. Go through it and you'll find the Monkeys only passage. Past that passage is the Kangaroos Only passage. Passages.png
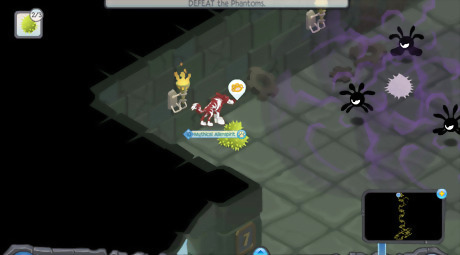
Finish the final level. Grab more boomseeds before going up the last staircase. On this level, phantoms and phantom sprouts will be present. At the corner you're closest to when you first arrive to the room, there'll be a tiny pile of boomseeds which can assist you, but use your boomseeds wisely. Without going too far into the room and into the corner, there'll be three phantoms all very close to each other. Rather than using three boomseeds separately, drop one boomseed just between all of them and they'll all be destroyed easily. Three sprouts will also be in this room. Move slightly right so that you can destroy the phantom sprouts before any or too many phantoms spawn while staying close to the small boomseed pile. Quickly drop boomseeds on each of them. If phantoms spawn, try to drop the boomseeds right when they do so you can destroy the sprout and the phantom with one boomseed. If possible, stay near the boomseeds and destroy the phantom sprouts from a distance to lessen your chance of being put to sleep.Destroyingsprouts.png If you want more courage, try luring phantoms out of the phantom sprouts and continuously destroying them. Try to avoid being overpowered by countless phantoms though, and destroy the sprout before you leave the tower. For a more easier way to destroy phantoms, use your arrow keys to move and use your mouse to hold boomseeds. That way, you can move while still holding boomseeds and you can quickly destroy phantom sprouts and move away if need be. This is more effective for non-laggy computers however.Luring.png

Go up onto the balcony and speak to Greely. The ground will rumble. Greely will tell you that he was surprised you would survive the tower. The adventure will briefly cut to a scene of a rumbling phantom volcano. Greely will inform you that with the kind of power a volcano has, no one would be able to stop you. He then provides you a parachute to escape the tower.
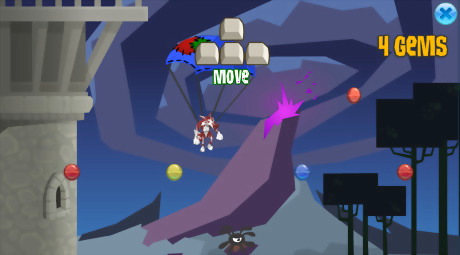
Escape the tower. After you're provided a parachute, play a short minigame much like Wind Rider in which you must parachute to the ground while collecting as many gems as you can or want. Dodge phantoms along the way to avoid losing gems by using arrow keys. Phantoms can stay in place, move up, move down, or move diagonally. Keep playing till you reach the ground and spawn back in the area you first spoke to Cosmo in.
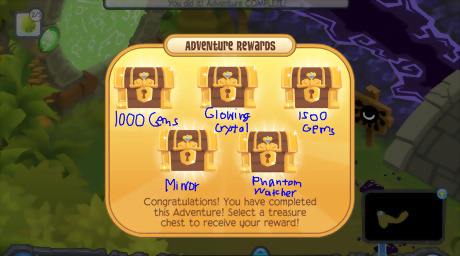
Speak to Cosmo and claim your prize. Cosmo will inform you that the volcano is the source of the raining sludge and that an eruption of the phantom volcano can mean the end of Jamaa. Claim your prize and exit the adventure. The prizes for hard mode are shown in the image.


Comments
0 comment