
A Full Body Tiger
Draw a few basic shapes to start. Sketch the head using a large circle and within that draw another to serve as the snout. Add circular facial guidelines to help you with features in subsequent steps.

Draw two round-cornered triangles for the ears and another smaller set of triangles inside that. Draw a diamond shape for the nose and an inverted "Y" shape for the mouth. Add in two small circles for the eyes.
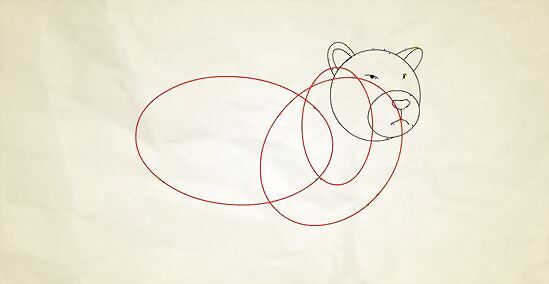
Draw three ovals as guides for the body. Draw a small one for the neck and two large ones for the body.
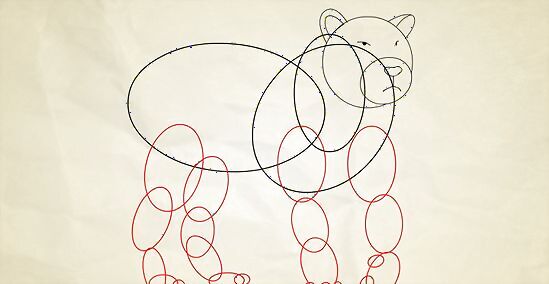
Add in three large ovals for each leg. Put a small circle for each foot, with small ovals for the paws.

Add in two lines for the tail. They should be thicker at the base, tapering off to a slightly rounded end.
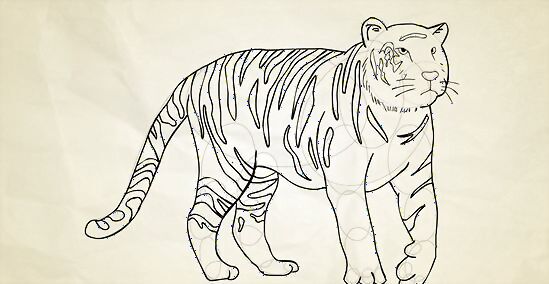
Sketch in the details. Add fur, whiskers, and claws. Don't forget the tiger's trademark stripes!

Outline the image and color it in! Make sure all excess guidelines are erased, and use mostly orange/brown with darker stripes for the body.
A Tiger (Head View)

Draw a circle for the main section of the head.

Draw an inverted triangle with two lines at both sides for the nose.

Draw two circles for the upper mouth.
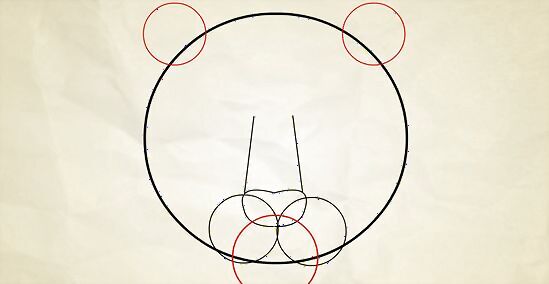
Draw a series of ovals for the lower mouth and ears.

Draw curves on both sides of the head of your tiger.
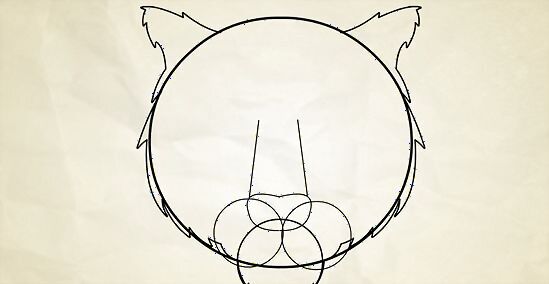
Draw the eyes with circles attached to curved triangles.

Based on the outline, draw the tiger head(make the jagged lines when drawing the tiger to make it look like fur).

Add stripes to the tiger.
Erase the unnecessary outlines.
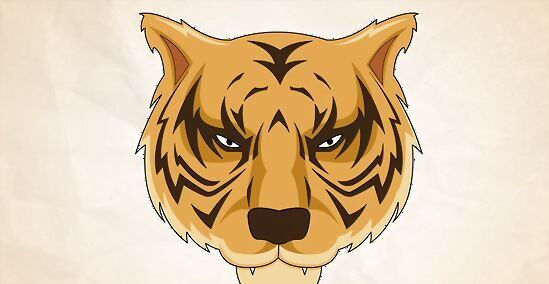
Color your tiger!


Comments
0 comment