
Installing the Official Oreo Update
Open your Android's Settings Android 7 Settings. You'll find this gear icon app on the Home screen, in the app drawer, or by searching. You can also swipe down from the top of your screen to reveal another gear icon in the notification panel. Use this method if your Android has an earlier version installed and you want to do a standard update. This is the only method of installing Oreo that is actually supported by phone manufacturers.
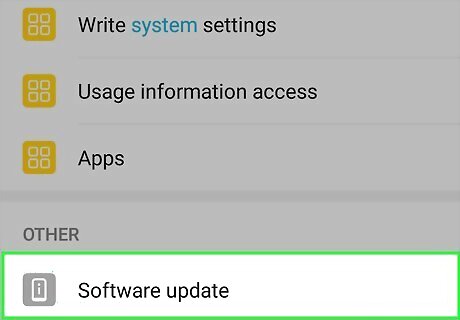
Tap Software Update. You may have to tap About Phone or About Tablet first. This option may be called System Updates on some Androids.
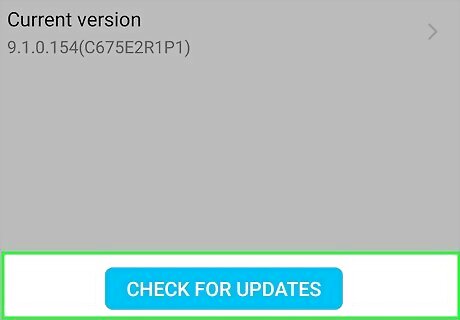
Tap Check for Updates. You'll be directed to a page that lets you know checking for an update does not put the information on your phone at risk.
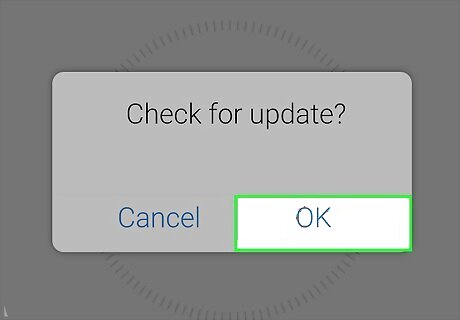
Tap OK to proceed. It may take a few minutes for your phone to check for updates.
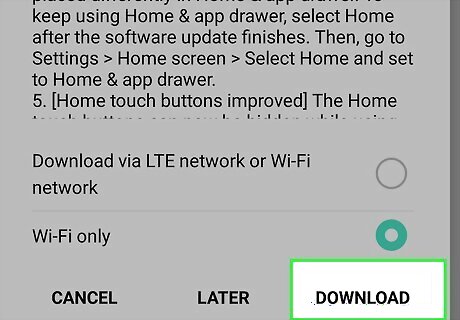
Tap OK or Download. If you see the message, "The latest updates have been installed," then you are done. If you tapped to download, follow the on-screen instructions to finish the installation.
Flashing a Samsung Galaxy Phone or Tablet
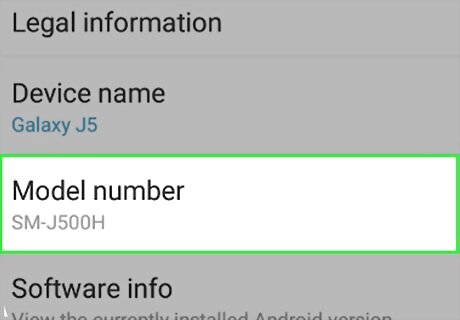
Get the model number of your Galaxy. You can find it in the Settings app under About Phone > Software Information. Before you flash your Android, make sure you have a backup in case something goes wrong. This method is not supported by Samsung. Proceed at your own risk.

Enable Developer Mode. Here's how: Open the Settings app. Tap About phone or About tablet. Scroll down and tap Build number 7 times. A message will appear telling you Developer Mode is now active.
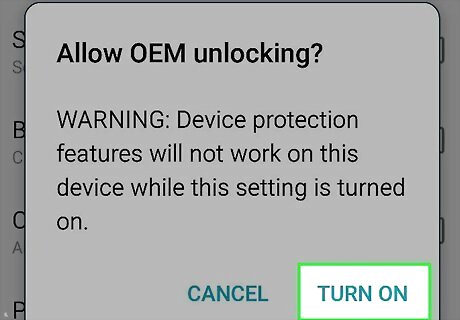
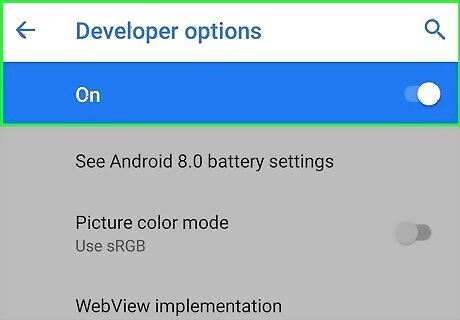
Enable OEM Unlocking. Here's how: Return to the main Settings menu. Scroll down and tap Developer options. Slide the "OEM unlocking" switch to the On position.
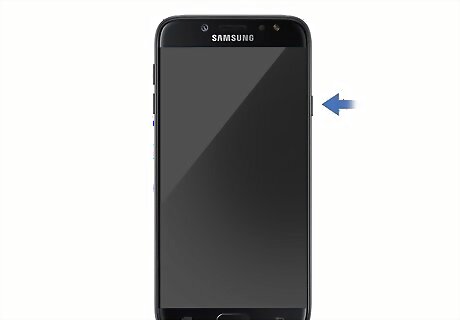
Turn off your phone or tablet. For many Androids, you need to press a button on the left or right side of the device, then tap the screen to indicate that you want to power off your Android. You are done with your phone or tablet for now.
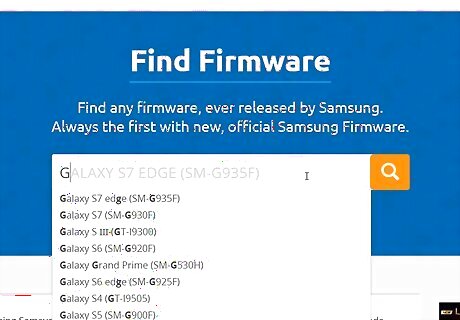
Download the firmware for your device onto your computer. You can find the firmware for your specific model at https://www.sammobile.com/firmwares or https://firmware.mobi. Make sure you use the model number you discovered earlier so you install the correct firmware version. Sites like Sammobile require you to have a free account before you can download anything.
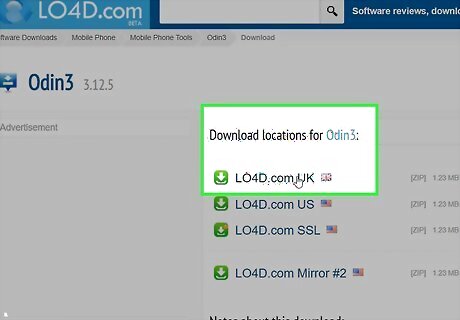
Download Odin. This is the tool you'll use to flash Oreo to your Android. There are many places to download Odin online, but not all are trustworthy. One way you can get a legit version is to visit this developer blog link and click the Odin 3.12.7 link. Odin is a Samsung product that isn't offered to the public, but you can most likely find links to download the most current version from developers. Odin is a Windows-only program, so you need to have a Windows computer to use this file. You can download the file from the link by clicking the green Click here to Start Download button, waiting while it loads download sources, and clicking "Primary download" again. Your file browser will load and you can choose where to download the ZIP file. You can also browse the XDA forums for your Samsung device and find the version of Odin you need.
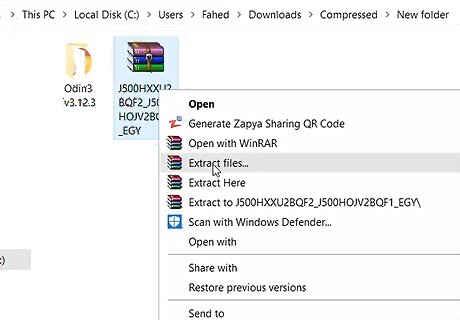
Unzip the Odin and firmware files. You can do this by going to the downloaded .zip files, right-clicking them, and clicking Extract.
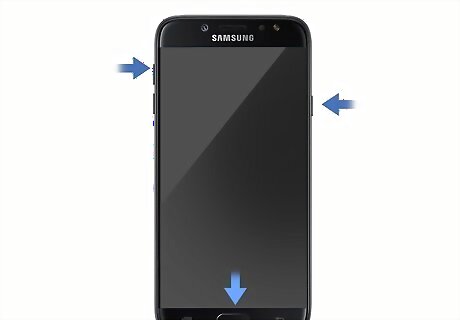
Turn on your phone or tablet in download mode. For some Samsung phones, you need to hold down the power, volume down, and Bixby buttons for about 10 seconds. You might need to press and hold the power, home, and volume up buttons if you're not using a Samsung. If you get a warning screen on a blue background, press the volume up key to continue. You are done with your phone or tablet for now.
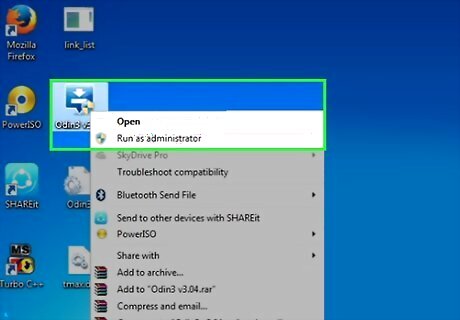
Open the Odin.exe file as an administrator on your computer. You can do this by right-clicking on the .exe file and clicking Run as administrator.
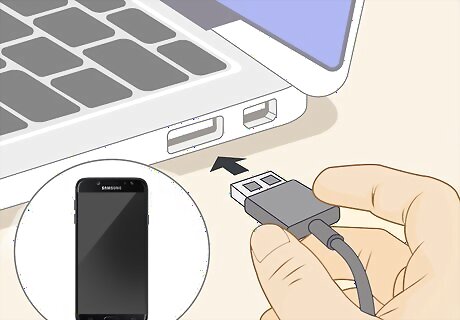
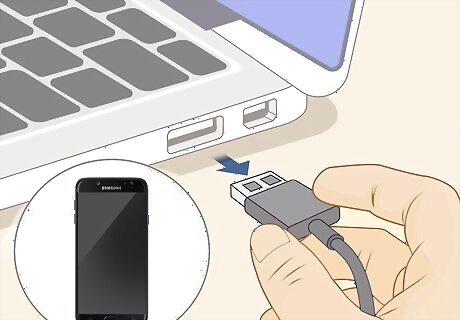
Plug your Android into your computer with a USB cable. A USB cable lets you transfer data between your devices. The mini-USB port slides into your phone while the larger USB port slides into your computer. The "ID:COM" button in Odin on your computer will turn blue to indicate your phone or tablet is recognized.
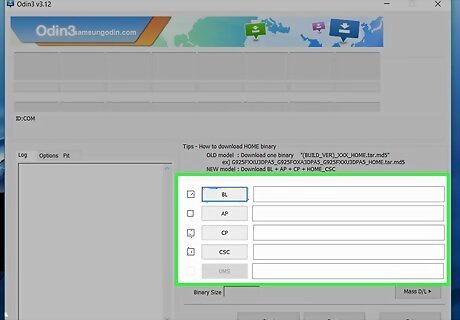
Select the appropriate files for the firmware. You'll see six places to select firmware files, but you only need to fill five. Click the BL button and your file browser will open in the firmware folder you extracted earlier. Select the file within the folder that starts with "BL." Click the AP button and your file browser will open in the firmware folder you extracted earlier. Select the file within the folder that starts with "AP." This is a large file that will take a minute to load into Odin. Click the CP button and your file browser will open in the firmware folder you extracted earlier. Select the file within the folder that starts with "CP." Click the CSC button and your file browser will open in the firmware folder you extracted earlier. Select the file within the folder that starts with "CSC." If you use HOME_CSC, all your data will be protected, and if you use the CSC_OXM file, your device will be formatted and you will lose all the information on it.
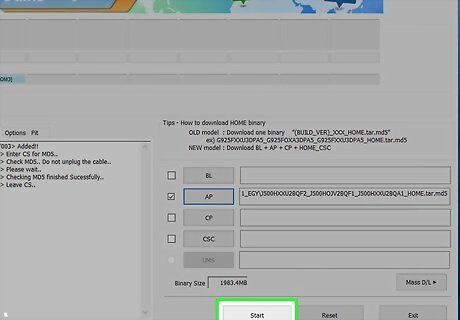
Click Start. The firmware you've selected in BL, AP, CP, and CSC will be loaded onto your phone or tablet. This process may take a few minutes to complete since it is a large data transfer. Do not interrupt this process between your computer and Android.
Remove the USB cable when your Android reboots. Your Android will reboot again and read the firmware to launch into Oreo.
Flashing a Google Pixel and Other Models
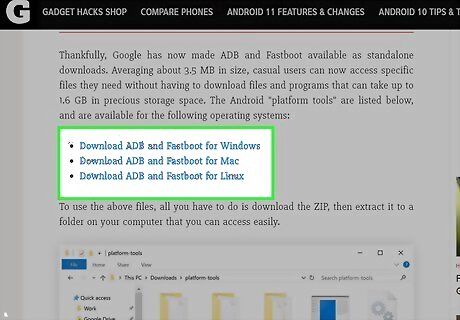
Install Fastboot and ADB on your computer. This method should work for the Google Pixel, but could also work for other models. You can get the downloads for all of them from https://android.gadgethacks.com/news/google-just-made-easier-flash-images-sideload-updates-your-android-device-0175824/. Before you flash your Android, make sure you have a backup in case something goes wrong. This method is not supported by Google or any other Android manufacturer. Proceed at your own risk.
Enable Developer Mode. Here's how: Open the Settings app. Tap About phone or About tablet. Scroll down and tap Build number 7 times. A message will appear telling you Developer Mode is now active.

Enable OEM Unlocking. Here's how: Return to the main Settings menu. Scroll down and tap Developer options. Slide the "OEM unlocking" switch to the On position.
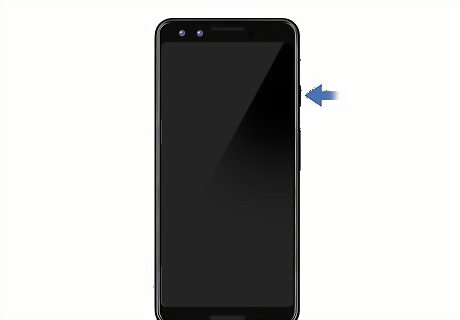
Turn off your phone or tablet. For many Androids, you need to press a button on the left or right side of the device, then tap the screen to indicate that you want to power off your Android.
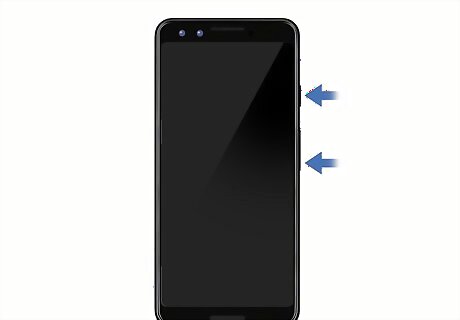
Turn on your phone or tablet in download mode. You need to hold down the power and volume down buttons for about 10 seconds.
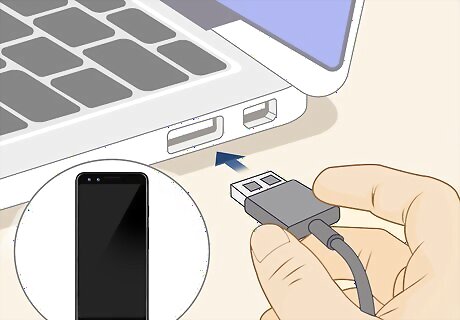
Plug your Android into your computer with a USB cable. A USB cable lets you transfer data between your devices. The mini-USB port slides into your phone while the larger USB port slides into your computer.
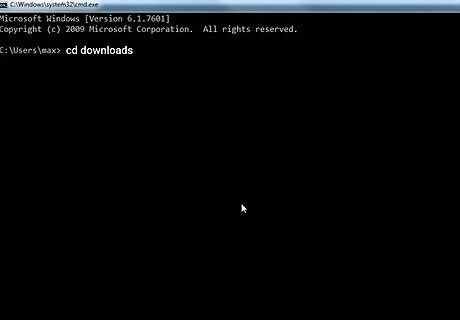
Open a command window on your computer. You'll want to open the command window in the ADB and Fastboot folder you just installed.
If you have Windows, open File Explorer, navigate to the folder containing the ADB and Fastboot files, right-click an empty place in the right panel, and click Open command window here. On a Mac, you'll need to open Terminal and navigate to the folder using the cd
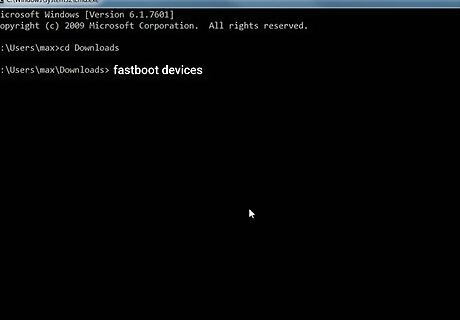
Unlock the Bootloader (if OEM isn't enabled). If OEM isn't unlocked, which will let you unlock your phone to outside sources, you'll need to type the command "./fastboot devices" (Mac) or "fastboot devices" (Windows) and press ↵ Enter or ⏎ Return. You can use the volume buttons to select Yes on your Pixel and press the power button. Your phone will format (all the information on your phone will be erased) and restart into Fastboot mode.

Download the factory images. You can find the downloads for the Factory Images from https://android.gadgethacks.com/how-to/downgrade-from-android-9-0-pie-back-oreo-your-pixel-0183424.
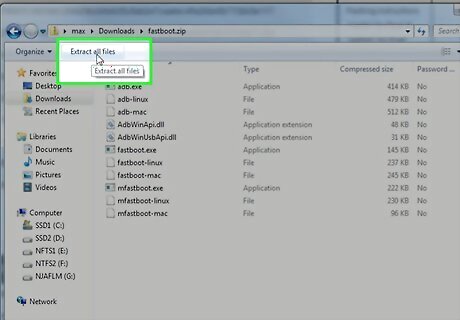
Unarchive all the files you just downloaded. You'll want to use a free program like 7-Zip to unarchive all the files you just downloaded into the ADB and Fastboot folder, platform-tools, you previously opened.
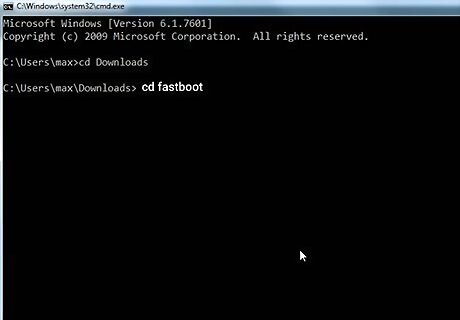
Open a command window in the platform-tools folder. If you have Windows, open the platform-tools folder in File Explorer, right-click an empty place in the right panel, and click Open command window here. On a Mac, you'll need to open Terminal and navigate to the folder using the cd
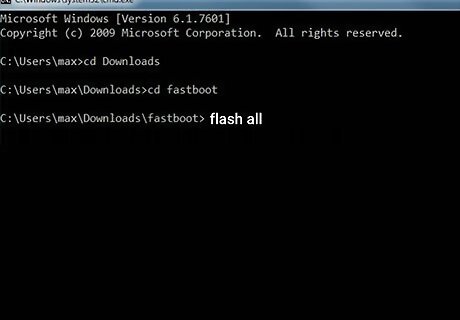
Flash the factory images to your phone (together). Type "flash all" into your command window on a Windows computer, or "./flash all" on your Mac. This command will flash all the downloaded factory images in the platform-tools folder to your phone.

Flash the factory images (individually). If the "flash all" command does not work, you can flash each image individually. You'll want to unzip any files in the platform-tools folder before doing anything else.
The first file you want to flash is the bootloader file. Type fastboot flash bootloader
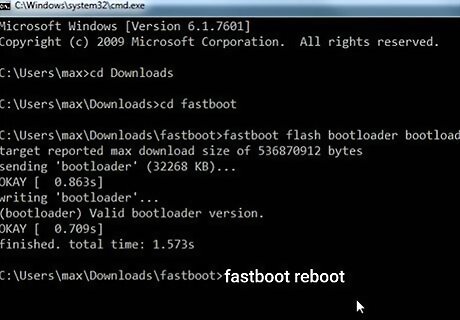
Reboot your phone. After you've successfully flashed all those images either using the "flash all" command or flashing them individually, you can reboot your phone by entering fastboot reboot. Your Pixel phone will now be running Oreo.


Comments
0 comment