views
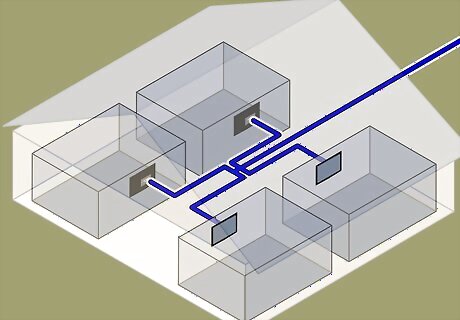
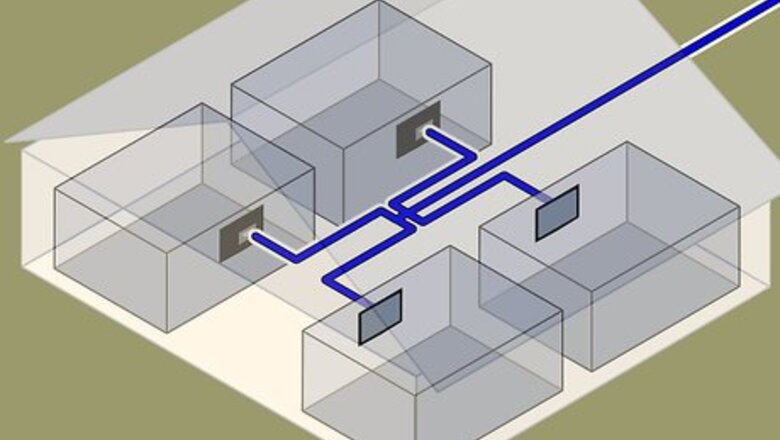
Find a convenient access to the cable along its route which is also a possible branch point where you can run cables to other rooms. If the construction of the house is of studded frame under sheetrock, you may first want to take a look at one of the cable path articles to get your cable to the full lengths where you need them.
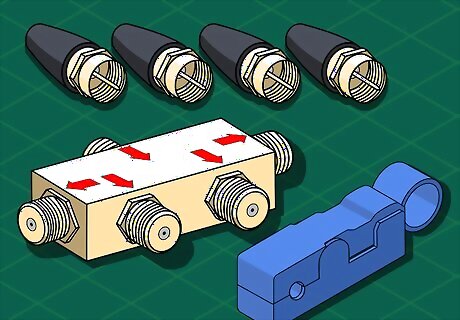
Get the things you'll need, listed below.
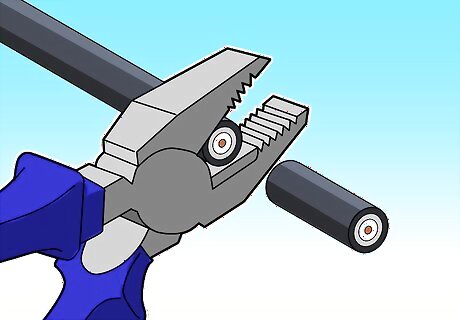
When you have all the cables together, with the cable cutter, cut about 1" off the end of the cable although it has been cut already. This clean cut perpendicular to its length ensures a clean finish. It's best to prepare the new cables for their full length before removing the original cable from service, so cut the existing cable last.
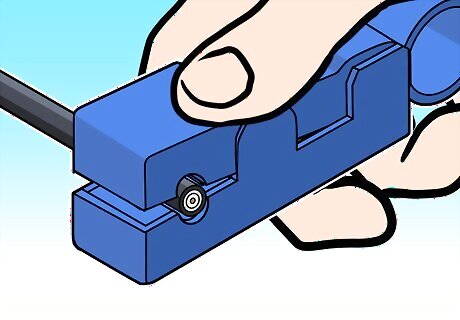
With the cable stripper, pinch the back of it to open the 'jaws' and have it bite the cable about ½" from its end. Slowly rotate the tool right around 360° and release the jaws.
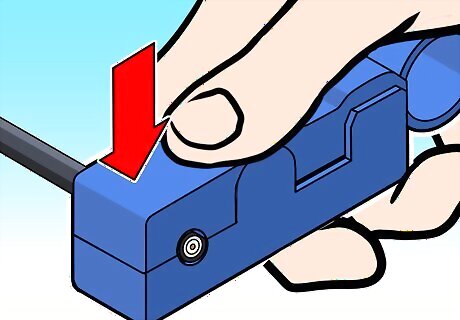
If this has been successful, two blades in the tool cut precisely into the cable at the right depth to slice the insulation over the wire, but not the functional strands.
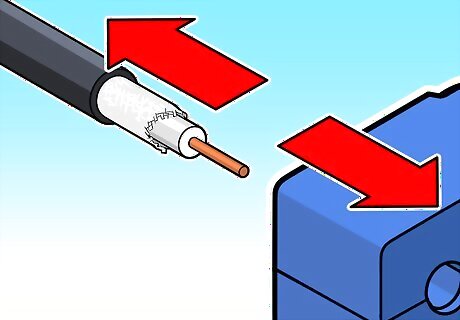
Now grip the end of the cable after the cut and pull away the rings twisting slightly. The cut will leave the end stepped down at two thicknesses.
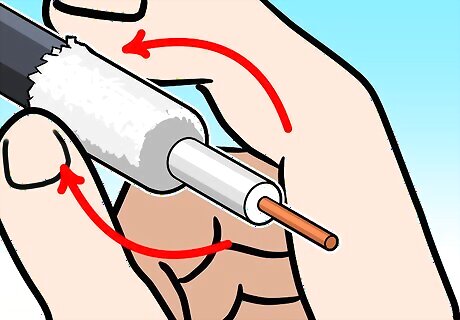
Fold the small wire braid down over the outside part of the cable.
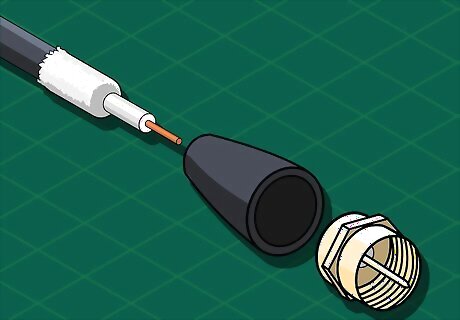
Now either fit the crimp-on or screw-on connector over the cable, keep going until the white plastic inner cylinder (known as a dielectric or dielectric insulator), meets flush with the interior of the connector. The twist type just twists, the crimp type must be set in place before it is crimped.
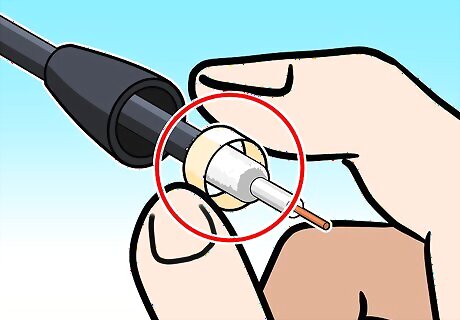
If you have the kind with a separate ring, make sure the ring is slipped over the cable before the connector goes on.
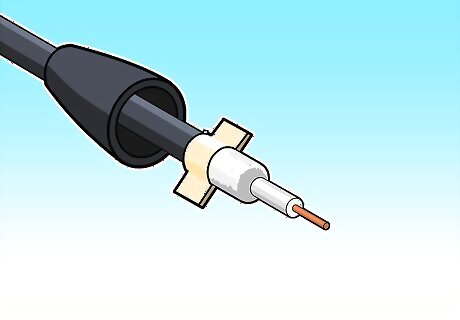
Depending on the crimp tool you have, now close it on the narrow neck of the connector and give it a squeeze. If using a commercial grade crimp tool, it may have special instructions for use to be followed.
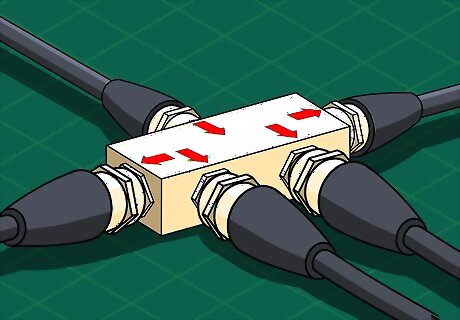
When you have completed all your ends including the original cable, it's time to connect them to the splitter.
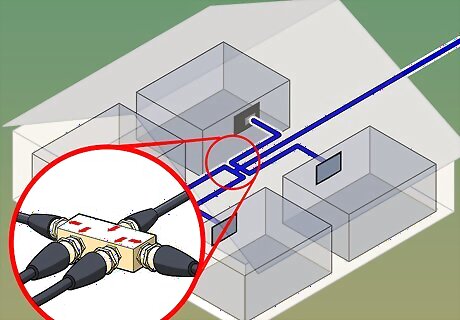
If you know which direction the original cable runs label the cable in and out on either side of the cut and each room accordingly. The splitter will have one connector labeled 'IN' and the other four as 'OUT', screw on the cable that brings your cable service in to the 'IN' to hand tight and all other cables to each of the connections labeled 'OUT'.
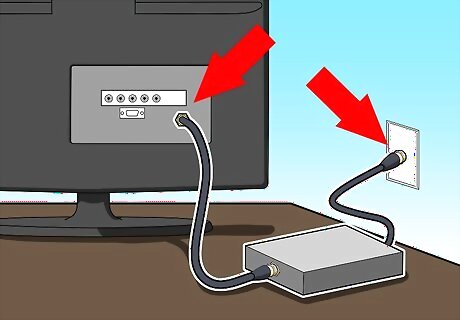
When this is all done we can now connect each cable box available in their right rooms and power each device back on. If any one does not get a signal double check each connector, sometimes the small wires of the outer braid get tangled onto the center pin. These can be pulled clear to avoid trouble. See? you can do this yourself, cables for satellite installations are done somewhat differently, so that is for another article.







Comments
0 comment