
Checking Filters and Cannisters
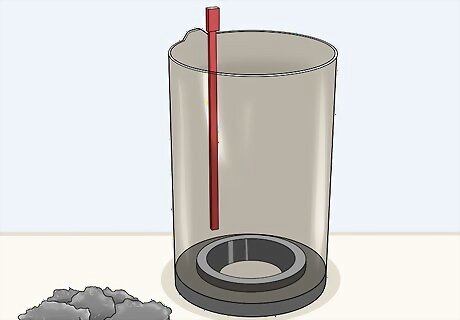
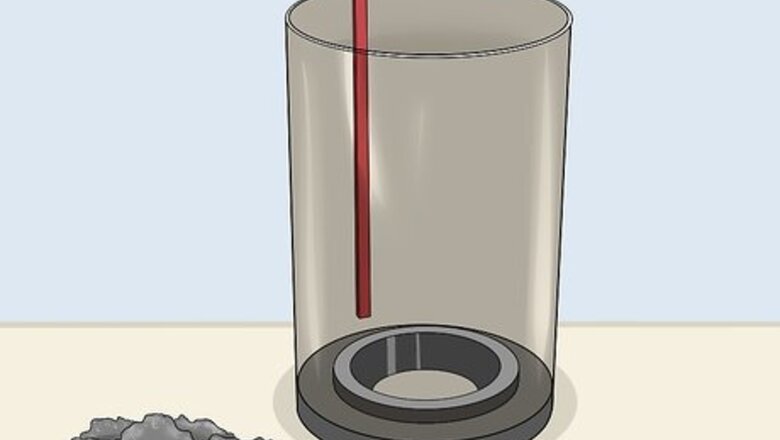
Empty the dust canister before and after each vacuuming session. If you have a bagless vacuum, remove the canister and dump out the dirt or debris that's in it before you vacuum. Then, dump it out again after you finish vacuuming. This prevents dirt from building up inside the canister and your machine. Over time, dirt may coat the inside of the cannister. To deep-clean it, rinse the canister with water. You can use a garden hose and clean the canister outside to minimize the mess. This is especially important if you're using a stick vacuum, since it has a much smaller dust canister.
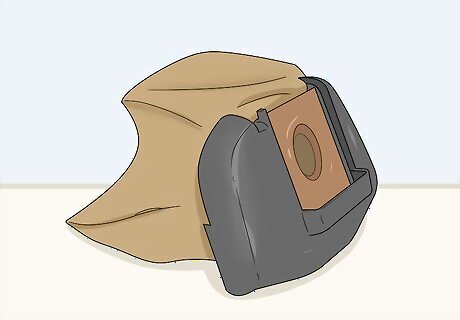
Replace your vacuum's dust bag once it's 3/4 full. If you have a canister vacuum or upright vacuum that stores the dirt and debris in a disposable bag, always check it before you vacuum. Most bags have a line on the side that indicates when to change the bag. If you wait until the bag is completely full, your vacuum won't operate as efficiently, so replace the bag when it's about 3/4 full.Tip: Some vacuums have a bag indicator light that will signal when it's time to replace the bag. You might actually damage your vacuum if the bag is full and you continue to run the vacuum.
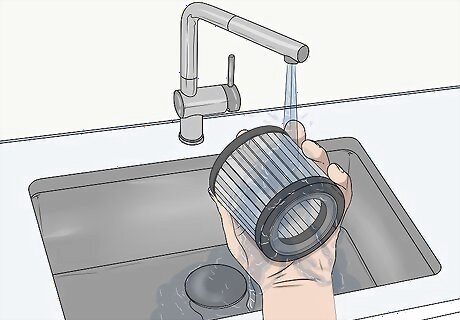
Rinse the washable filters in your vacuum once a month. If your vacuum has a foam filter, take it out and run it under cold water until the water runs clear. Then, set the filter aside to air dry completely before you put it back into the machine. It takes about 24 hours for the foam filter to dry. Your vacuum will suck up more dirt with a clean filter.
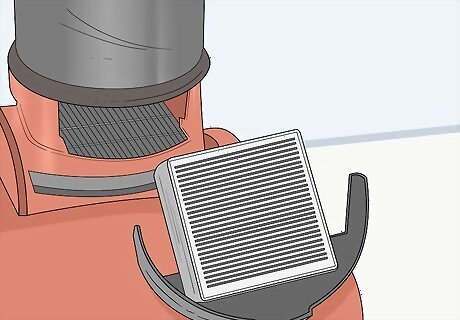
Replace HEPA or disposable filters about 2 times a year. Most vacuums have exhaust filters that catch tiny dirt particles to prevent them from blowing back into your home. Read your manual to find out if your vacuum has one of these HEPA filters and how often they recommend replacing it. Be sure to buy a replacement that matches your model. Some instruction manuals might direct you to shake or tap dirt out of disposable filters in between replacements.
Inspecting the Roller Brush and Belt
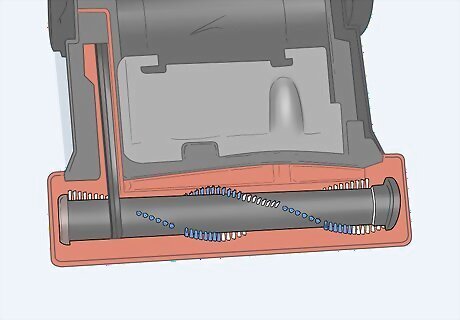
Open the cleaner head to access the roller brush and belt. Unplug the vacuum and turn it over. Then, use a screwdriver to unscrew the screws that hold the cleaner head cover in place. Lift away the cover so you can see the long roller brush and drive belt. If you have a canister vacuum, this is on the cleaner head that's attached to the long hose.Tip: Read your owner's manual for more specific instructions about opening the cleaner head. Consider placing the screws in a small bag so you don't lose them. You may need to snap off the side of the cover head to access the belt. This depends on your vacuum's make and model.

Check the vacuum belt once a month for signs of wear. If your vacuum motor runs but the brush doesn't turn, the vacuum's drive belt might be old. Once you've taken off the head cover, look for a small black belt that's connected to the brush roll. Feel the belt to tell if it's taut and elastic. If it feels brittle or you see cracks, you'll need to replace the belt. If the belt has slipped off of its track, it may be too loose and you should replace it. Purchase a new belt from a vacuum repair store or online. Then, take the old belt off and slide the new one in place.

Remove the brush roll and cut away debris that's caught in it every 2 or 3 months. Pop out or pull the brush roll from the bottom of the cleaner head or brush roll attachment. You'll probably see strands of hair or thread caught in its bristles, which makes the brush less effective when you vacuum. Take a pair of scissors or a seam ripper and slice across the things that are caught in the brush roll's bristles. Then, pull away the debris so the bristles are clear. Your owner's manual may refer to the brush roll as the beater bar.

Spin the brush roll to ensure that it spins freely. To determine if the brush roll is still in good shape, place it vertically on its axis and hold the top with 1 hand. Use your other hand to spin the brush roll with 1 flick. The brush should spin around several times. If the brush roll doesn't spin freely, you might need to replace the brush roll. You can do this every time you clean debris out of the brush roller.

Remove debris or dirt from the cleaner head casing every 2 or 3 months. Take the opportunity to look inside the cleaner head casing while the brush roll is out. Use your fingers to pull out any clumps of hair or dirt that might be clogging the air passages or brush roll housing. Then, wipe it out with a damp cloth before you put the brush roll back in. Wear gloves if you don't want to touch the dirt or debris with your bare hands. Ensure that the drive belt is properly reconnected to the brush roll.

Put the roller brush back in place and screw the cleaner head back in place. Push the roller brush so it's completely held by the sides of the cleaner head. Ensure that the drive belt is properly looped over its track and the roller brush. Then, place the casing over the cleaner head and screw it on. Do this for stick, canister, or upright vacuums.
Caring for the Outside of the Vacuum

Unplug the cord and inspect it for fraying or breaks. Always unplug the vacuum before performing any maintenance. Look at the entire cord for breaks in the plastic, exposed wire, or fraying. If you see any of these, don't use the vacuum because you could get shocked. If the cord is damaged, take the vacuum to a vacuum repair shop. They can inexpensively repair or replace the cord.

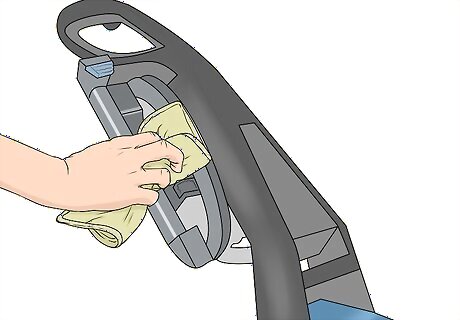
Use a damp cloth to wipe dust off the outside of the vacuum. If your vacuum is covered in dust or dirt, you'll spread it around your home as you vacuum and the dust could clog the machine's filters. Rub a damp cloth over the entire surface of the vacuum to remove built-up dirt. Ensure that you clean where pieces attach or connect. Removing dust and dirt from these areas can make a tighter seal so the vacuum works more efficiently.
Inspect all of the attachments and remove dirt or hair from them. Take all of the attachments off of the vacuum and check them for cracks. Most vacuums come with a narrow extension wand, a dusting brush, a flat upholstery tool, and a power or turbo brush. Wipe dirt or dust from these attachments and pull away hair that might be tangled or stuck in them. For example, if hairs are caught in the turbo brush blade, take a pair of scissors and cut the hairs free from the bristles.

Wipe down the hose and remove any dirt clogs. Pull out the long stretchy hose and wipe the length of it with a damp cloth. Then, stretch it until it's straight and hold it down to the ground. Get down and look into it to see if the hose is clogged. If it is, take a bent wire or metal hanger and carefully insert it into the hose. Pull on the clog to loosen and remove it.Tip: Since cleaning the hose can be messy work, consider cleaning it outside or in the garage. If the hose is clogged, you might notice a loss of suction when you vacuum. Use caution when you insert the wire into the hose since you don't want to accidentally puncture the hose.


Comments
0 comment