
Creating the Doll Itself
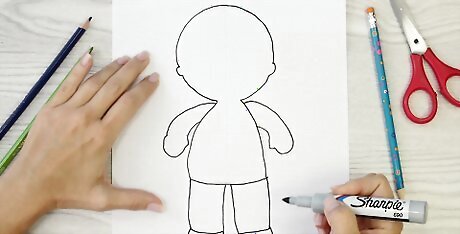
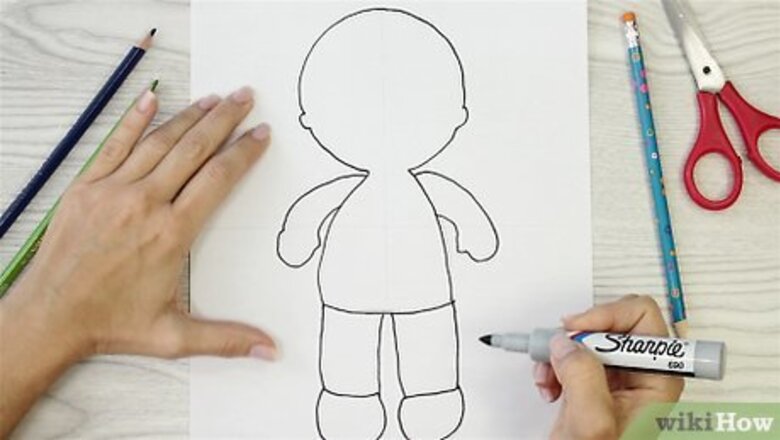
Draw out a design for your doll on paper. You can either draw out a complete person and divide it into a head, body, arms, and legs. Or you can just draw out each of these parts individually, but make sure the proportion is right. If you aren't much of an artist, there are plenty of free doll templates on the Internet that you can print out.

Cut out the pieces. You only need to cut out one head, one body, one arm, and one leg. You can trim the edges for a better look if you like, but remember, this is only the template for your doll.
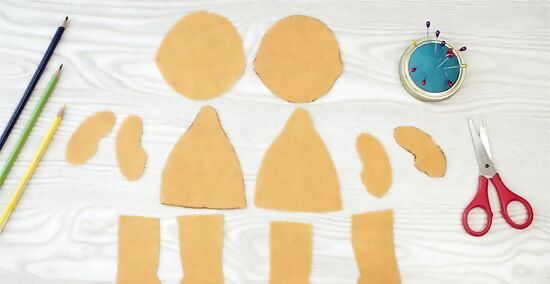
Place the templates on the felt you chose. For a typical doll, a skin color of light peach or brown is best. Using your scissors, cut around the templates (you can draw around them first, if you need to). You should have two heads, two bodies, four arms, and four legs. Like before, you can trim the edges if you like.
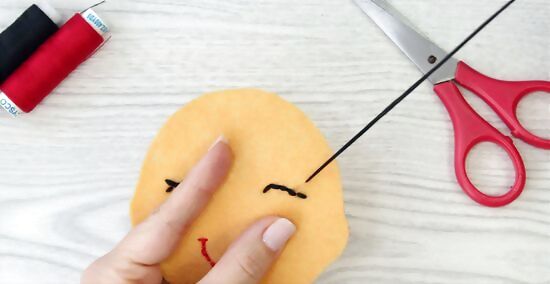
Take one of the head pieces and make the eyes and mouth. There are a few ways to do this: Embroider the eyes using the satin stitch and the mouth using the back stitch. To do the back stitch, take one stitch down and another up. Now take a stitch backward (to meet the first stitch) and another stitch up. To do the satin stitch, back stitch around the shape. Then fill the shape with thread by going back and forth. You may want to draw the shapes out with a disappearing marker before you start. Cut out two circles from the black fabric and one half circle from the red or pink fabric. Sew these pieces onto the head as eyes and mouth with the back stitch.
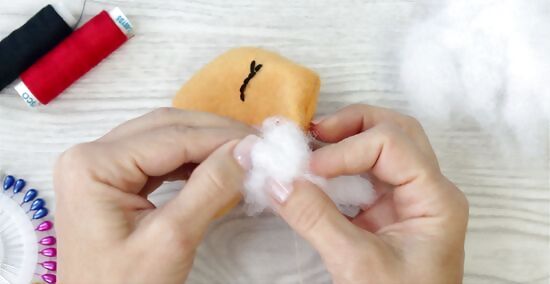
Put the two head pieces right sides together. Sew using ladder stitch. To do this stitch, take a stitch from one fabric piece to the other and then reverse it, while taking a slight step to the side. Now using the gap you left for stuffing, turn it inside out. Now stuff using either cotton balls, fabric scraps, or pillow filling. Sew the gap up with ladder stitch.

Take the body pieces, arm pieces, and leg pieces. Sew together and stuff as before. This should result in a body, two arms, and two legs.
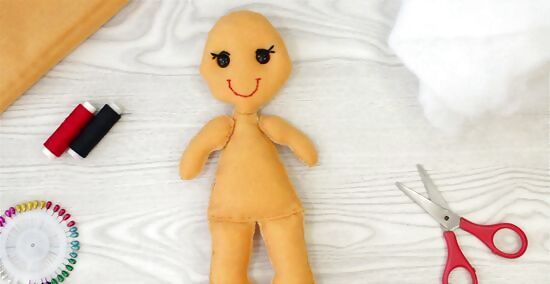
Take the head and body and sew together using ladder stitch. Putting the arms on either side of the body, sew back and forth through the body, in and out again. Do the same for the legs.
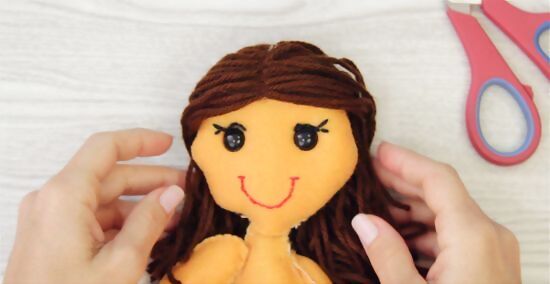
Make the hair for your doll. There are a few ways to do this as well: Cut a bunch of yarn and sew together with the head from the center. Cut another bunch and this time, sew together with the head about 1/4 of the way. The smaller part left will act as the bangs. Cut a wig in any style you like from the fabric. Cut another one for the bangs and sew the two together using ladder stitch and then onto the head.
Creating an Outfit for the Doll
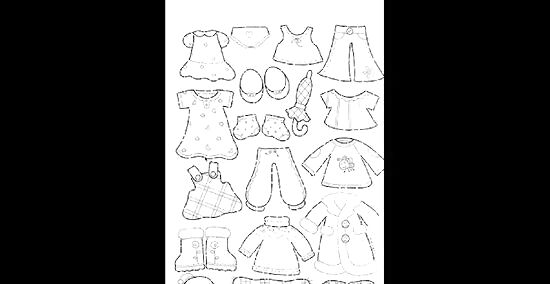
Pick your outfit style. There are many different ones to make for a doll, so if you want to make something specific, search the Internet for design ideas. This article is going to teach the making of a simple dress and shoes for a doll.
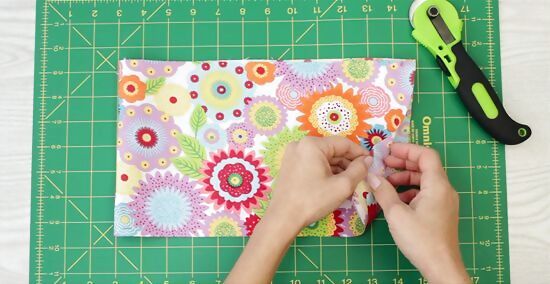
Cut out a rectangular piece of fabric from any colored or patterned felt you like. Make sure that when sewn together as a tube, it is much larger than your doll's body, as you want your dress to look puffy. Also, depending on your preference of the length of your dress, you will want to cut a different length for the rectangle.
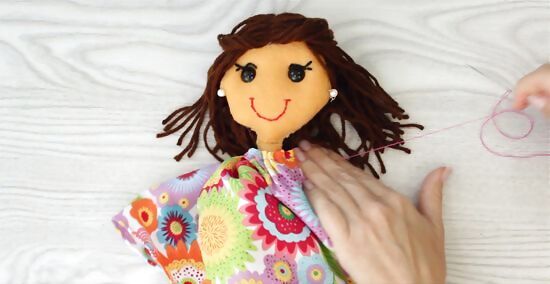
Sew the two ends together using a ladder stitch. Slip it onto the doll's body and get it as close to the top as you can. Now sew a running stitch all around the top of the tube and tug. Tug until it fits the doll's body as tightly as possible.

Sew the dress onto your doll's body with the ladder stitch. If you want your doll to have a number of clothes to change, this step may be skipped. If you skip this step, however, make sure you tugged tightly, so it will not slip off immediately.
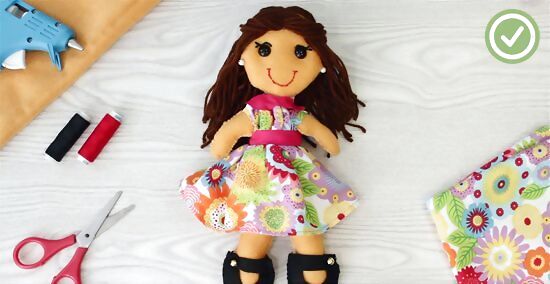
Make shoes for your doll. Cut out two ovals from whatever fabric you choose for the shoes. Cut out a smaller oval from one of the two ovals. Sew the two ovals together using the ladder stitch. Cut out a small rectangular strip from the same fabric. Sew it using the back stitch on either side to act as a buckle. Slip the shoe onto your doll's foot and attach it if you like using ladder stitch. Do the same for the other shoe and foot.


Comments
0 comment