views
Creating the Components
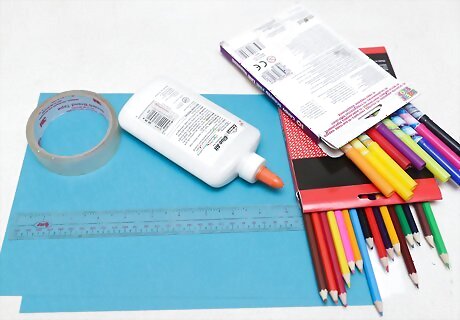
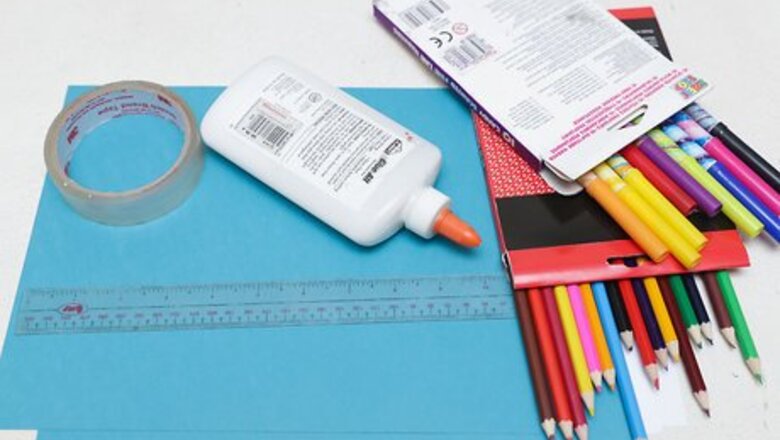
Collect your materials. To make a paper laptop, you should get two pieces of paper or cardstock in the color and size you want your laptop case to be. You also need two pieces of white paper, a piece of cardboard, a ruler, scissors, glue, clear tape, a pen, and markers or colored pencils. If you want a decorative laptop case, get patterned paper instead of plain.
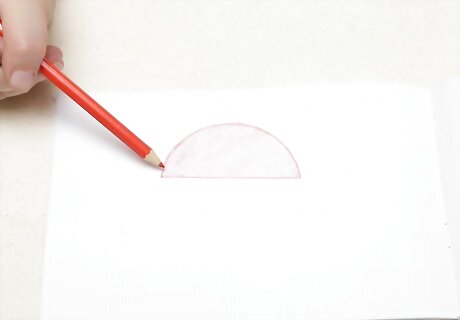
Decide on a style. Now that you have your materials, you need to decide what style you want your computer to be. On one of the sheets of paper, draw the logo of the computer brand you want to make. For example, draw an apple if you want it to be an Apple computer or the word Toshiba if you want a Toshiba computer. If you aren't sure of the logo that you want, do some research to find exactly what the top of your favorite brand of laptops looks like. That way, you will be as accurate as possible. If you are using patterned paper, draw the logo on the side that has the pattern on it. That way, the pattern will look like a laptop case.
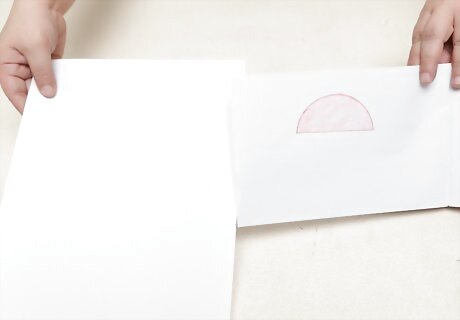
Make your desktop. Now that you have a base, you need to make your desktop. Take one of the white sheets of paper and hold it up to the paper you just drew the logo on. If they are the same size, measure and mark a one inch margin along each side of the white paper. Cut the one inch off of each side of the white sheet. Then, draw or attach the pictures you want to use as your desktop. Try using a real desktop screen of a laptop as a guide for your screen. Draw a colorful background, desktop icons, and the menu bar across the bottom. If you can't draw, find a photograph to use as a desktop background and cut out pictures that look like desktop icons.

Make the keyboard. Take the other white sheet of paper and hold it up to the other colored or patterned sheet of paper. Measure and mark a half an inch on each edge of the white piece and cut away the excess. Then, draw the outline of a laptop keyboard across the its surface. Make sure you draw the keys in proportion to the size of your paper. If you can't do it by hand, try gently laying the paper over a real keyboard and pressing the paper against the keys to make indentations of the keys on the paper. Then you can trace over the indents left behind. You can buy letter stickers and put them inside the key shapes you made. This will make all the letters look the same and look more like a real keyboard. If you want a more polished look, you can also print out a picture of the keys of a keyboard instead of drawing it. Just make sure it is the same size as the rest of the laptop so it will match.
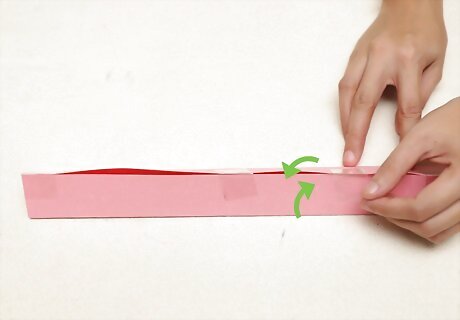
Make a stand. Since your laptop doesn't have its own support structure to keep it vertical, you need to make your laptop a stand. Using the piece of cardboard, fold the cardboard into three equal strips. Unfold it again and bring the edges of the cardboard together, making a triangle shape. Tape along the edge to make the triangle sturdy.
Putting the Laptop Together
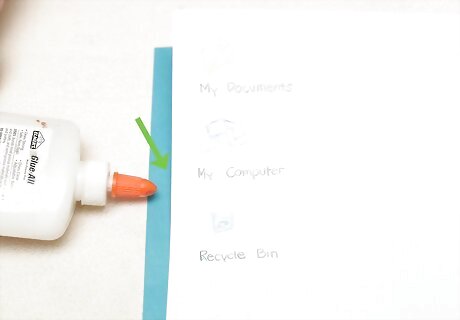
Assemble your screen. Now that you have the piece of paper or cardstock with the your chosen logo on it and your desktop screen, you need to make them one piece. Take the desktop picture you created and apply glue around the back edges and across the middle. Center it, glue side down, on the back side of your laptop cover. Press the desktop picture down, gently smoothing out any bubbles with your hands.
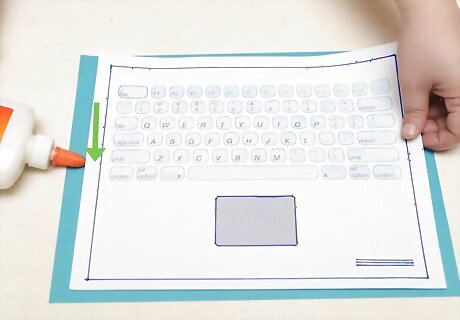
Put together your keyboard. You now need to take your second piece of colored or patterned paper and attach your drawn or printed keyboard to it. Turn over the keyboard and apply glue around the edges and across the middle. Center it in the piece of colored paper, then gently lay it down and smooth out any bubbles. In the top corned on either side, draw a power button on the surface. If you don't want to draw the power button, you can print out a picture of the power button and glue it to the paper just like you did the keyboard. If you want your laptop to be a little more sturdy, you might try adding cardboard to your laptop. Glue a piece of cardboard to your top and bottom. Then, glue an additional piece of paper in the color or pattern you chose over the other side of the cardboard so it doesn't show through. Then glue the desktop and keyboard down.

Connect the pieces. Now that you have a screen and a keyboard, you need to attach the two to make your laptop complete. Take the two pieces and align the long sides. Make sure the screen and keyboard sides are facing up. Place a piece of clear tape along the edge where the two pieces meet. Flip the two pages over and place another piece along the same edge on the other side.

Position your laptop. Turn the papers back over and fold them along the edge with the tape. Turn it so the side without tape is facing you. Take the stand you made earlier and place it directly behind the taped edge of the laptop. Open up the laptop as you would a real laptop, resting the top screen against the stand to make the stand stay up. Your laptop is complete. If you find that the taped edge is too flimsy, try adding another piece of tape to both sides to strengthen the hold.


Comments
0 comment