
views
Making a Flat-edged Poncho
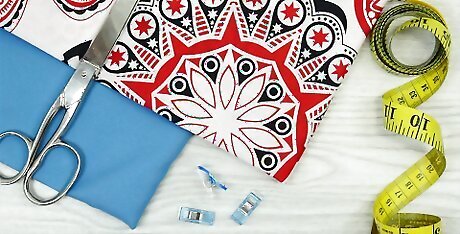
Grab a blanket or square-shaped piece of fabric of suitable size. Ponchos can be nearly any size - they can range from waist-length or higher to floor-length. However, most ponchos should hang down to about wrist-level when your hands are at your sides (and slightly lower on the front and back of your body). To determine if a given piece of fabric is the right size for use as a poncho, drape the blanket or fabric over your head - it will hang about a head-length above where it will as a finished poncho. Most adults will need a piece of fabric about the dimensions of a normal couch throw, while children will obviously need smaller pieces of fabric. Err on the side of using too much fabric, rather than too little. It's easier to trim a poncho to make it shorter than to sew extra fabric on to make it longer.
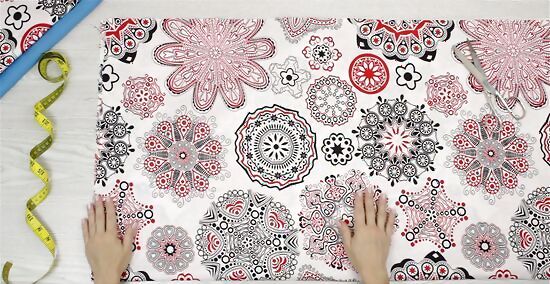
Fold the fabric in half. Next, fold your fabric in half so that the edges meet. Lay your folded fabric flat on a table or a clean, open spot on the floor. If you'd like an asymmetrical poncho - one that hangs extra-long in the front or back - don't fold your fabric so that its edges meet, but, rather, so that the bottom half is longer than the top half.

Cut a hole for your head. Carefully use a pair of scissors or a fabric knife to cut a slit along the folded edge of the fabric. The slit should be centered along the folded edge - you will probably want to use a tape measure to find the exact center of the fabric's length before cutting to ensure the poncho sits evenly on your shoulders. The hole you make may be the size of your choosing - it just has to be big enough for your head to fit through. Generally, about 12 inches (30 cm) (6 inches on either side of the folded edge's center) is large enough. Head holes on ponchos don't have to be boring slits. To make a differently-shaped head hole, cut a shape into your folded fabric centered at the midpoint of the folded edge. For example, to make a circular head hole, cut a half-circle centered at the middle of the folded edge, to make a diamond, cut a triangle centered at the middle of the folded edge, etc. This is the only part of the process in which it's possible to make a serious mistake - defects in your head hole may be visible on the finished poncho. Still, don't worry - as long your hole is big enough to fit your head through and small enough not to let your shoulders through, your poncho will stay on!
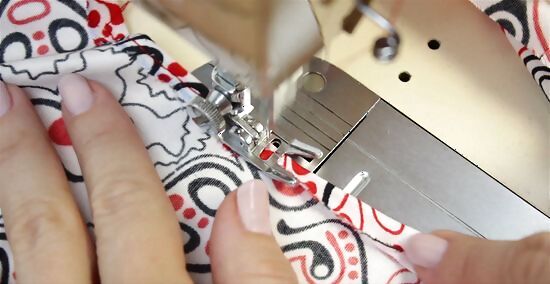
Optionally, hem the seams around the head hole to prevent fraying and curling. At this point, your poncho is essentially "done" - it can be worn and will work as intended. However, if you have the time (and care to do so), you may want to spend a little extra effort making your poncho more durable. The "rough", unprotected edge created by cutting your head hole is vulnerable to wear and tear - over time, you may notice it begin to fray. To prevent this, sew a hem around the edge of the head hole to strengthen the material and extend your new garment's life.

Optionally, add flair! When it comes to making your poncho more functional or eye-catching, you have a variety of options! Just a few are listed below:. Add pockets. Sew small, flat pieces of fabric to the front or sides of your poncho, leaving the top edge open so that you can stick your hands in. These pieces of fabric can be any shape you like - try squares, half-circles, and hearts! Add a pattern to the edges. Try cutting a repeating pattern along the edge of the poncho for a killer "wild west" look! You have many choices here - for instance, a simple zig-zag may suit your purposes, or you may want to create a fringe by cutting thin strips into the edges.
Making a Round-edged Poncho
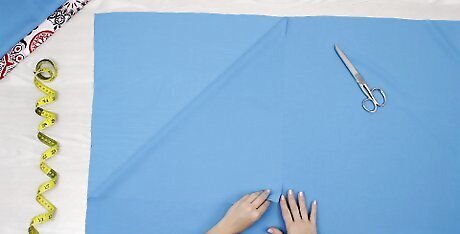
Fold a square-shaped blanket or piece of fabric in half. For this poncho variant, you won't use all of the fabric, but, rather, a circle-shaped portion in the middle. Because of this, you may want to pick a slightly bigger piece of fabric than you would have for the standard poncho above. To begin, fold this fabric so that its edges meet as you normally would.
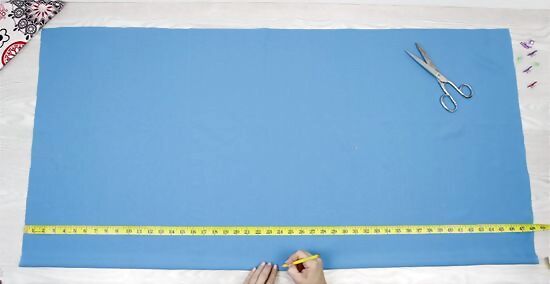
Mark the midpoint of the folded edge. The next few steps can be tricky - your goal is to map out the cuts you'll make to create a circular piece of fabric. First, use a tape measure to find the midpoint of the folded edge. Use a pencil or washable pen to mark this point, which will become the center of your circle.

Mark two points on the folded edge to determine the length of your poncho. Next, determine the desired length of your poncho (remember that, generally, ponchos hang about wrist-low on the sides). Mark two more points on the folded edge - one on either side of the central point. Each should be the distance from your center point that you've chosen for the length of your poncho. For example, if we wanted to make a 22-inch poncho for our child, we'll mark the two points along the folded edge that are 22 inches (55.9 cm) from the central point - one on either side.
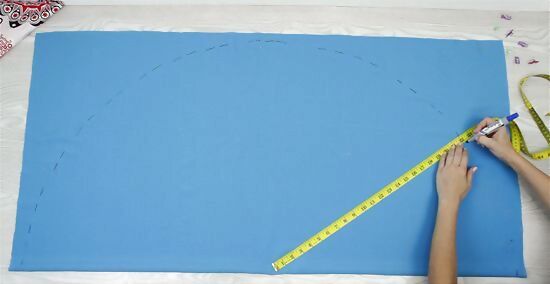
Continue marking points to make a half circle. Next, you'll want to start marking points on the top layer of fabric to mark the edges of a half circle centered on the midpoint of the folded edge. To do this, you may want to measure out the desired length of your poncho (this is the same length as in the previous step) with a tape measure, then keep one end of the tape measure on the central point and mark dots in a half-circle. When you're done, you should have a series of dots making a half-circle on the upper layer of fabric. Following along with our 22-inch poncho example, we would now mark a series of dots on the upper layer of fabric, all of which are 22 inches (55.9 cm) from the central point. This will create a half-circle with a radius of 22 inches (55.9 cm).
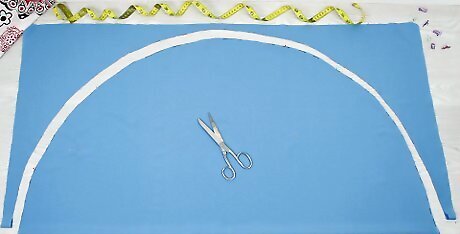
Cut a circle along the marks. The hard work is done - now, just connect the dots. Use circles to cut along the series of dots you made. Be sure to cut both pieces of the folded fabric together. When finished, you should have a circular piece of fabric! Discard or recycle the extra material.

Continue as you would with a normal poncho. You now have your circular fabric - now, you may proceed as you would with a square poncho. Cut a head hole or slit at the center of the fabric's folded edge, hem the head hole if desired, add decorations or flair, and so on. Congratulations - your circular poncho is ready to wear!






Comments
0 comment