
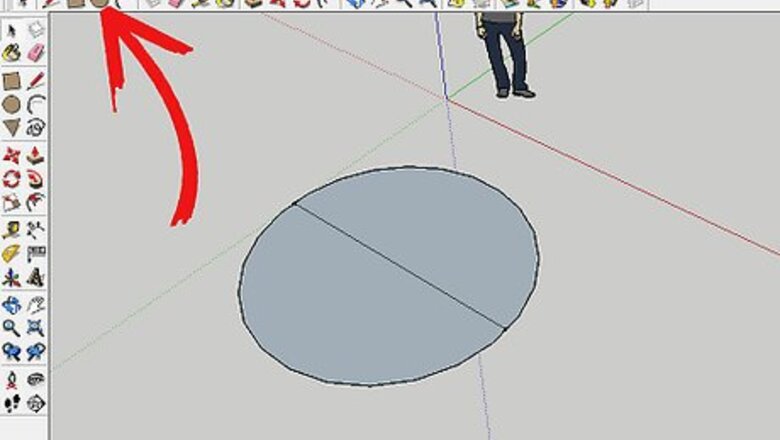
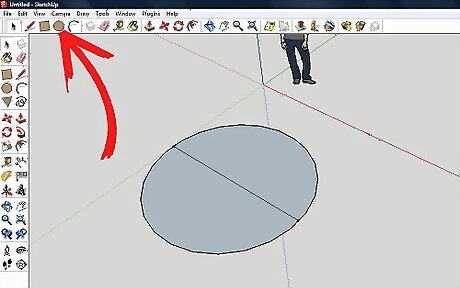
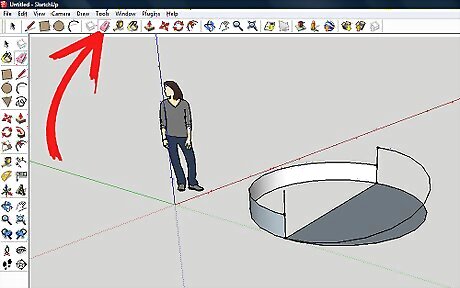
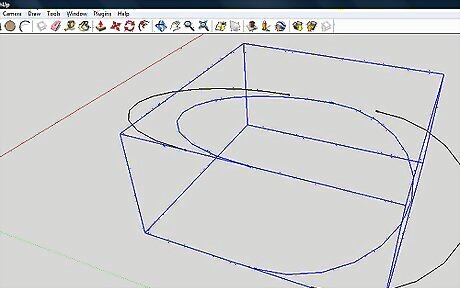
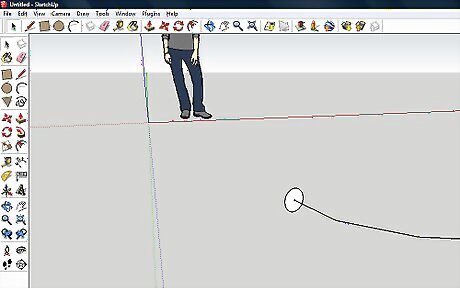
Create a circle using the Circle tool. With the line tool, draw a line and halve the circle.
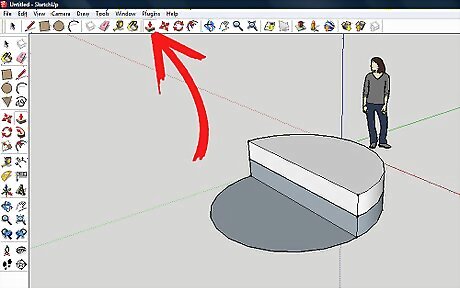
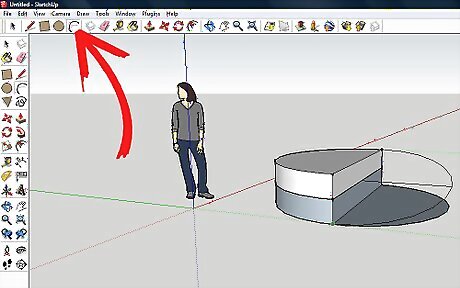
Use the Push/Pull tool and pull one of the half circles up. Hold down CTRL and pull up the circle again by the same distance. The screenshot shows them at 6 feet (1.8 m) (6').
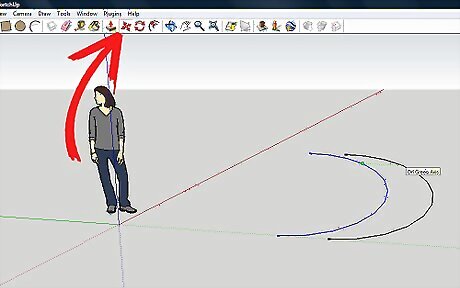
Click on the Arc tool and at the bottom left of the two half circles, click. Then go up to the top right of the two circles and click again. Draw out the arc to approximately match the other half of the circle.
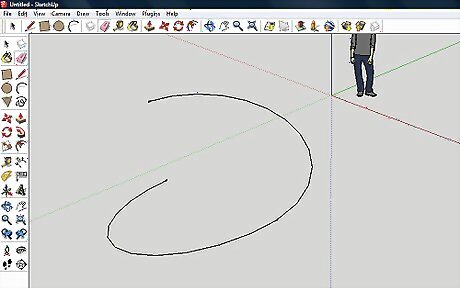
Start deleting everything but the arc you just added.

Make sure that you have the arc as shown in the screenshot.
Select the arc, click on the Move tool, move it, then hold down the CTRL key so that you are moving a copy.
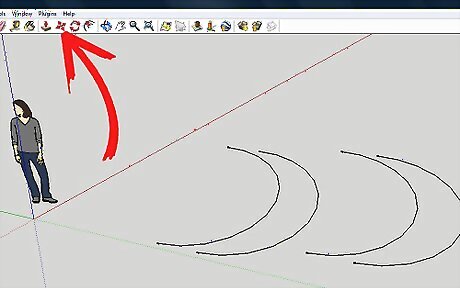
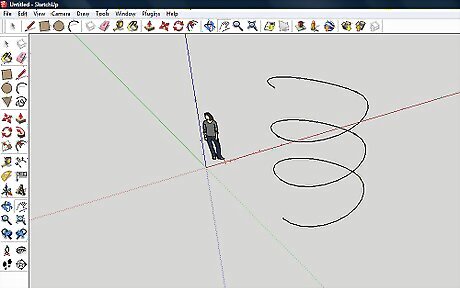
Select the set of arcs that you now have and then repeat the process from before. Once you start to move it, press CTRL and moved a copy and move it a short bit away.
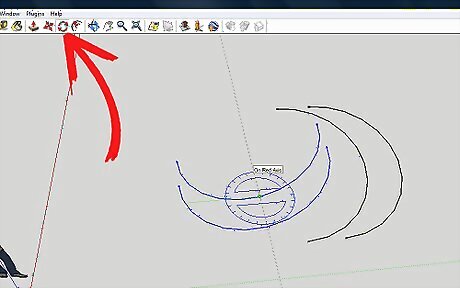
Rotate the ones that were just copied. Click on the Rotate tool and put it on the end of the bottom arc.

Rotate the arcs about 180 degrees. Eye it and move it so that it is roughly in line with the other set of arcs.
With both of the arcs still selected, connect them.
Delete one of the two connected arcs so you have one complete 'coil'.
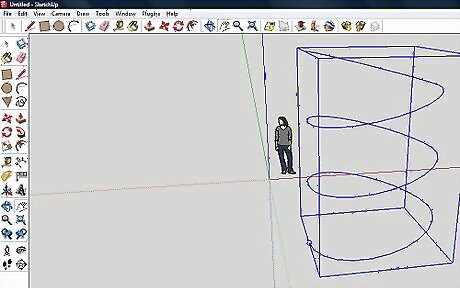
Select the entire coil, use the Move tool with CTRL and copy and connect. Do this until you have the size of coil that you want. Here is where you will know if you did something wrong with the shape of your first coil. If something is 'off', then your coil will be slanted.Make a Spring in SketchUp Step 12Bullet1.jpg
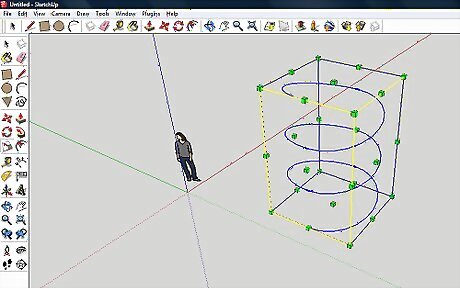
Select the whole spring and then click S. This will allow you to scale the coil to the size that you want.
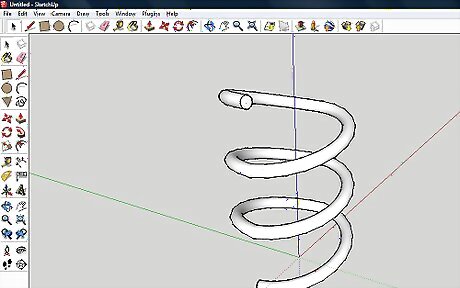
At the end of the coil, add a small circle. Be sure that is perpendicular to the coil.
Select the entire coil. If you can't not select the circle, hold down SHIFT and deselect the circle.
Click on the Follow Me tool and then on the circle. This will complete the coil.
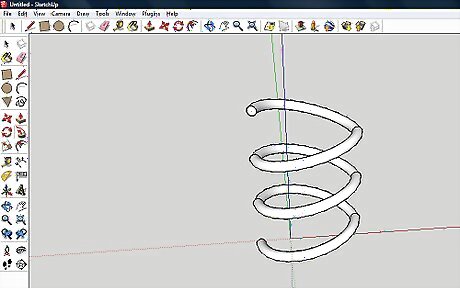
Select the entire spring, right click on it, and then Soften/Smooth edges. Do that until you like the look of it.


Comments
0 comment