
Breaking Down the Exterior

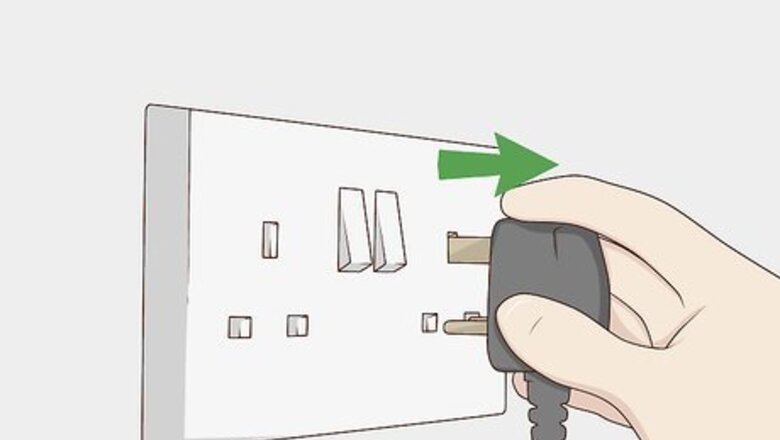
Unplug the hair dryer before you begin. Never work on a hairdryer, or any other appliance, while it’s still plugged in. Confirm that the hairdryer is unplugged before removing any pieces.
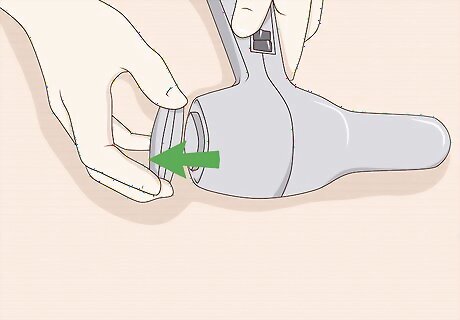
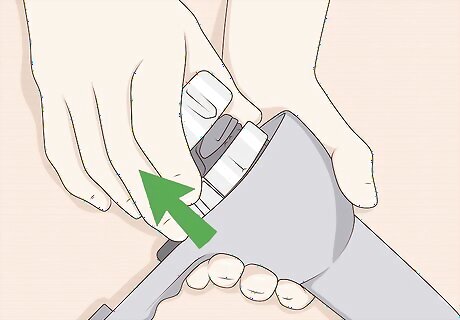
Pop off the removable filter and nozzle on the cover. Most hair dryers have a few loose parts around the cover that aren’t held down with screws. Commonly, the nozzle on the front and the filter on the back simply pop out of position. Pull these pieces off and put them to the side. On some models, these parts are held down with screws as well. If they don’t come off easily, then double check for any screws. Remove those to detach the pieces. There may be a few more pieces that pop off easily, like filters on the side. Check the body for any other parts like this before moving on.

Locate all of the screws on the exterior of the hairdryer. Hairdryers commonly have screws on the handle that hold the housing together, but check the whole body before disassembling it. Find any additional screws holding the body together before you start taking the hairdryer apart. The user manual for your hairdryer may have a diagram showing all the screw locations. Use this as a reference guide if you have it.

Remove the screws along the handle. Most hairdryers have 2 or 3 screws along the back of the handle holding the body together. Take these out to open the housing. These are usually Phillips head screws, but some models use irregular screws like star-shaped ones. You’ll need a matching screwdriver to remove these. Keep the screws in a safe place where you won’t lose them. Otherwise you might not be able to reassemble the hairdryer.

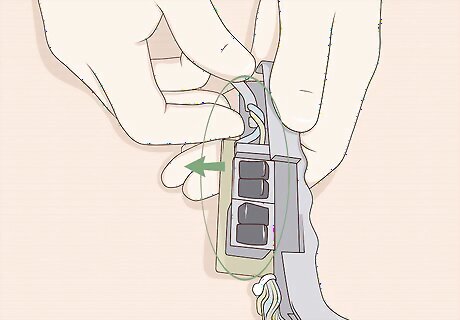
Separate the front and back housing parts. With the handle screws removed, the housing sections should be free. Pull them apart gently. You may have to wiggle both pieces to break them free, especially if the hairdryer is old. If you’re planning on putting the hairdryer back together, then don’t force it apart. You could break something. If the pieces seem stuck together, then look for more screws. Some hairdryers have notches holding the housing parts together. Try squeezing along the separation line between the sections while you pull to release the housing. There shouldn’t be any loose parts inside the hairdryer unless something is broken, so you shouldn’t have to worry about parts flying out when you open it.
Removing Internal Parts

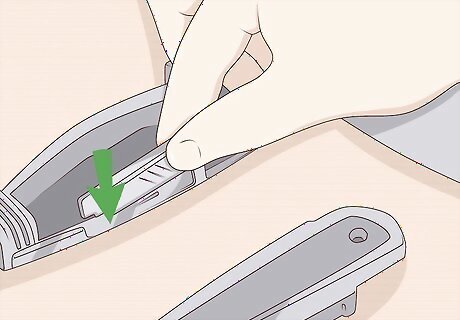
Remove the screws at the bottom of the handle holding the plug in. There are 2 screws at the bottom of the handle where the power cord enters the housing. Take these screws out to free the plug and the switches on the handle. Remember to put these screws in a safe place so you don’t lose them. If you only wanted see what’s inside the hairdryer and don’t want to remove any internal parts, then skip all these steps. Put the housing back together instead.
Detach the switches and plug from the handle housing. With the screws removed, the switches in the handle should lift up easily. Pull them out of the handle housing and lay them along the hairdryer. Don’t pull on the switches. The wire is still connected to the motor, so you could break something if you pull it.
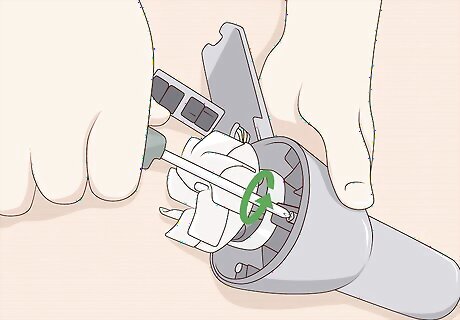
Unscrew the motor from the hairdryer housing. The motor unit is held in with screws where it meets the hairdryer housing. Remove all these screws to free the motor. Hairdryers usually have 2 screws holding the motor in, but double check in case your model has more.
Slide the motor unit out of the housing. Pull back gently after you remove the screws. The motor unit, along with the heating coils, should slide out easily. These are the final internal parts of the hairdryer, so you’ve successfully removed all the parts from the housing. The plug, switches, internal wire, motor unit, and heating coils are all held together as a single part. Unless something is broken, you shouldn’t have to worry about it falling apart when you remove it.
Making Simple Repairs
Align any loose switches with the notches in the handle. Loose or misaligned switches are a common problem on hairdryers, especially if you've dropped it before. Take the switch panels and make sure they're aligned perfectly within the notches in the handle. They should then stay in place and operate as they're supposed to. Some switch panels are held down with screws. In this case, try tightening any screws around the panel to keep it in position. Otherwise, you might have to unscrew the whole panel to realign it.

Clean hair and dust off the fan unit. If the fan gets dirty, then it won't spin as well. Check the hairdryer fan for any hair or dust. Wipe it down with a paper towel to catch any dust and remove hairs with tweezers. This should improve the fan performance. While you're inspecting the fan, check if it's touching the hairdryer housing at any point. This will slow the fan down. Try to press it away from the housing so it spins properly.
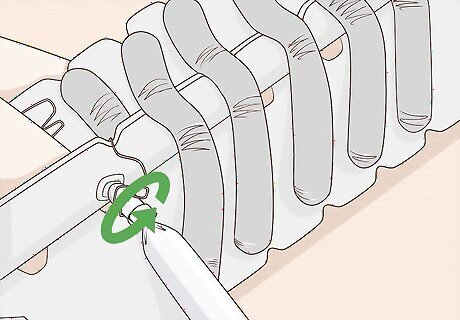
Reattach wires that came loose on the heating coil. The heating unit looks like a series of springs wrapped around a piece of plastic. Check the front and back of the unit and see if these metal springs are detached anywhere. Wrap them back around the screws that they attach to so they remain in place. You also might have to tighten the screws if the heating coils came loose.

Tighten the screws holding the wires in the handle down. The wires that come out of the power cord attach to screws in the handle. If these screws are loose, the connection will be incomplete. Take a Phillips head screwdriver and tighten up all the screws to make sure the connections aren't interrupted. On some hairdryers, you might have to solder the wires back down. This is a more involved job, but still pretty simple with some practice.


Comments
0 comment