
Inspecting and Cleaning Your Roof
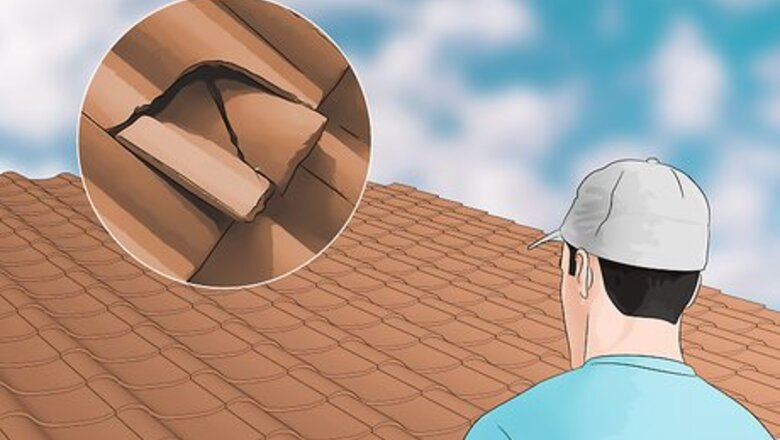
Check your roofing material for any cracks or damage. Lean an extension ladder against your home so you can easily climb up your roof. Look for any shingles or tiles that have large cracks or that are lifting up from your roof. Make note of all of the damage on your roof so you know what you need to replace. Hire a roofing inspector to look at your home if you're not comfortable climbing onto your roof. If you have a steep roof, be sure to use a roof safety harness so you don't slip and fall.Tip: If you're walking on clay or concrete roof tiles, be sure to only stand along the top ride or where the tiles overlap so you don't accidentally crack them.
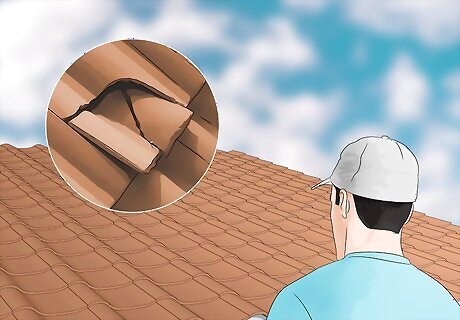
Replace any damaged parts on your roof before painting. Start on the lowest tiles on your roof and work your way toward the peak. Remove the shingles or tiles that are damaged and put in a replacement. Keep working on all of the spots that damaged until your roof is completely finished. Work during a sunny day so you don't have to worry about inclement weather while you're on your roof. Contact a roofer to fix your roof for you if you don't want to do the work yourself. Use caution if you have asbestos shingles since they are carcinogenic. Hire a licensed contractor to help replace or remove the shingles.

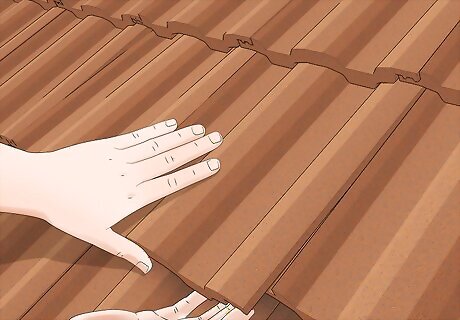
Clean debris and moss from metal or tile roofs using a power washer. Use a power washer with a 25-degree angle wand tip and a long enough hose so you can leave the machine on the ground. Start from the peak of the roof and work down do you don't lift up any shingles or tiles. Hold the tip of the washer 1–2 ft (30–61 cm) from your roof while you spray any moss or lichen growing on the roofing material. Many hardware stores let you rent power washers if you don't have one of your own. Have a helper come up on the roof with you to help guide the hose so it doesn't get caught.
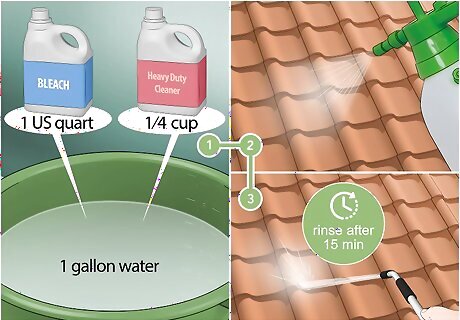
Make a cleaning solution to kill moss off of asphalt shingles. Mix together 1 US quart (0.95 L) of bleach, 1 gallon (3.8 L) of water, and ⁄4 cup (59 ml) or heavy duty cleaner. Pour the solution in a garden sprayer apply it to your shingles evenly. Rinse the cleaner off after 15 minutes with your hose.

Let your roof dry completely before you start painting. If you worked on a sunny day, your roof should dry within 1 hour. Otherwise, wait for 1 day so all of the moisture is gone from your roof. Once the roof is dry, you can start painting. Metal roofs may dry faster since water will run off of them. Don't start painting while your roof is wet or else moisture may get caught in between the shingles and paint, which could cause mold to form.
Choosing the Right Paint and Equipment
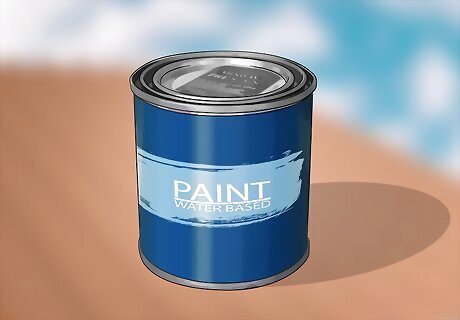
Buy water-based acrylic paint for your roof. Go to your local paint supply or hardware store to see what options they have for roof paint. Pick a water-based acrylic paint for the best coverage and protection for your roof. Use the surface area of your roof to determine how much paint you need for your roof. Try white paint for your roof to reflect light and keep your home cooler during warm months.Warning: Avoid using latex-based paint since it could trap moisture on your roofing material and cause mold or rot to form.
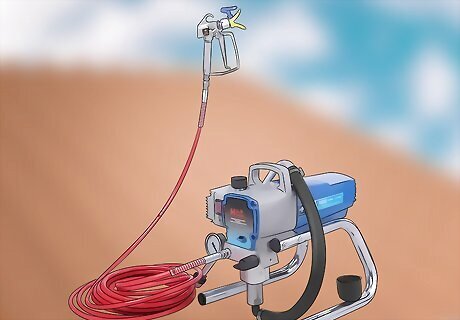
Rent an airless paint sprayer to get the job done quickly. Airless paint sprayers are machines that paint an even application through a spray wand. Look at your local hardware store to see if they offer rentals for paint sprays so you can get your roof done with 2-3 days. Once you have the sprayer, load your paint into the tank. If you don't have access to a paint spraying machine, you can use paintbrushes and rollers, but it will take about 5-6 days to finish.
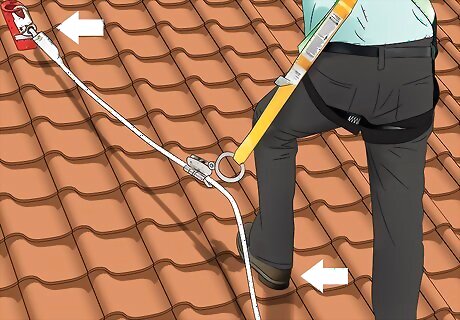
Wear non-slip shoes and a safety harness to prevent falls. Look for shoes or boots that have non-slip soles so you can easily walk on your roof without falling. If you have a steep roof, install a safety harness bracket on the peak of your roof. Secure the harness around your shoulders and legs, and tie a rope to the harness and bracket. This way, you won't fall off your roof while working. You can get a roofing safety harness online. Be sure to keep the harness taut so it doesn't touch your paint while it's wet.
Applying the Paint
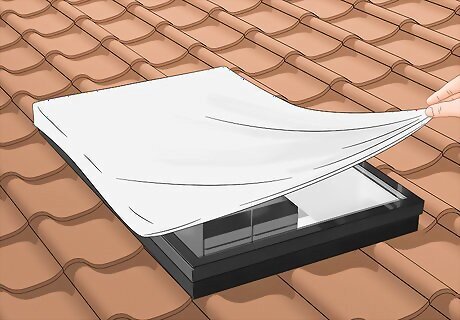
Cover any vents or skylights that you don't want to get paint on. Use plastic sheets to wrap and cover your vents and skylights while you work. Seal the edges of the plastic with painter's tape so none of your paint can get through. Make sure the painter's tape isn't stuck to any of your roofing material or else it may not stick as well. You can get plastic covers from a paint supply shop or hardware store.
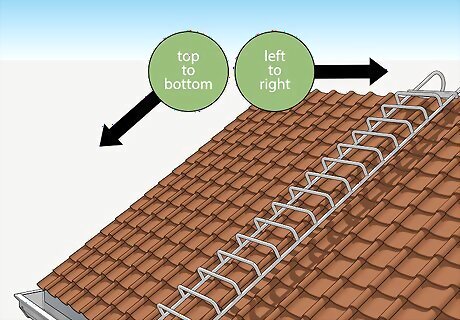
Work from the top to the bottom of your roof. Place your ladder in the middle of your roof along the bottom edge. Start painting at the peak of your roof on the left side and work across the top to the right side. Keep working down your roof toward your ladder. Once you get to the bottom, stand on your ladder to paint the final section.
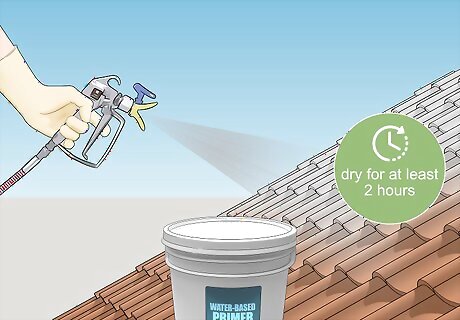
Apply a coat of primer and let it dry before painting them for a better color. Fill your airless sprayer with a water-based primer so you can easily apply it to your roof. Coat your roof evenly so there's a thin coat of primer covering all of the roofing material. Once the primer is applied, let it dry for at least 2 hours before you start applying paint. Primer works best to help get bold colors on shingles and tiles.
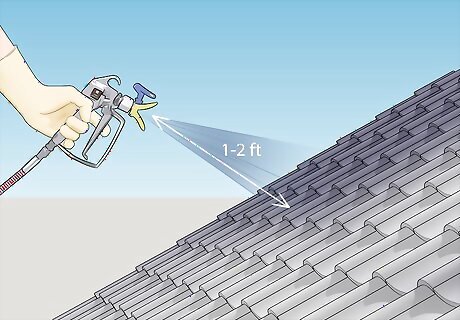
Spray the paint onto your roof. Hold the nozzle of the sprayer 1–2 ft (30–61 cm) away from your roof and pull the trigger. Move your sprayer from the peak of your roof to a spot 3–4 ft (0.91–1.22 m) down. Let go of the trigger at the end of your stroke. Avoid working on a windy day since the paint will blow away while you're trying to apply it.
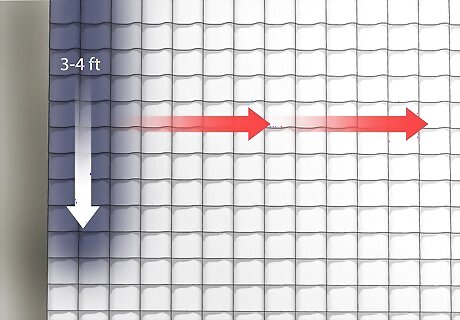
Paint across your roof strips that are 3–4 ft (0.91–1.22 m) thick. Step back from the first strip you painted and continue working toward the opposite side of your roof. Make sure you overlap the area you painted slightly so you get even coverage. Once you reach the opposite side of your roof, go back to the side you started on to make a new 3–4 in (7.6–10.2 cm) strip. Continue working down your roof until it's entirely coated. Have a helper come on the roof with you to help guide the hose leading back down to the sprayer. You may need to move the airless sprayer's tank while you're painting if your hose doesn't reach far enough.
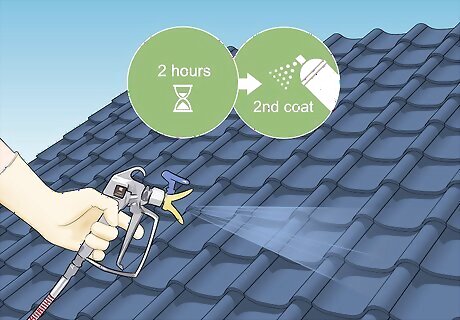
Wait at least 2 hours before your second coat. Once you have the first coat on your roof, allow it to dry for at least 2 hours so it has time to set and so it's safe to walk on. Go back to where you first started painting and apply a second coat in the same way. Keep working across your roof until it's completely painted. You can apply a third coat after another 2 hours if you want a more vibrant color.

Paint any edges or tight areas with a brush or roller. Once the second coat of paint is dry, get back on your roof and look for any areas you missed. Work paint onto any edges or tight corners with the tip of a paintbrush or roller so the color looks uniform. Wait for the first layer of paint to dry before applying another coat.


Comments
0 comment