views
Pinning the Bib
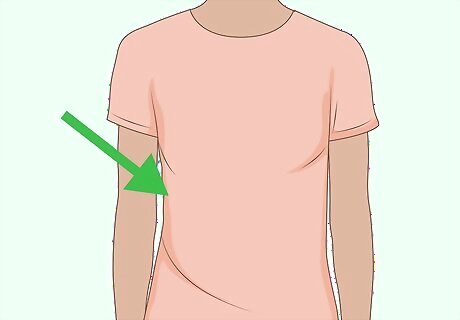
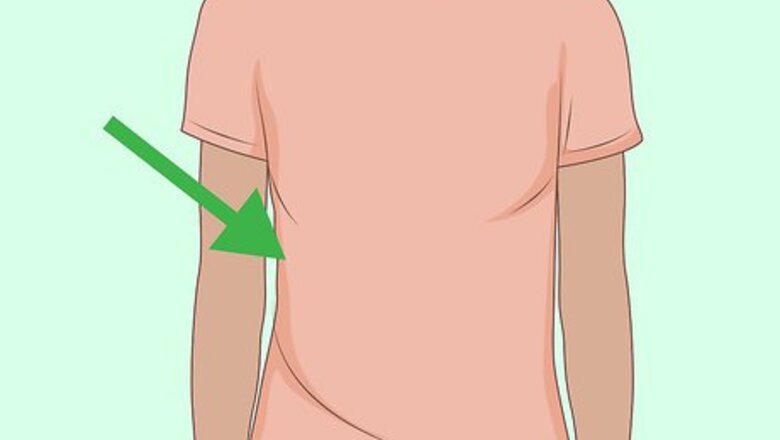
Pin the bib after putting on your shirt. For the optimal fit, wait until you put on the shirt to pin the bib. The fabric rests differently on your body than it does against a flat surface. When you’re wearing the shirt, you’ll be able to make sure the bib feels comfortable against you. Make sure you're careful when using safety pins. Always pull the shirt away from your body before piercing the fabric with a safety pin!
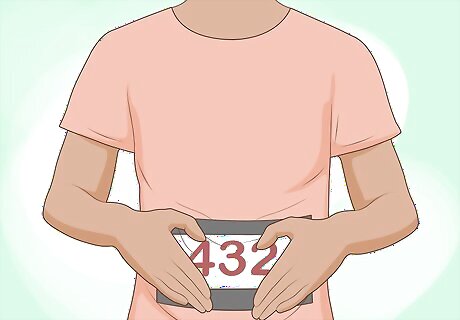
Crumple the bib if it doesn't have a chip and race rules allow it. A crumpled bib will conform to your body better than a flat one, thus decreasing air resistance. However, if there's a chip on the bib or it's against race rules, avoid crumpling it. Crumpling a bib can damage the chip and interfere with the recording of your time.
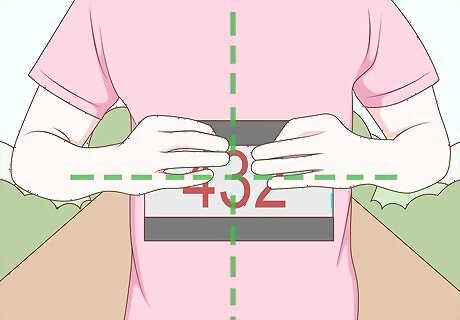
Center the bib on the front of your shirt. Generally, the bib should go right below your chest. Set it in the middle of your body and straighten it out as you pin it in place. Do your best to flatten it against you. This ensures the bib is visible to onlookers and doesn’t get in the way of your arms and legs.
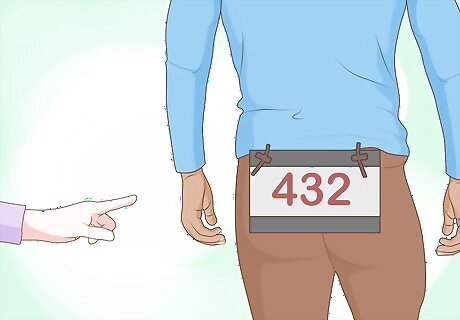
Move the bib when race organizers direct you to do so. Some race organizers have different requirements for bib placement. For instance, some cyclists have one or more bibs attached to the back of their jerseys. You can ask the race organizers for advice on bib placement.
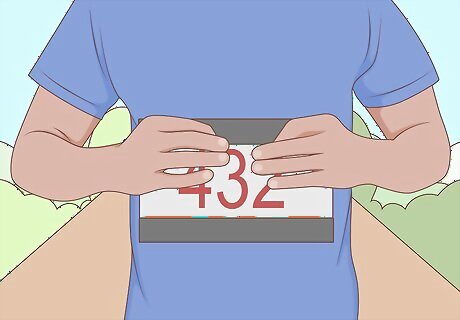
Center the bib on your body. Again, unless otherwise directed by race officials, put the bib square in the middle of your body. Do your best to even it out. This ensures the bib is visible to onlookers while also keeping it out of your way. It’s more secure and less distracting when it’s away from your arms and legs. Even if the bib is on your thigh, it should be centered on the front of your pants and visible.
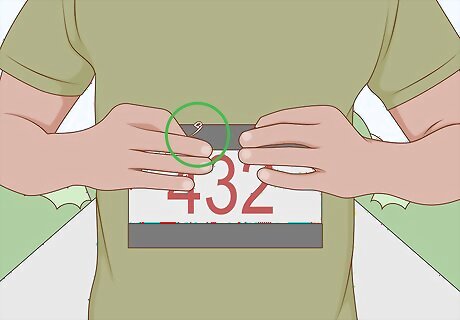
Secure one corner of the bib with a safety pin. Start at one corner of the bib. Open up the safety pin and push the point through the bib fabric. Next, pass the point through your shirt and back out again. Finish by pushing the point back through the bib and securing it to the safety head. Some bibs have holes in the corners. Push the pin through these if they are available.
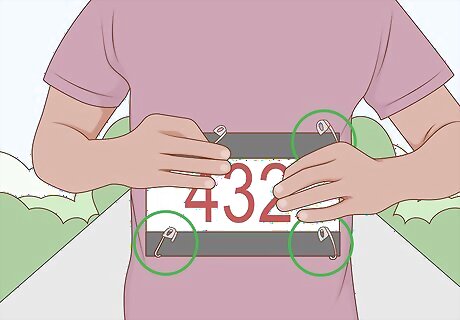
Pin down the remaining corners. You’ll need at least four pins total in order to secure the pin, otherwise it’ll flap as you run. Repeat the pinning process for each corner. Your bib should feel flat and secure against your body. When you move, it should stay still. Add more pins or redo your pinning as needed.
Using Alternative Securing Gear
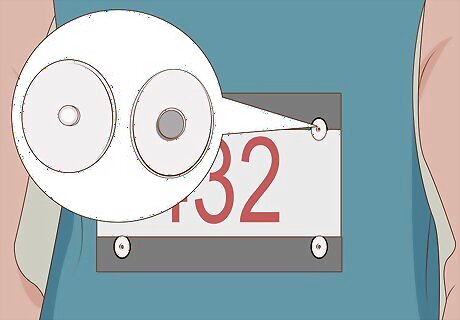
Get race clips to replace safety pins. Safety pins put holes in your clothing. To avoid this, some racers began using clips. Some clips have plastic backs that secure the bib corner and your shirt together. Others have magnets that hold the bibs in place. They’re more expensive than safety pins, but they may be more comfortable for you. Look online to order these or check a running shop near you.
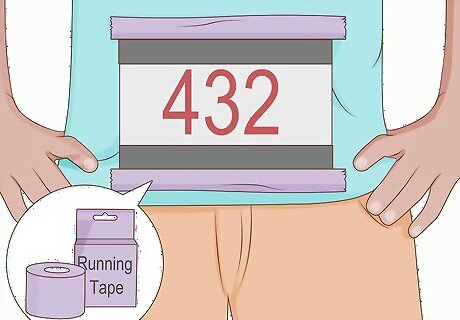
Use running tape to avoid poking holes in your shirt. Another safety pin replacement is double-sided tape. It can be ordered online and is easy to apply. Place a strip of tape on the top and bottom of your bib. Pull off the tape backing and stick the tape to your clothing. You’ll be able to wear a shirt you like without poking holes in it. Ordinary tape won’t secure your bib enough. However, you can place electrical tape over pins for extra security.
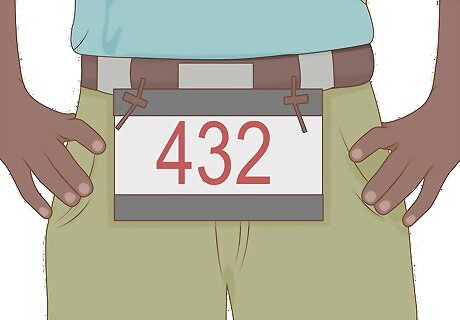
Fasten bibs to a race belt with toggles. Race toggles can also be ordered online. You’ll need to wear a race belt on your waist and hang the bib from it. Attach the toggle to your pack, then slip the toggle cord into the bib hole. Wrap cord back up to the pack to fasten it inside the toggle. Repeat this by securing the other side with a toggle. The bib hangs from toggles in the top two holes. It’ll be secure, but the bottom part staying loose can be a distraction. Electrical tape or pins can be used to hold it down. Using toggles may require you to attach the bib to your thigh or a location other than your abdomen. Consult the rules or race officials to make sure this is legal!


Comments
0 comment