
- You can change an object’s origin to rotate it about a new point.
- Rotate an object’s origin by changing the transformation settings to “Origin.”
- Rotate every object around the main origin by snapping the 3D cursor to the origin.
Change an Object’s Origin

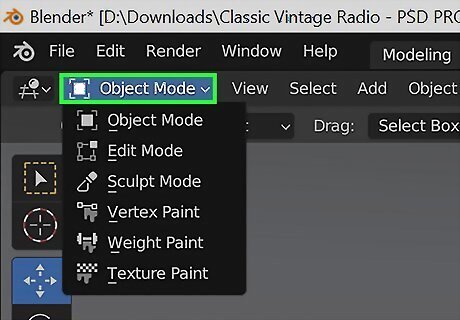
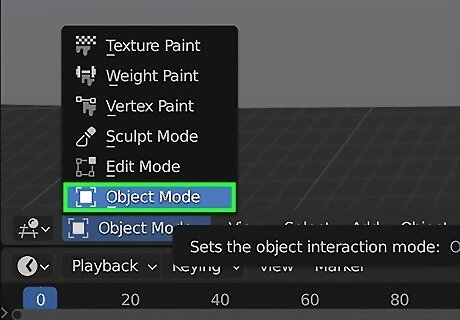
Click the mode drop down menu in the top left of the workspace. This is in the options bar directly below the main tabs. If you just created a shape or imported a model into Blender, you might need to change its origin to get the angle you need!

Select Object Mode. This will allow you to select objects in the workspace.

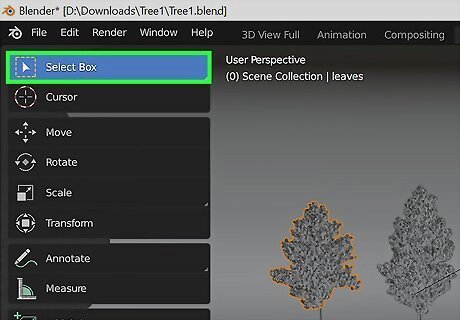
Click the Select Box tool. It’s the cursor in a box in the left tool selection menu.
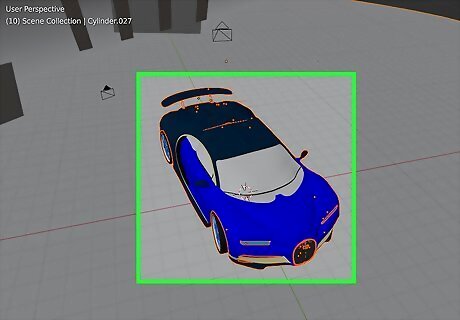
Click the object you want to edit. This will highlight the object orange.

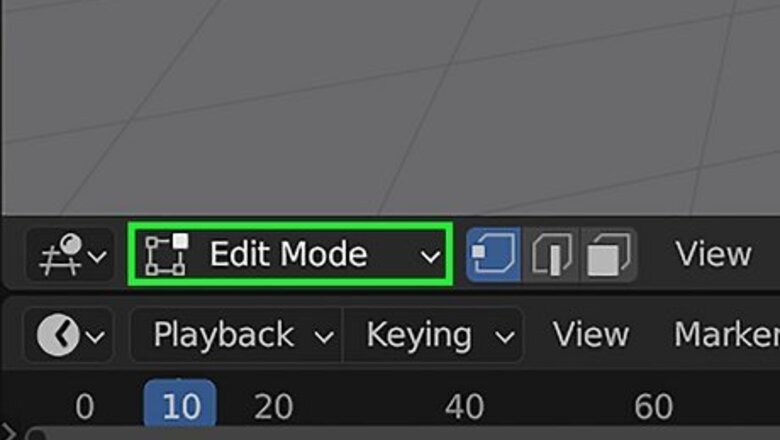
Switch to Edit Mode. This is an option in the mode drop down menu in the top left of the workspace. Your selected object should still be highlighted orange.

Click Edge then Subdivide. The Edge button is in the options bar below the main tabs. Subdivide is an option in the Edge drop down menu. The selected object will be divided into even segments. Did you know you can turn 2D images into 3D using Blender?

Snap the cursor to a point on the object. This is where you’ll move the origin of the object to. To do so: Click a point on the subdivided object. Right-click the object. Select Snap Vertices > Cursor to Selected in the right-click menu.

Change the object’s origin. To do so: Switch back to Object Mode. Right-click the object. Select Set Origin > Origin to 3D Cursor in the right-click menu. You’re done! You’ve successfully moved the origin to a new location on the object.
Rotate an Object’s Origin

Click the mode drop down menu in the top left of the workspace. This is in the options bar directly below the main tabs.
Select Object Mode. This will allow you to select objects in the workspace.
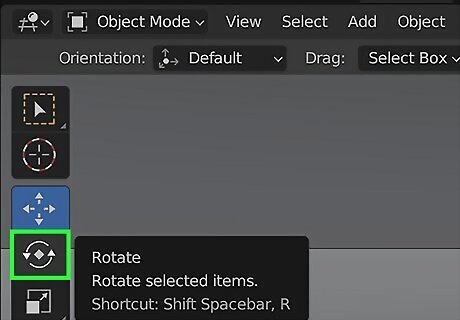
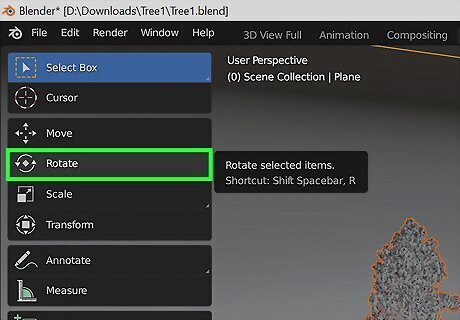
Click the Rotate tool. This is the button with two arrows forming a circle in the tool menu to the left of the screen.
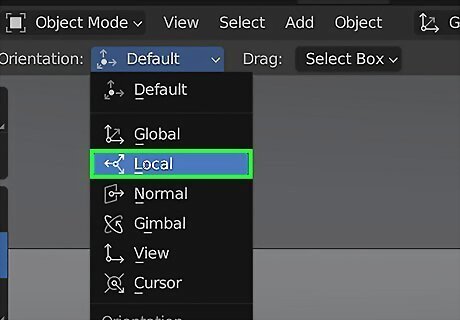
Switch to Local mode. This option is in the “Transformation orientation” drop down menu at the top of the screen. It’s set to Global by default.
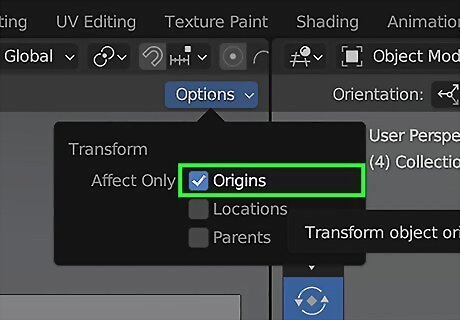
Click the Options drop down menu and check the “Origins” box. This will allow you to transform the origin of an object. If you don’t see the Options button, right-click the options bar below the main tabs and check the Show Tool Settings box.
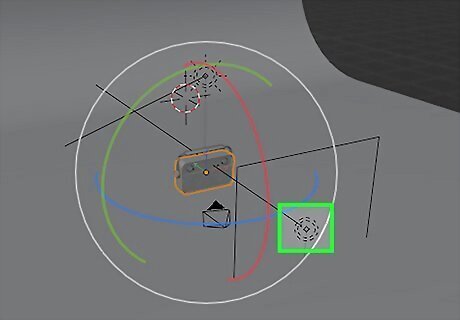
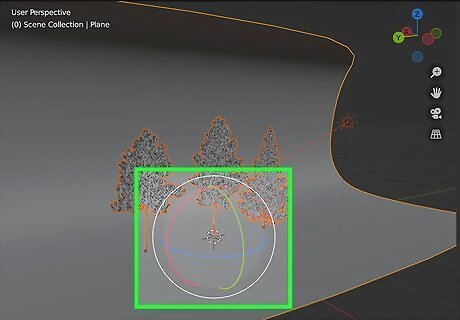
Click the origin of the object you want to edit. This will cause the three axis circles to appear around the origin.
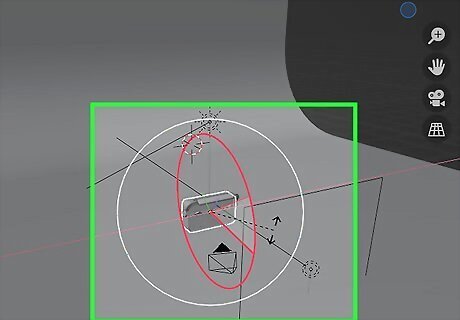
Click and drag the axis circles around the origin. This will rotate the object’s origin. Rotate all three axis circles until the origin is oriented exactly how you need it to be. Next, check out how to choose the best render settings in Blender.
Rotate all Objects around the Origin

Click the mode drop down menu in the top left of the workspace. This is in the options bar directly below the main tabs.
Select Object Mode. This will allow you to move objects in the workspace.

Click the Object button. This is located in the options menu bar under the main tabs.

Select Snap then Cursor to World Origin. This will move the 3D cursor to the global origin.
Click the “Select Box” tool. This is the cursor inside of a box in the tool menu to the left of the screen.

Hold ⇧ Shift and click each object you want to rotate. This will allow you to select every object in the workspace. They should be highlighted orange.
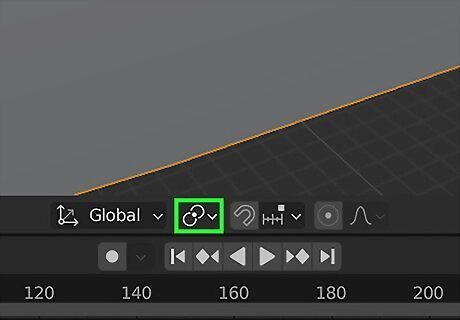
Click the “Transform Pivot Point” button. This is the icon with two partial circles around a solid dot at the top of the screen.
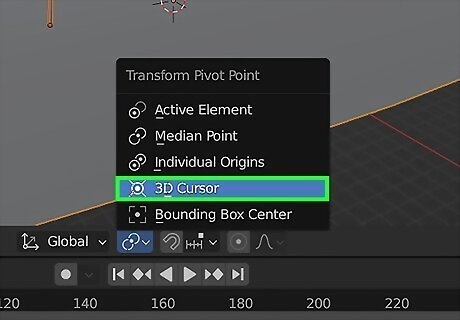
Select 3D Cursor. This is an option in the “Transform Pivot Point” drop down menu. This will allow you to rotate the objects around the origin.
Click the Rotate tool. This is the button with two arrows forming a circle in the tool menu to the left of the screen.
Click and drag the axis circles. This will rotate every selected object about the global origin. You’re done! Now you’re ready to keep adding objects and apply new textures.


Comments
0 comment