
Sectioning Hair for Cutting

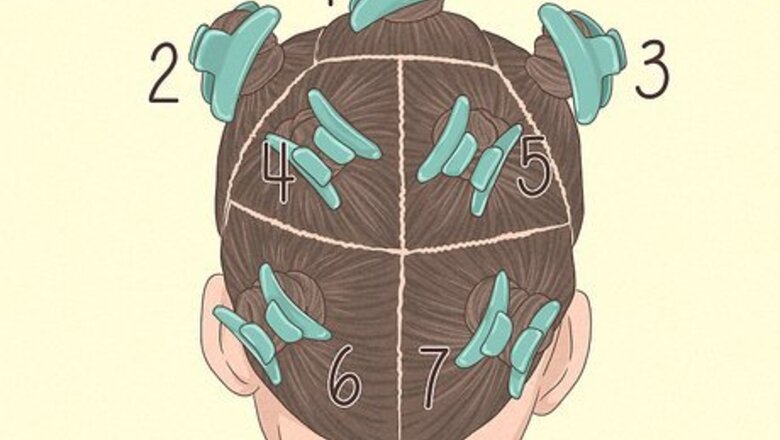
Part hair into 7 sections for better-controlled cutting. The standard parting method taught in cosmetology schools requires diving the scalp into 7 sections: top, right side, left side, right crown, left crown, right nape and left nape. You'll also pull out a .5 inches (1.3 cm) band of hair around the perimeter of the hair line.
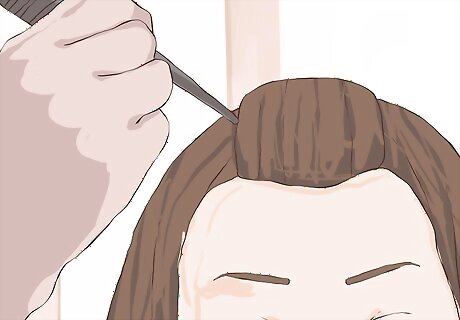
Section the front of your hair. Use a comb or pick to part your hair beginning at the point on top of 1 ear, and part across the top of your head to the same point above the other ear. Comb the section forward to separate it from the rest of your hair.
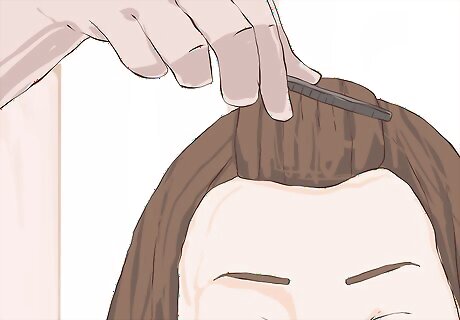
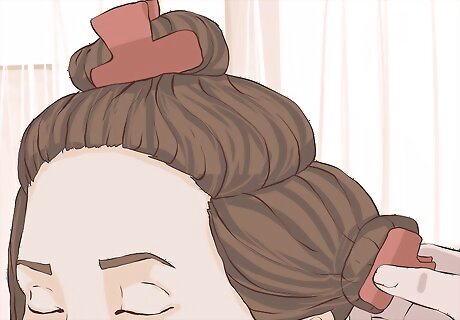
Isolate a section of hair at the top of the head. Separate the top third of the hair you just combed forward. Fasten the section by twisting it up into a knot and securing it with a medium-sized butterfly clip.
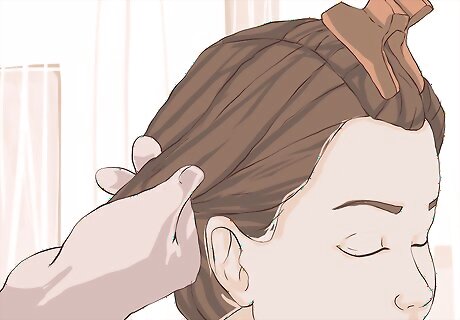
Create the right side and left side sections. Clip the remaining right and left thirds of the hair you combed forward.
Make a clean part across the back of your head. Start at the point just behind your ear on 1 side and part across to the same point behind the opposite ear. The top layer of hair will be used for your crown sections.
Divide the crown section into the right crown and left crown. Part the crown section straight down the middle of your head. Clip each half separately.
Use the remaining hair across the back of your head for the nape sections. Extend the crown part down the middle of your head to divide the nape into right and left sections. Clip each section separately.
Let out a .5 inches (1.3 cm) strip along your hairline. Using your comb or pick, release the strip of hair from one section at a time, around the perimeter of your head. Be sure to follow the perimeter around the front, the sides and under your hair. Cut the hair. The order you will cut the sections will vary based on the style you are trying to achieve. Some require you to cut from the back up, while others may dictate you cut from the front to the back.
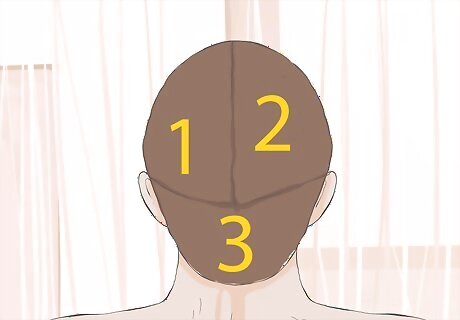
Sectioning Hair for Rolling
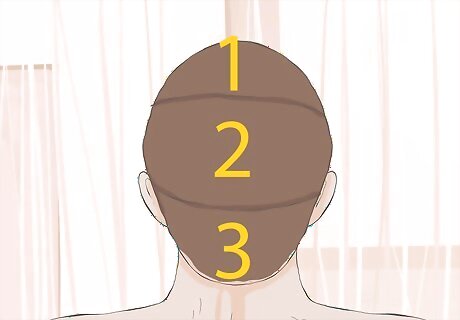
Divide your scalp into thirds to style it with rollers. Not only will the sections make rolling your hair easier, but they will help ensure your curls, waves and lift all fall in the best-possible directions.
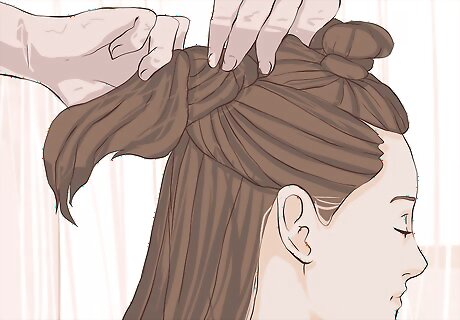
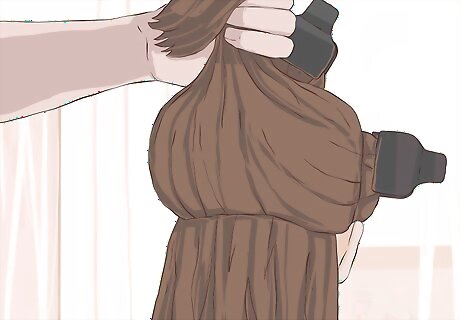
Separate the center section of your hair. Using a comb or pick, create a 2 inches (5.1 cm) wide strip in the middle of your hair, similar to a mohawk. Include hair from your forehead, down the back of your head to the nape of your neck. Secure the middle section by twisting it and attaching a butterfly clip.
Pull the remaining hair into 2 loose ponytails. You should have 1 ponytail on either side of your head. Secure each side with a ponytail holder or a butterfly clip.
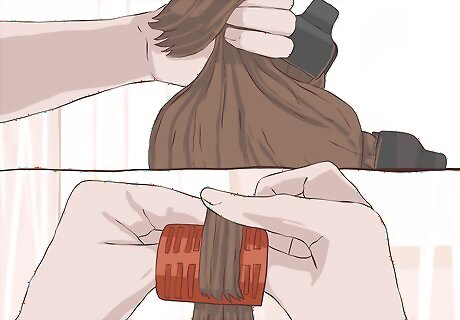
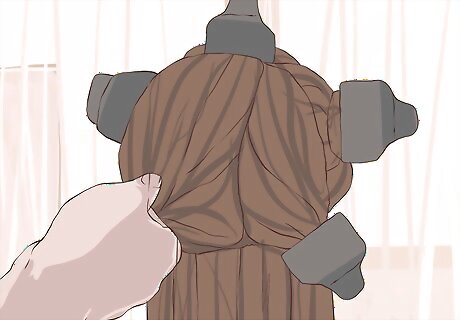
Create sections the size of your rollers, starting from the front. Pull the hair taut away from your head, and place a roller on top of the section. Then just roll the hair away from your face and down to your scalp. Secure the roller. This works best on longer hair. If your sections are larger than the diameter of your rollers, then your curls will look limp. For short hair that's at least 2 inches (5.1 cm) long, you can try using very small rollers. If your hair is too short for rollers, follow the same rolling instructions using a 1-inch barrel curling iron, instead.
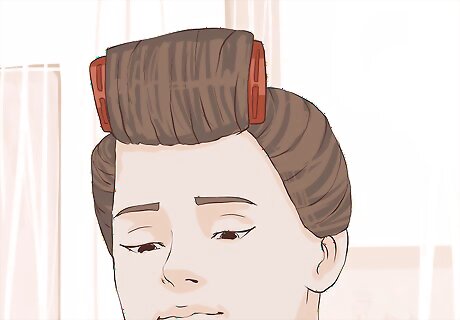
Continue separating pieces of hair, front to back. Roll each section away from your face and down to your scalp until the whole center section is in rollers. The smaller your sections, the tighter your curls will be. Remember, your sections should never be larger than the diameter of your rollers.
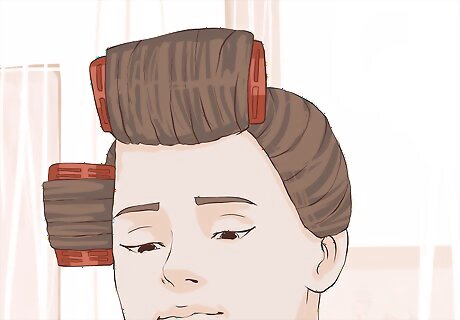
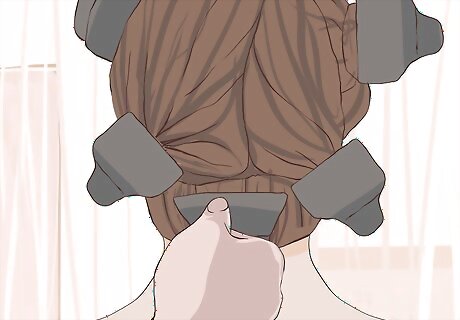
Roll the left side of your head. Remove the fastener from your left ponytail, and separate small sections of hair from your temple. Pull the section up and across your forehead. Hold a roller diagonally on top of the ends, and roll the strip away from your face all the way to your scalp. Secure the roller. Continue rolling the left section of hair, front to back, by separating roller-sized pieces of hair and rolling in the same direction as the first. Secure each roller right next to your scalp.
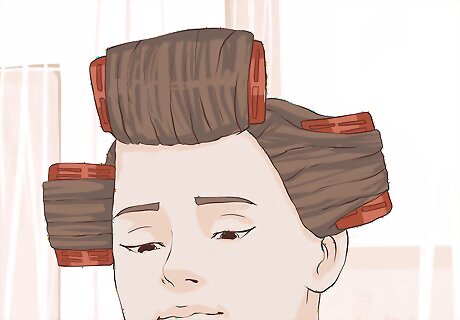
Place rollers in the right section of hair. Separate roller-sized pieces of hair on the right side of your head, from your temple back, and roll them in the same way you rolled your left section.
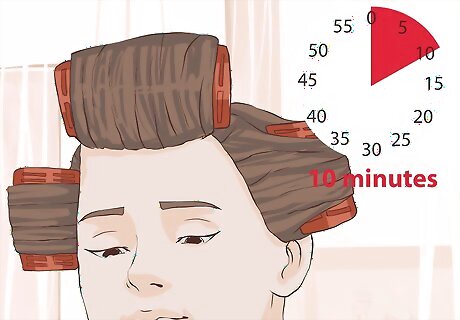
Allow your rollers to cool. Leave the rollers in your hair for at least 20 minutes before removing them. It may take longer for the style to set, so be patient. If you take your rollers out too early, you will have a slight wave rather than curls.
Sectioning Hair for Straightening
Divide your hair into 3 layers for best straightening results. Sections are the easiest way to ensure you don't miss any strands with your flat iron. The thicker the hair, the more layers you'll want to section. Those with very thick hair can divide hair into 4-6 layers. Extra sections are added in the same method described below.

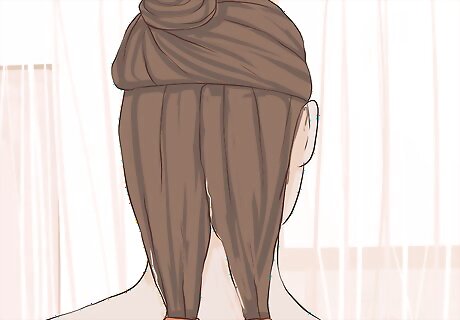
Section the top of your hair. Place your thumbs behind your ears and pull the hair up, gliding your thumbs across the back of your head until they meet in the middle. Twist and clip the section to create the top layer.
Grab the second layer of hair. Scoop up the remaining loose hair above your ears into a single section. Secure the layer with a hair tie or butterfly clip.
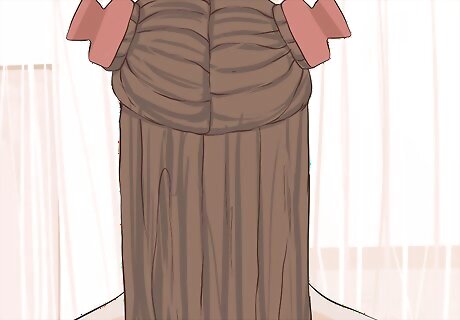
Leave the bottom layer of hair hanging loose. The layer just above the nape of your neck will be first section you straighten.
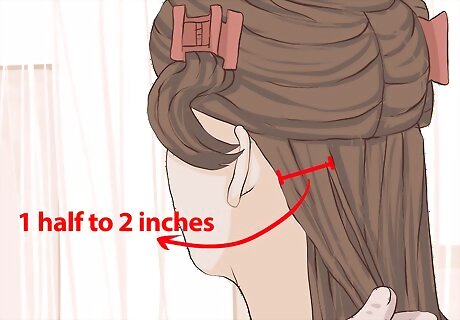
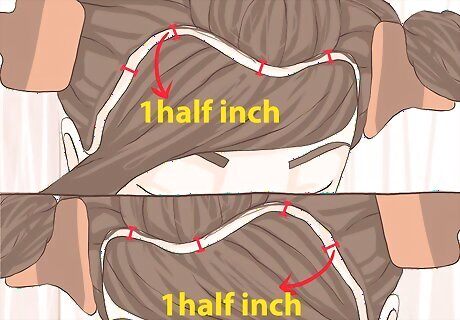
Separate .5 to 2 inches (1.3 to 5.1 cm) sections of each layer. Use smaller sections for thick hair and larger sections for thin hair. Begin with the bottom layer and smooth the straightener from about .5 inches (1.3 cm) away from your scalp steadily down your hair shaft. When the bottom layer is finished, continue separating small sections of hair in the middle layer. Smooth hair with the flat iron from a .5 inches (1.3 cm) away from your scalp down the hair shaft. Lift hair from your scalp when straightening the top layer. After separating small sections of your top layer of hair, place the flat iron as close to your roots as possible. Press the iron firmly closed and draw it down the hair shaft outward from your head. For pin-straight, divide each layer into small sections. Glide the straightener only a few times over each section before moving along. If your prefer smoother hair, divide it into larger sections. Then clamp the flat iron tightly and run it over each part slowly, ensuring the heat penetrates each section but with less direct contact.


Comments
0 comment