views
Necessary Auxiliary Equipment
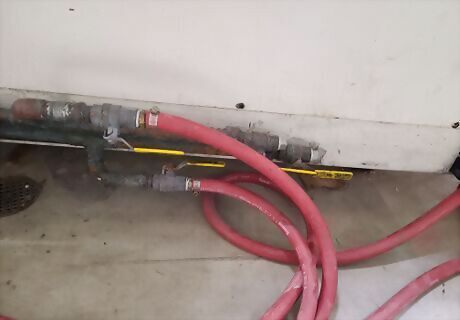
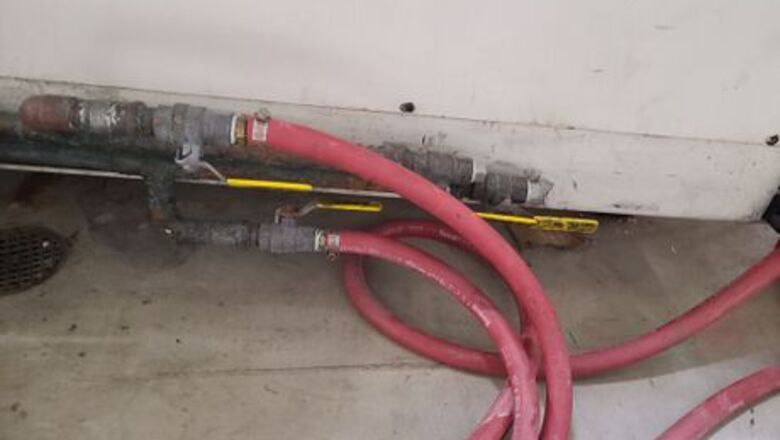
Turn on all water lines connected to the press. Without water flowing through the mold and around the hydraulic system, parts will lack repeatability and quality; even worse, hydraulic components can overheat and damage the machine. Water valves can normally be found on the backside of molding machines, and will be turned on when the valve handle is parallel to the pipe.
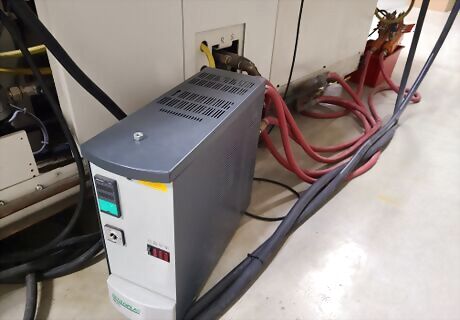
Turn on the Temperature Control Unit. A Temperature Control Unit, sometimes called a Thermolator, is what controls the temperature of supply water going into the mold. Turning the TCU on is as easy as pressing a button and choosing a set temperature for the water; this should be set to around 5°F above ambient temperature.
Turn on the air lines feeding into the injection molding machine. Air lines look very similar to water lines and are turned on with the same style of valve. In order to tell if the hose is for water or air, check the thickness of the hoses and feel them with your hand; if the line is thicker and feels like it is pulsing, it is a water line. Compressed air lines are thinner and will only attach to one or two parts of the press, as opposed to the multitude of water lines that presses use.
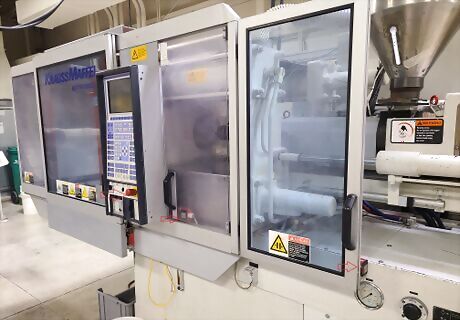
Check all emergency stops, doors, and hatches. Injection molding presses are very safe pieces of equipment; there are many emergency stops, limit switches, and sensors to prevent operators from being injured. Doors should be shut all the way and emergency stops should be deactivated. Emergency stops either need to be pulled outward or twisted and released. Once all emergency stops have been reset, doors have been fully closed, and the hatch covering the nozzle has been latched, the press will be ready to power on.
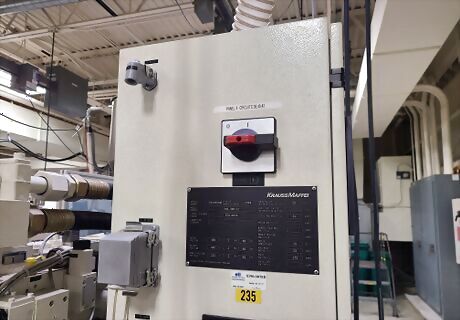
Turn on the main power to the machine. The main circuit breaker has a distinctive appearance; it will be the only power switch on the machine that rotates from its off position to its on position. Look away when turning the switch to the on position, as the switch can blow outwards in rare circumstances.
Wait for the machine to fully boot up. If the press is older, start-up times may be up to five minutes. Look around for any leaks or damage on the press while waiting for the machine to be ready for zeroing.
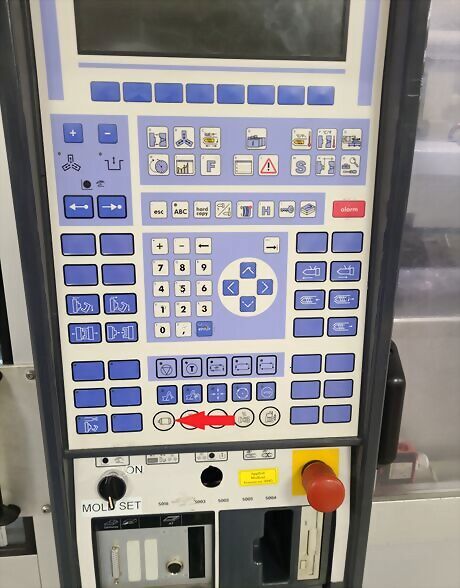
Turn the hydraulic pump on. After the machine has booted up, use the button depicting a pump or motor to turn on the hydraulic pump. If this is not turned on, the parts of the machine will not be able to move.
Adjusting Press Settings
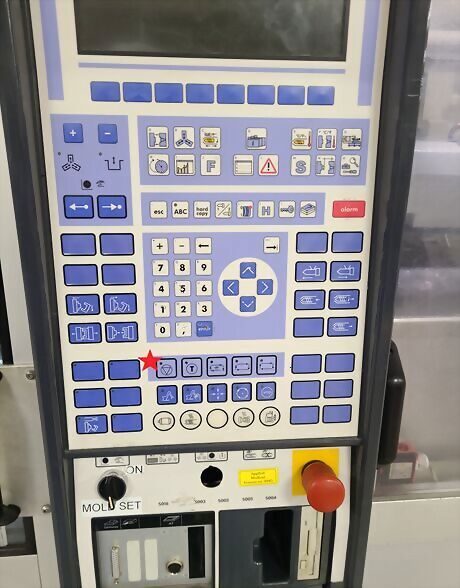
Switch the machine to set-up mode. Injection molding machines normally have four settings for their speeds: set-up (mold set in some cases), manual, semi-automatic, and automatic. These settings are very important to take note of, as they influence how fast the press will operate. Set-up mode is denoted differently by companies, while manual is normally an image of a hand; semi-automatic and automatic are usually denoted as a circular pattern of arrows with and without a break in it, respectively.
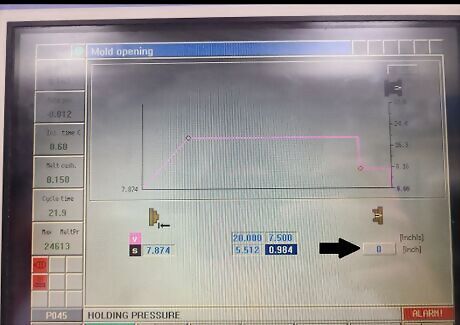
Zero the clamp position. Locate the button that closes the clamp on the press; it should look like two halves moving towards each other. The press is in set-up mode, so it should close slowly and with little pressure. Once the clamp has fully closed, look for a text box with the position of the clamp. Click or press on it, enter zero, and the clamp will now recognize its current position as being closed fully.
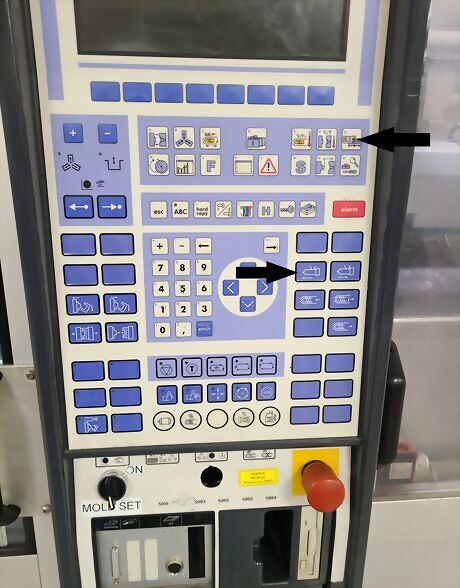
Zero the injection unit.The injection unit moves along a large sled and brings the nozzle of the unit to the stationary platen for injecting plastic. Before moving the unit at all, open the purge guard to check for any obstructions. If there is plastic left at the tip of the nozzle or at its mating surface, clean it thoroughly with brass tools or other soft objects. After cleaning, move the nozzle to its mating surface called the sprue bushing. Find the text box denoting the position of the injection unit (not the screw) and ensure it is reset to zero; this box should depict the entire unit with arrows, not just the screw.
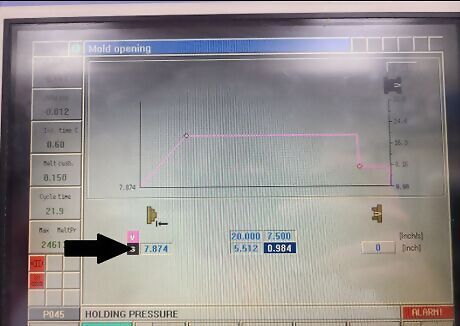
Set the open position of the clamping unit. The clamping unit on a straight hydraulic, two platen, or tiebarless system will have the open position of the clamps set by the user. This is as simple as determining how wide the clamps will have to open to either eject the part or allow for an automated robot to pick the part from the mold. This will be entered into a text box similar to the closed position.
Turn on Mold Safety. Mold safety is a commonplace setting in modern injection molding machines; they allow for the machine to stop the clamp from closing on parts, operators, and from slamming together quickly. Turning this feature on is vital to avoiding personal injury and damages to company property. This will be found in the same area as the clamp positions.
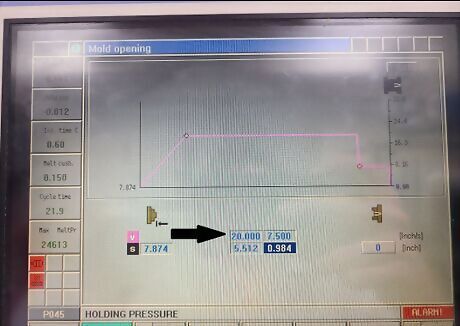
Set velocities for the clamping unit. Mold open and close cycles will vary in their velocities. Open cycles should have three speeds; an initial slow speed, a faster speed once the mold halves are separated, and a final slow speed to avoid the clamping unit slamming at its final open position. Closing cycles, on the other hand, should have two speeds; an initial fast speed to reduce cycle time, followed by a much slower speed to avoid slamming the two mold halves together. Mold safety measures should prevent slamming, but it is better to be safe than sorry in the event that the features malfunction.
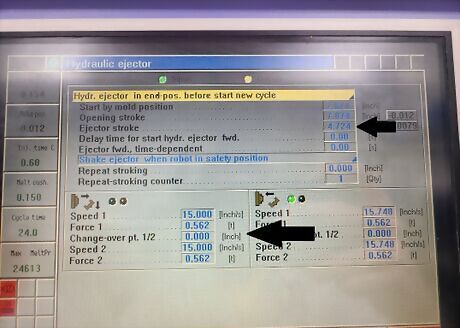
Enable and configure the ejectors. Ejectors are what allow for parts to be removed safely from an injection molding press. These should be set at 50% speed and pressure initially, increasing them incrementally if the parts do not eject at first. These settings will be on their own page on the molding machine's screen.


Comments
0 comment