views
- Unplug your washer and scoop out the standing water. If you have a wet/dry vacuum, you can use this instead. Remove the access panel and check if the drain hose or pump is damaged or clogged.
- To remove a clog, grab and pull the debris with needle nose pliers or use a plumber’s snake. Then, plug in and turn on your washer to see if it drains.
- If your pump is damaged, get a replacement that fits your machine. Find your washer's model on the metal plate inside the drum.
Diagnosing Your Problem
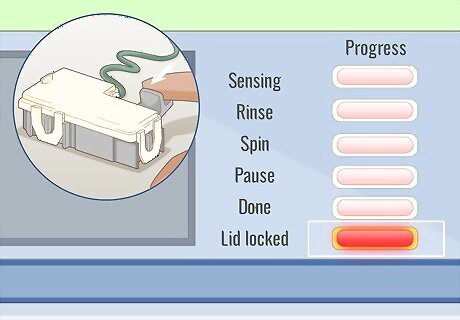
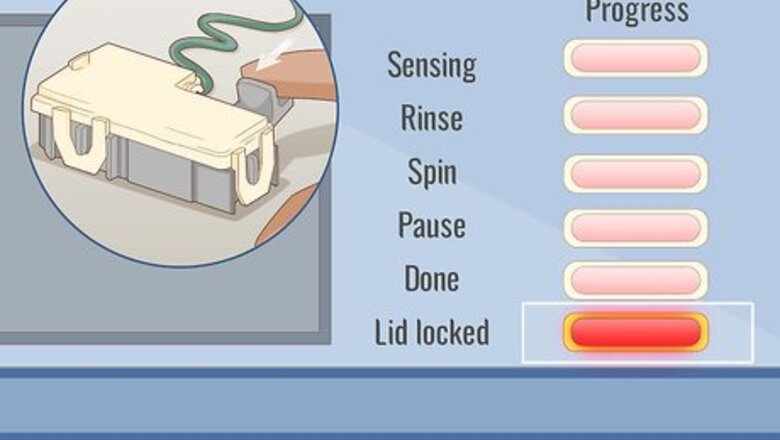
Depress your lid switch with your hand to make sure it works. Your washing machine won’t drain if it thinks the lid is open. To check if the lid sensor is broken, find the piece on your lid that presses down when the lid closes. Then, press this switch down and listen for a click or check for a “lid closed” light on your washing machine, depending on your model. If your switch doesn’t seem to be working, you may have a broken lid switch that needs replacing. You can order a new switch online or buy one from your local appliance store. You could also hire an appliance technician to replace it for you.
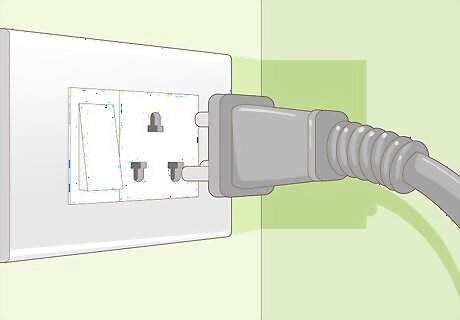
Unplug the washer to prevent electrocution before checking other parts. Shift your washer away from the wall so you can access the power cord. Carefully pull the cord out of the socket so that the washer isn’t connected to a power source. This will limit your risk of getting electrocuted while you work on the machine. Don’t try to handle the water in the machine until it’s unplugged. You probably don’t need to worry, but it’s best to be safe.
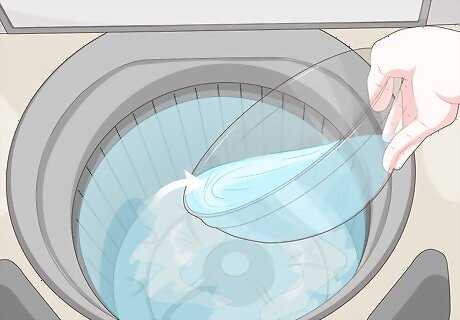
Use a bucket or pot to remove the water from the washer. You need to drain the machine before you can work on it. First, remove any clothing that’s still in the washer drum. Then, use a plastic bucket or large pot to scoop the water out of the machine. Pour the water down the sink or bathtub to dispose of it. This is typically the easiest way to remove water if you’re new to home repairs. Place your clothes in a large container, the sink, or the bathtub. They’ll likely be sopping wet, so they can damage some surfaces, such as your flooring. You could also disconnect the hose and place the end in a bucket to drain the water. Make sure the bucket and hose are lower than the port in the washing machine so it drains.
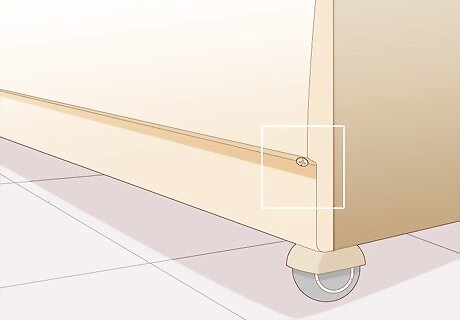
Check if your washing machine’s access panel is in the front or back. Your pump will be at the bottom of your washer on either the front or the back. Typically, you’ll see 2 small screws at the bottom of the front panel of your washer if it’s accessible in the front. If you don’t see these 2 screws, your machine is likely accessible from the back. Typically, top loading washers are more likely to be accessible from the front. Check your owner’s manual to locate the machine’s pump.
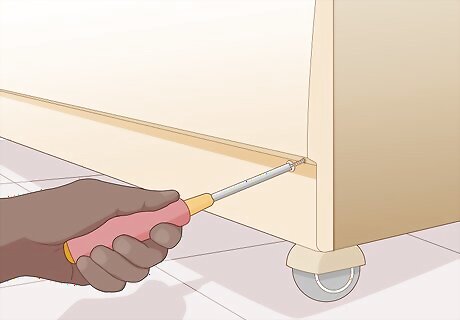
Remove the lower screws on the side you can access. Use your screwdriver to carefully unscrew each of the screws. Place the screws in a safe spot so you can replace them later. As you remove the screws, hold the panel in place so it doesn’t fall off before you’re ready. These screws are typically at the corners of the panel near the bottom of the machine. Some washers have a small black panel or flap that allows you to access the pump without removing the entire panel.
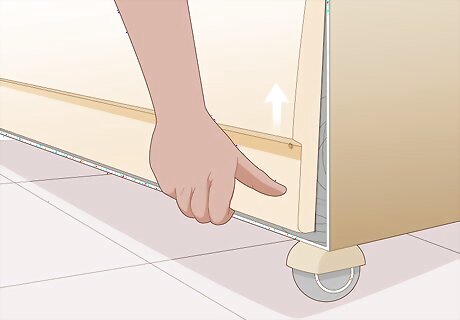
Lift the bottom of the panel to unhook the top and remove it. Grasp the bottom of the panel with both hands, then slowly lift it forward. As you lift, the top portion of the panel should unhook from the top of the machine. When it does, carefully remove the panel and set it aside. The panel will likely feel heavy, so make sure you have a good grip on it.
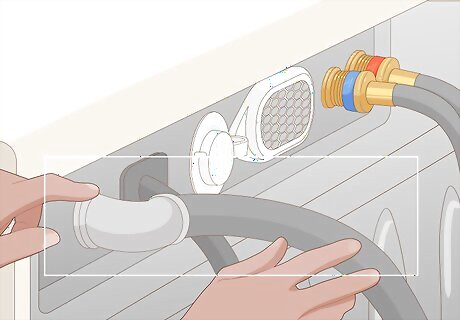
Check the grey drain hose for kinks or damage. You should see 3 hoses attached to the back of your washer. The drain hose will be grey, while the hot water is red and the cold water is blue. Look at the grey hose to see if it looks dented, crushed, or bent, which will make it hard for the washer to drain. If it’s damaged, straighten out the hose or get a replacement from a home improvement store. If you don’t notice any damage, you might have a clog or another damaged part.
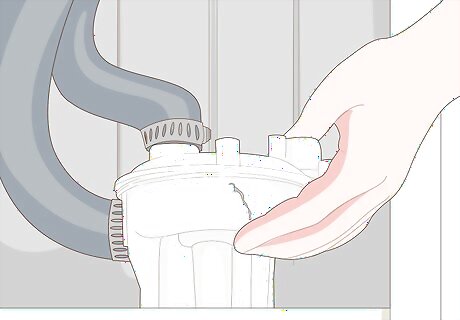
Look at the bottom of the washer for a plastic pump attached to the drain pipe. The pump is always at the base of the machine, typically at the back or front so you can easily access it. The pump will be round and cylindrical with a base, and you’ll see the grey drain pipe coming out of it. Additionally, it’ll have a hose attached to it. Typically, this pump is clear or white. However, your pump may be a different color depending on the model. If you have your owner’s manual, it should have a picture of the pump that you can use as a reference.
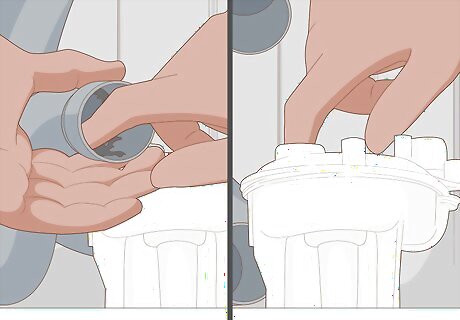
Check the pump and surrounding hose for a clog. Carefully disconnect the hose from the pump to look for a clog. Look inside both the pump and the hose to search for clogs. If you don’t see a clog, insert your fingers to feel for one. The clog will likely be something like a small piece of clothing or a wad of lint. However, it could also be something small like a button or coin. If your pump is clear, you may be able to see the clog through the plastic. Water may leak out of the hose or the pump when you disconnect them. You can attach a clump to the drain hose where it connects to the washer so the water doesn’t leak while you check the hose and pump. Look for hose clamps at your local home improvement store.
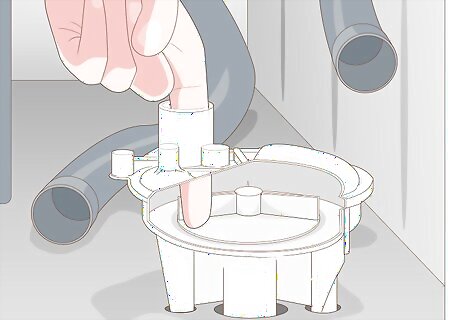
Check your pump for damage if there’s no clog. If you can’t find a clog anywhere, insert your fingers into the pump to see if the spinning mechanism or any other pieces feel broken or damaged. Look over the entire surface of the pump to check for cracks, warps, or broken pieces. If your pump appears damaged, you’ll need to replace it. If you’re not sure what the pump is supposed to look like, this can be tricky. You can use the illustration of the pump in your manual as a reference, but it may be best to call in a professional.
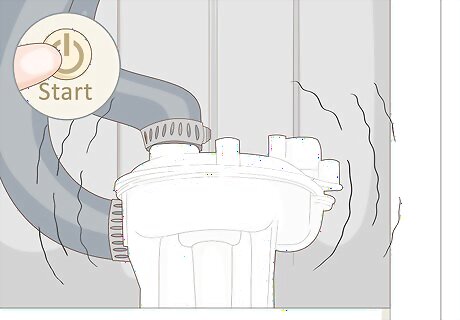
Listen for weird sounds or leaks coming from your pump. Usually, a damaged pump will make a weird sound or leak onto the floor before it breaks. It may continue to do this after it’s damaged, depending on the problem. If you’re worried your pump is damaged, turn on your washer and monitor it for a noise or leaks. If you’ve been hearing a weird sound during your previous washes, it’s safe to assume something could be wrong with the pump. Call a plumber or handyman to find out for sure.
Removing a Clog
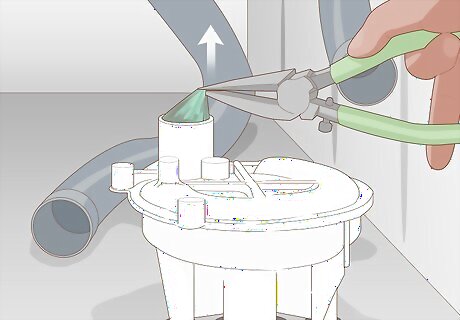
Grasp a visible clog with needle-nose pliers to pull it out. Insert your pliers into the pump or hose. Then, latch the end of the pliers onto the item clogging your drain. Slowly begin to tug the item out of the pump or hose. Go slowly so that you don't break up the clog or damage the pump. It’s possible that a clog inside your pump is wrapped around the spinning mechanism inside the pump. It’s usually easier to remove a clog from the hose. It should slide out easily if you just pull.
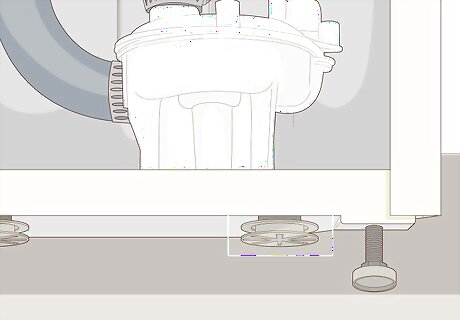
Find the pulley under the pump and twist it to help unwind the clog. Feel below your machine to find a small pulley that’s directly below the pump. This pulley will turn the spinning mechanism inside the pump. As you pull a clog out of the pump, turn the pulley counterclockwise to help unwind the clog. Turning the pulley will help you avoid damaging the pump. If turning your pump counterclockwise isn’t helping, try turning it clockwise instead.
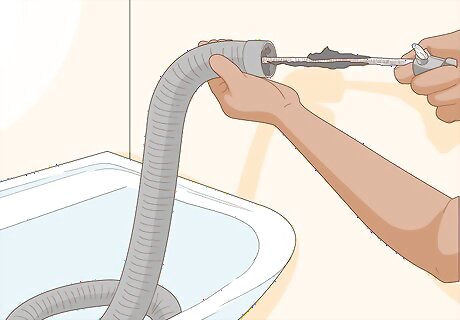
Use a plumber’s snake to remove a clog from a hose. Detach the pipe and hold 1 end while you place the other in a bucket. Insert the end of the plumber’s snake into the hose. Ease it deeper into the pipe until you reach the clog. Then, use your hands to manually turn the snake as you push it through the clog. You should see the clog drop into the bucket. After you remove the clog, water that was stuck in the pipe may pour out into the bucket.
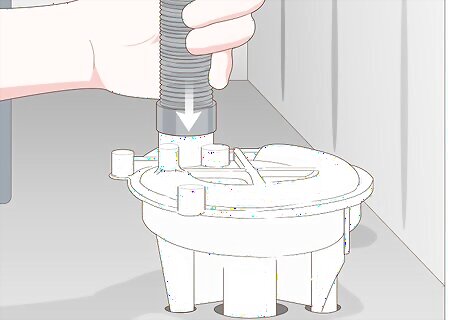
Reconnect your hose to the pump after you’ve removed the clog. Slide the hose back over the opening on your pump, then secure it in place. Check to make sure that it isn’t loose. Otherwise, the hose may leak while the machine is on. Make sure that you haven’t created any kinks in the hose while you were working on it. If there are kinks, it could prevent your washer from draining.
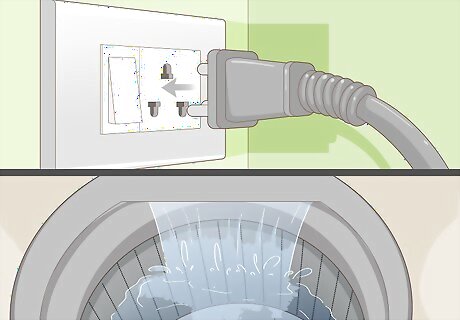
Plug up your machine and see if it works. Test out your machine before you put the panel back on it. First, lower your machine back onto the floor if you lifted it. Next, put the power cord back into the socket. Then, set your washer on the rinse cycle and turn it on. Let the washer run through a rinse and spin cycle to see if it drains. If it’s still not draining, it’s possible there’s a clog you can’t get to or that the pump is damaged. It’s best to get a plumber or handyman to look at it.
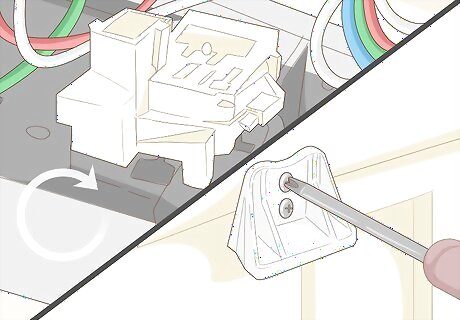
Replace your access panel if your machine is fixed. Unplug the machine again before you replace the panel. Then, grasp the panel near the bottom and slowly lift the top part into place. Hook the top of the panel onto the top part of the washer, then lower the panel into place. Finally, reinsert the screws at the corners.
Replacing a Damaged Pump
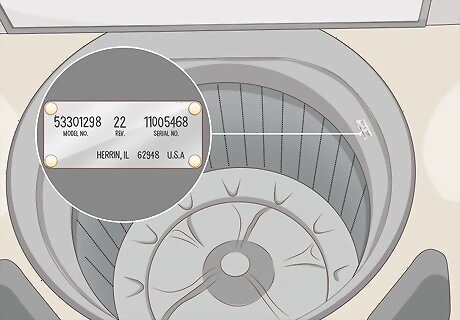
Look for a tiny metal plate on your washer with the model number. You’ll find this small, rectangular metal plate under the lid or on the top, side, or back of your washing machine. Use this model number to select the correct replacement pump for your washing machine. You can buy a replacement pump online or at an appliance store. Replacing a pump correctly can be tricky, so if you’re unsure, you may want to hire a professional.}}
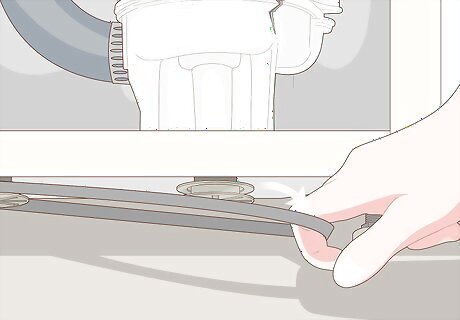
Disconnect the belt underneath the washer from the bottom of the pump. Lift your washing machine so you can see the belt that attaches the pump to the motor. You’ll notice a big black rubber belt that loops around the motor at the center and the bottom of the pump. Gently pull the belt down off of the pump. Leave the pump dangling beneath the washer because you can reuse it with your new pump. If your belt looks damaged, you may want to replace it. You can get a new belt online or at an appliance store. To install it, simply loop the new belt around the motor and the bottom of the pump.
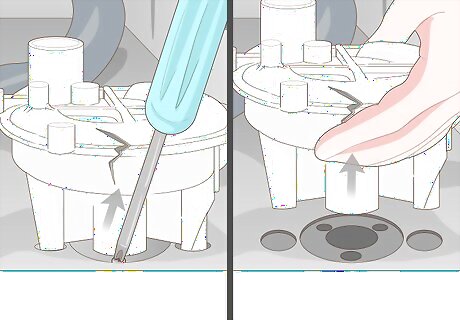
Remove the 3 screws at the base of the pump that hold it in place. The screws should be on top of the pump’s base going down into the bottom of the machine. Use your screwdriver to loosen and remove each of the screws. Then, lift the broken pump out of the washing machine and discard the old parts. You might want to save the screws in case you need them to install the new pump. However, your new pump should come with screws.
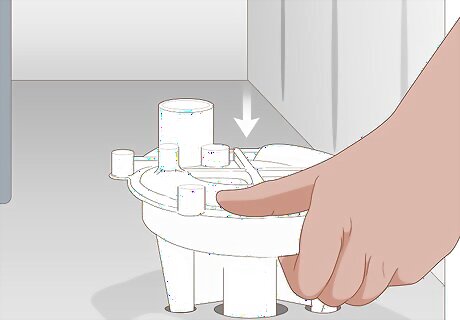
Use screws to attach the pump inside your washing machine. Put the new pump inside your washing machine in the spot where the old pump was. Then, use your screwdriver to insert 3 screws to hold the new pump in place. Tighten the screws until the pump feels securely attached. The new pump should line up exactly with the existing screw holes in your washing machine. If it doesn’t, check that you got the right pump for your washing machine.
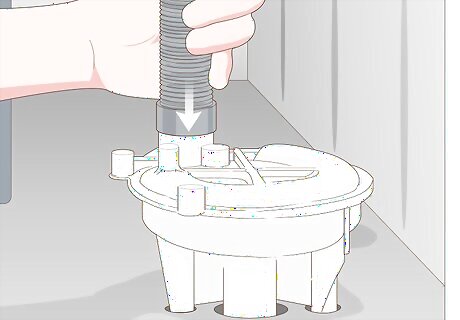
Reattach the drain hose to the new pump. Insert the end of the grey drain hose into the port on the pump. Make sure that it’s attached securely so that it won’t leak while the machine is running. Some pumps attach to an additional pipe. If your machine has a second pipe, attach it to the second port on your pump.
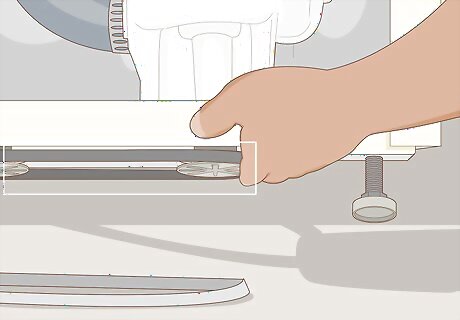
Attach the pump belt to the new pump. The pump belt is under the washing machine and is attached to the motor. Lift your machine to access the belt and wrap it around the new pump. This will make the pump operate so it can drain the water. Test your pump by turning on your washing machine.




Comments
0 comment