
views
Setting up Automatic Updates
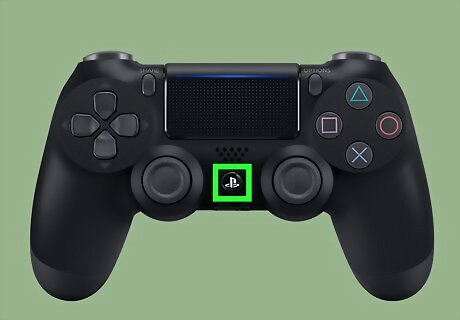
Turn on your PS4 by pressing the central button on your controller. Press the button again if you see an additional screen that prompts you to do so. Select your user profile at the next screen that asks “Who is using this controller?” Then, press the “X” button.

Press up on the controller and scroll over to the “settings” screen. The settings button is orange and white, with a small logo of a toolbox in a white circle. You can find it between the power options and the trophies menu options. Use the D-pad or the left thumb stick to navigate to the settings menu option, then press “X” on your controller to access it.
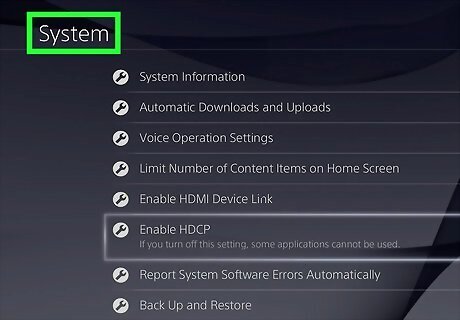
Scroll down through the menu options to “system.” The “system” option is between “accessibility” and “initialisation.” Press “X” on the controller to access it.
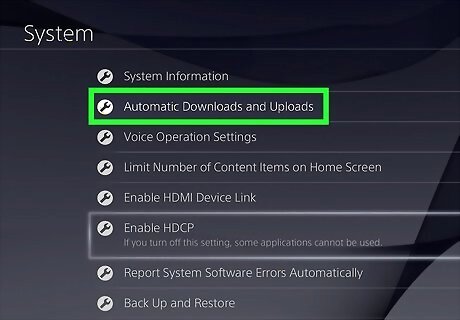
Scroll down to “automatic downloads and uploads.” This menu option is second from the top, between “system information” and “voice operation settings.” Press “X” on the controller to access it.
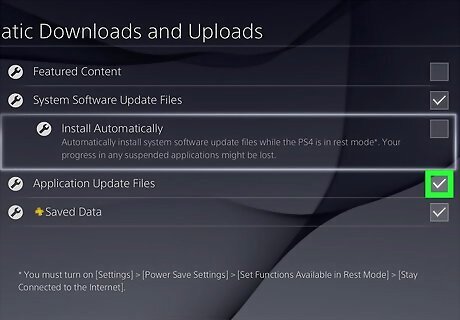
Place a check mark next to “application update files.” By pressing the “X” button on your controller after scrolling down to “application update files,” you’ll activate automatic downloads on games and apps. The “application update files” option is between the “saved data” and “install automatically” options.
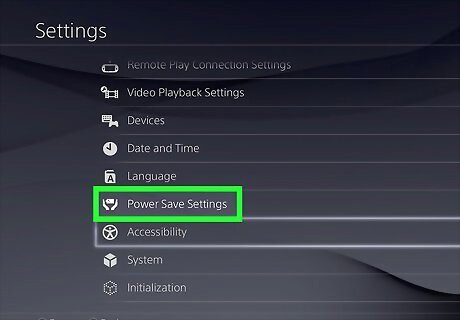
Navigate to the “power settings” menu. Press the circle twice on the controller to backtrack to the “settings” menu screen, then scroll down to the “power settings” option. This menu option has a small white logo next to it in the shape of 2 hands lifting a battery. Press “X” on the controller to access the menu once you’ve scrolled to it.
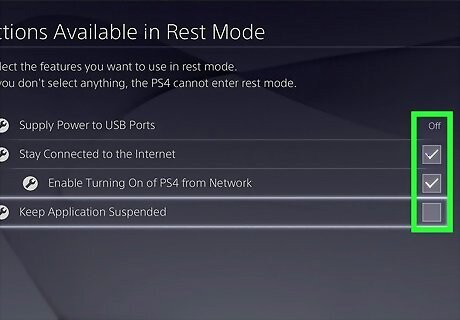
Set the functions you want available in rest mode. Select the second menu option, “set functions available in rest mode.” This allows games to update even when the PS4 is in rest mode. If you are a remote play user, you should also select “enable turning on of PS4 from network.”
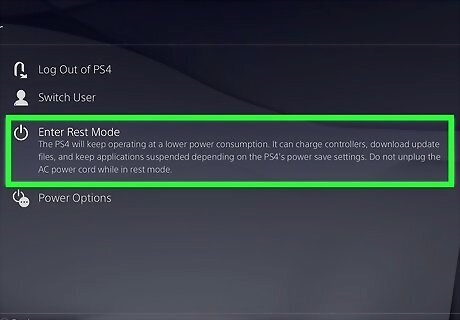
Put the PS4 into rest mode before you turn off the power. Hold down the central button on the controller, then use the D-pad or left thumbstick to scroll down to the “power” option. Scroll over, then select “put PS4 in standby mode.”
Updating Games Manually
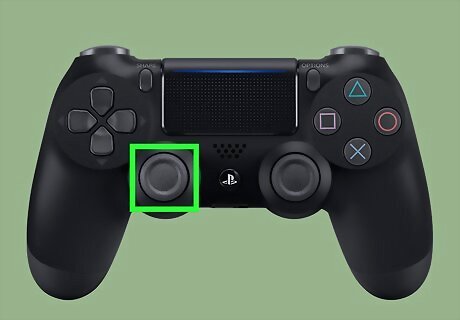
Select the application you want to update in the main menu. After turning on the PS4 and accessing your account, use the D-pad or left thumbstick to navigate to the game you’re interested in updating.
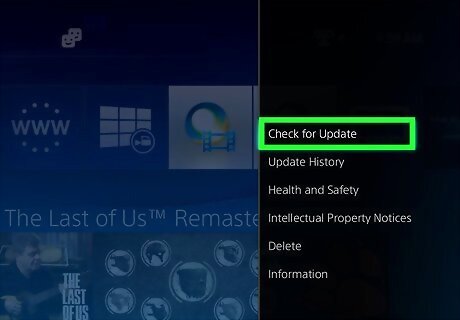
Check for updates through the options menu. With the game you want to update still selected, press the options button on your controller. Scroll down to the “check for update” option in the menu that pops up.
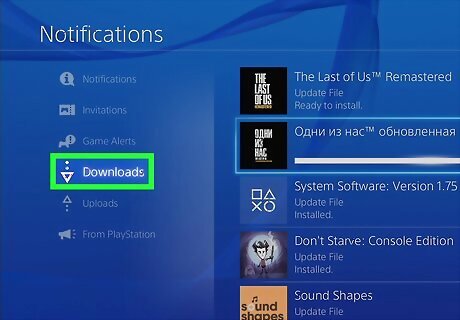
Go to downloads if the game is ready for an update. If there is an update available, you’ll get a notification that reads, “An update file for this application is available.” You’ll then be prompted to go to the downloads screen. Press “X” on the controller to access the screen. If the game doesn’t need an update, the PS4 will let you know.
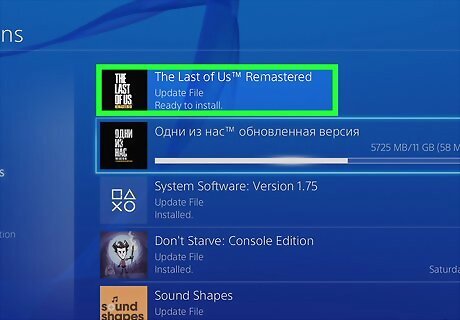
Select the game and begin the download. At the downloads screen, you’ll see a full list of all updates available for your apps and games. Select the game you want to update by pressing “X” on the controller, then confirm your decision to update the game. Updates take time. The amount of time they take to install depends upon the size of the update file. You can play games while the update installs.



Comments
0 comment