
Setting up an Instant Pot
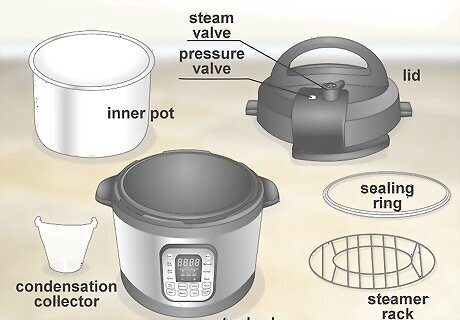
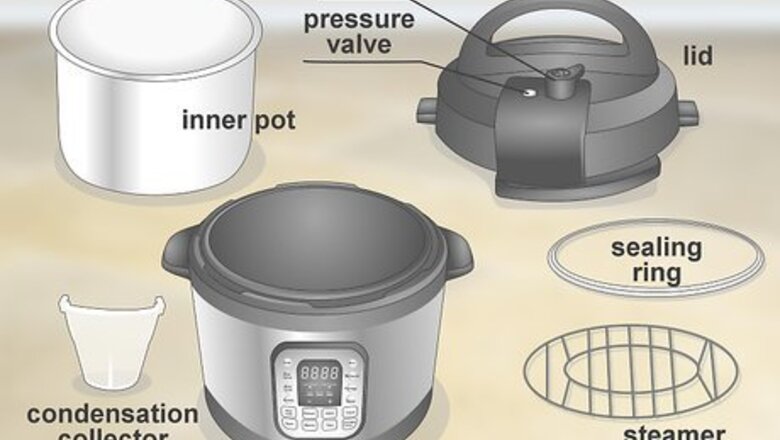
Unpack and identify all of the parts. Remove all items from the box and spread them out on a flat surface in front of you. Try to identify which parts serve which functions. The box should contain a(n): Outer body Lid Pressure valve Steam valve Condensation collector Inner pot Sealing ring Steamer rack or basket
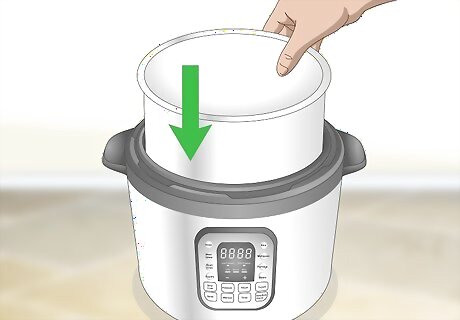
Place the inner pot inside of the outer body. Many of your parts may already be located where they’re supposed to be when you take them out of the packaging. However, you’ll need to remove the plastic that the stainless steel inner pot is wrapped in and place it inside of the main outer body. Do not try to cook food inside of the outer body without the inner pot, as this may cause damage to your Instant Pot.

Attach the power cord. Your Instant Pot will come with a long, black cord that allows you to connect it to a power source. One end should be made to fit into an electrical socket. Plug the other end into the bottom outside edge of the outer body.
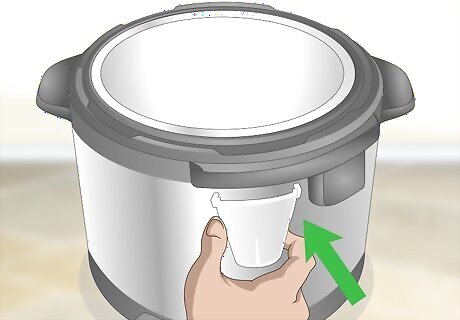
Attach the condensation collector to the outer body. The condensation collector is a small plastic cup that catches any condensation that builds up inside of the pot when it slow cooks food. Clip the condensation collector onto the outside body of the pot.
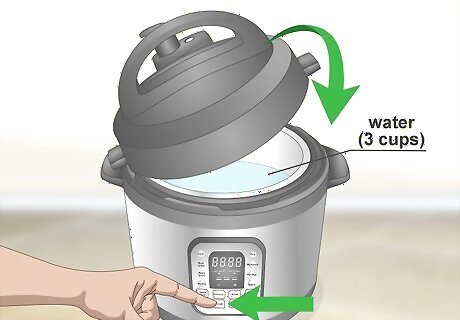
Perform a water test to learn about functionality. Pour 3 cups (710 ml) of water into the inner pot. Place the lid onto the pot and turn it clockwise to lock it. Press the “Manual” button and then press the “+” or “-” buttons to set the cook time to 2 minutes. Once steam builds up inside the pot, the floating valve located on top of the lid will pop up. The screen will then display “2,” and will continue cooking until the time is up. At this point, turn the pot off by pressing the “Keep Warm/Cancel” button.
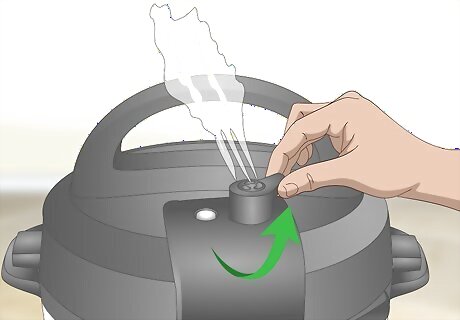
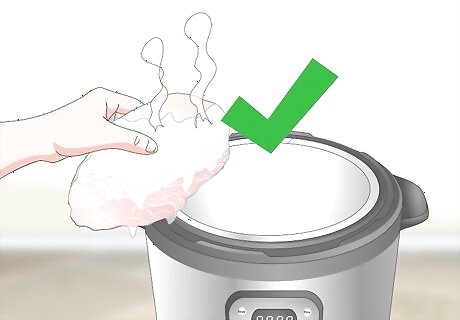
Release the pressure manually or let it release naturally. After turning the pot off, the pressure will need to be released. You can do this by approaching the pressure valve from the side, so that you don’t burn your hand, and switching it to its venting position. You can also just let the Instant Pot release the pressure naturally, which may take up to 30 minutes. It’s better to manually release the pressure for some recipes and naturally release the pressure for others. Allow the pressure to release naturally for foamy foods, food that’s heavily liquid, and/or foods with high starch content, such as soups. Use the manual release option when you’re cooking vegetables and/or delicate seafood.
Using an Instant Pot as a Pressure Cooker
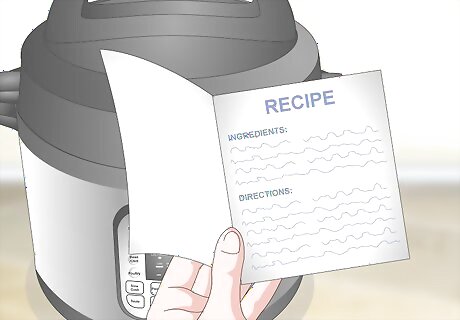
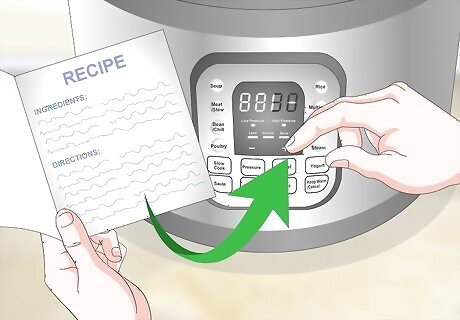
Refer to your recipe or Instant Pot book to determine cook time. Different types of food need to be pressure cooked for different amounts of time in order to be properly prepared. If you’re following a particular recipe, cook the food for the amount of time that it recommends. If not, check out the recipe book that your Instant Pot came with for guidance on cook time. You can also go to the Instant Pot website and click on the “Cooking Time” tab to get the information you need.
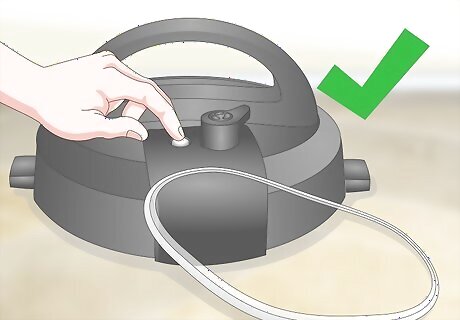
Make sure the lid is clean and ready to go. Firstly, check to make sure that your sealing ring is clean and in place. It should be secured inside of the edge all the way around the underside of the lid. Then, check that the float valve on the underside of the lid is clean and can easily move up and down. Also, the steam release handle on the top side of the lid should be clean and in the sealed position.
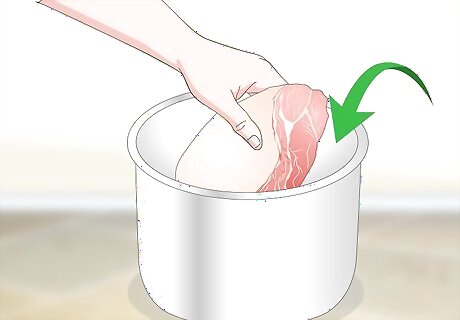
Place your food into the inner pot. Put all of your different ingredients into the steel inner pot. If it isn’t already, place the inner pot into the outer body.

Put the lid on and plug the Instant Pot in. Put the lid onto the pot and turn it clockwise so that it locks. Then, make sure that the correct end of the power cord is securely plugged into the bottom of the outer body. Plug the other end into an electrical outlet.
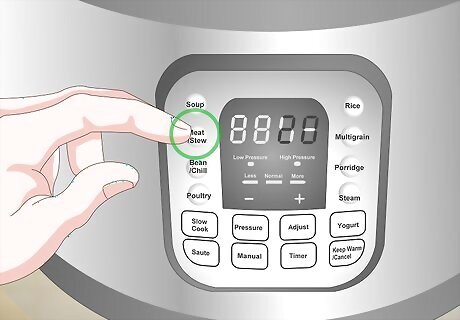
Press a pre-set button and adjust the time if necessary. Scan the different pre-set buttons for the one that most accurately represents the food you’re cooking. For example, if you’re cooking chicken, select “Poultry.” After pushing the pre-set button, wait 10 seconds and listen for the beep that sounds when cooking has begun. In addition to “Poultry,” the other pre-set options include: Soup Meat/Stew Bean/Chili Rice Multi-grain Porridge Steam
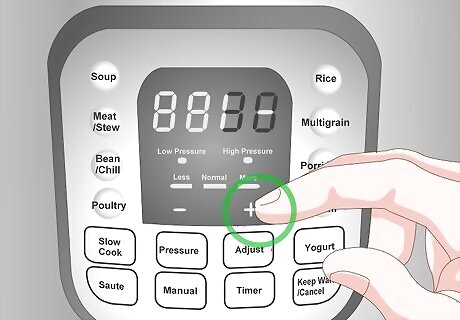
Use the “Adjust,” “+,” and/or “-” buttons to change the cook time. Pushing a pre-set button will automatically make a cook time pop up on the screen. If this is different than the cook time you want, press the “Adjust” button to jump to different temperatures and their corresponding cook times, or simply press the “+” or “-” buttons until the screen displays the time you want.
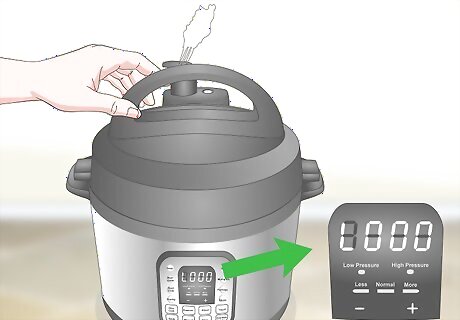
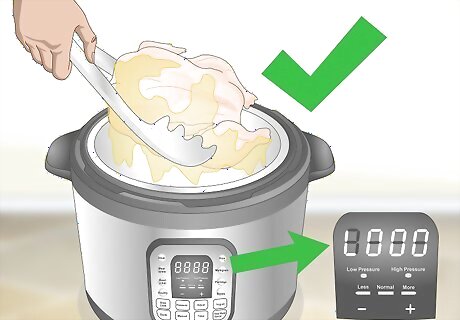
Make sure your Instant Pot depressurizes before you open it. Once your food is done cooking, your Instant Pot will depressurize naturally and release the steam inside of the pot. At this point, the screen should display “L0:00,” which means the Instant Pot is in warming mode. If for some reason you need to get to your food before the Instant pot naturally depressurizes, switch the steam release valve to either the right or left venting position to let the steam out before you open up the pot. If you want to depressurize the Instant Pot manually, make sure to do so with a thick towel to ensure that the steam doesn’t burn your hand when the vent is opened.
Cook frozen meat straight from the freezer. You don’t have to thaw out your meat before you cook it in your instant pot. However, if you choose to cook your meat when it’s frozen, it’s necessary to make some adjustments. Firstly, put the meat into the inner pot and then pour enough of your cooking liquid in to completely submerge the meat. Also, increase the cooking time by at least 50%. Nearly all pressure cooking recipes call for a cooking liquid, such as chicken broth. However, they typically don’t call for quite as much liquid as you’ll need to completely submerge your meat. For example, if your recipe says to cook the meat in the pressure cooker for 20 minutes, instead set the cook time to 30 minutes.
Convert regular pressure cooker recipes for the Instant Pot. Before you cook food in your Instant Pot, check the recipe you’re using. Most regular pressure cookers operate at 15 psi, while the Instant Pot operates at just 11.6 psi. If your recipe states that it’s for regular pressure cookers with a 15 psi, add a couple of extra minutes to the recommended cook time.
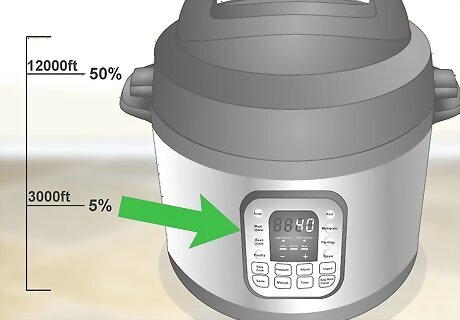
Pressure cook your food for longer if you’re at a high altitude. All of the Instant Pot’s pre-set cook times are based on cooking at sea level. If you’re located above sea level, you’ll need to set your Instant Pot to a higher cook time. For example, if you’re cooking at an altitude of 3,000 feet (910 m), increase the cook time by 5%. If you’re cooking at an altitude of 12,000 feet (3,700 m), increase the cook time by 50%.
Slow Cooking in an Instant Pot
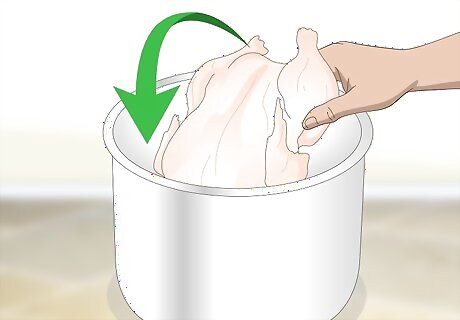
Put your food in the inner pot. Place all of the ingredients for your recipe in the steel inner pot. Then, place the inner pot in the outer body if it isn’t already there.
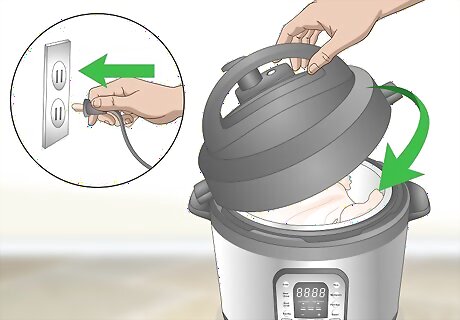
Plug the Instant Pot in and close the lid. Plug the appropriate end of the power cord into an electrical socket and make sure that the other end is plugged into your Instant Pot. Then, put the lid onto the pot and turn it clockwise until it’s in the locked position.
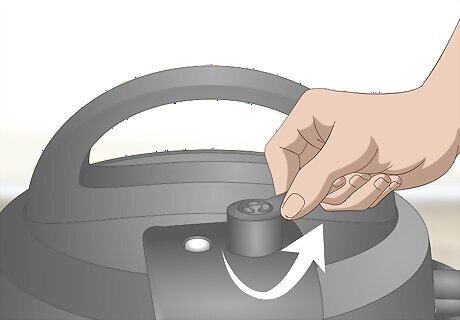
Set the steam release handle to the venting position. For slow cooking, the vent must be open the whole time that the food is cooking. Turn the steam release handle that’s located on top of the lid either to the right or to the left to ensure that it’s set to the venting position. Do not turn the handle to the middle position.
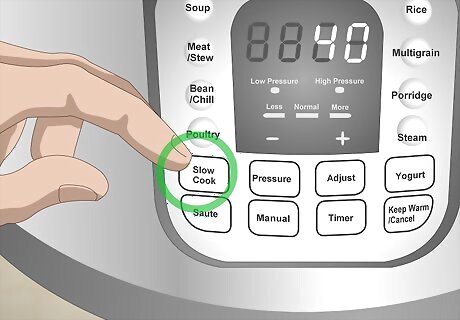
Push the “Slow Cook” button and set the cook time. Press the button labeled “Slow Cook” that’s located on the outer body of the Instant Pot. Then, use the “+” and/or “-” buttons to adjust the cook time until the screen displays the amount of time you’d like to slow cook your food for.
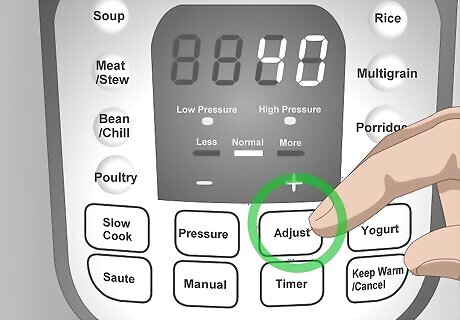
Press the “Adjust” button to set your desired temperature. Pressing the “Adjust” button will change the temperature that the food is cooked at. Each time you press it, you’ll notice that either “Less,” “Normal,” or “More” will light up. These are the equivalent of “Low,” “Medium,” and “High” temperature settings respectively. Press the “Adjust” button until the temperature setting you desire is lit. The “Less” temperature setting is 221 °F (105 °C), the “Normal” setting is 320 °F (160 °C), and the “More” setting is 338 °F (170 °C).
Remove the food once the screen reads “L0:00.” After pressing the “Adjust” button, you’ll hear a beep and the Instant Pot will start cooking the food. Once the time is up, the Instant Pot’s screen will display “L0:00,” which means that it’s done cooking and is keeping the food warm. Once it’s in this mode, your food is cooked and ready to eat. The Instant Pot will turn off completely after 8 hours of being in the warming mode. You can clean the exterior of the Instant Pot with a damp cloth or a toothbrush for hard-to-reach areas. To clean the bottom of the inner pot of the appliance, pour a cup of white vinegar in the bottom and let it sit for 5 minutes. Pour it out and rinse with water. Never place the entire Instant Pot in a dishwasher, as it is unsafe for the appliance.


Comments
0 comment