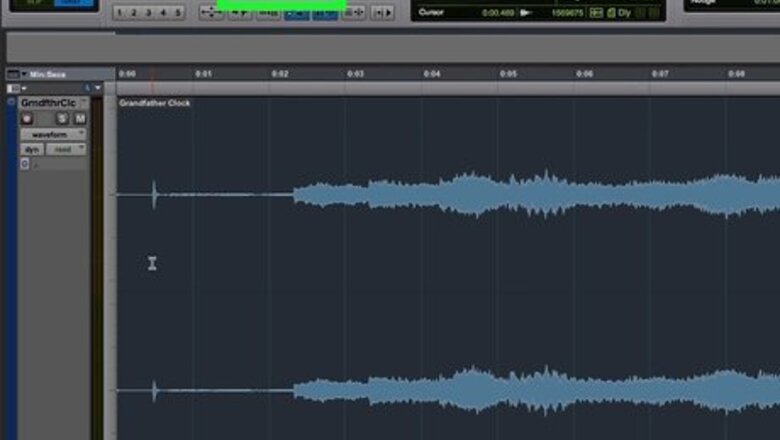
views
- In Pro Tools, select the area that you want to create a fade for.
- Select "Fade In" or "Fade Out" for the clip. You can also apply more than one fade so if it fades out, you can force the audio to fade back in.
- Select the curve that represents your fade, modify it, then click "Ok."
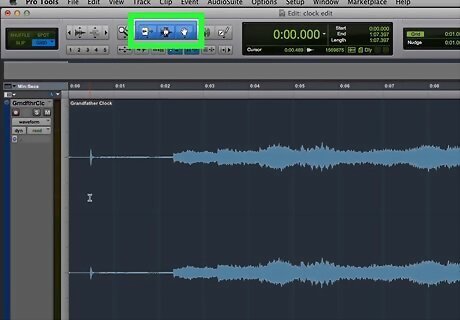
Activate the Smart tool. The Smart tool is a 3-in-1 context cursor that consists of the Trim tool, Selector tool, and Grabber tool. The cursor will change depending on where it is placed over an audio clip. To activate the Smart tool, click the bracket around the three main tools in the toolbar at the top, or press F7 and F8 at the same time.
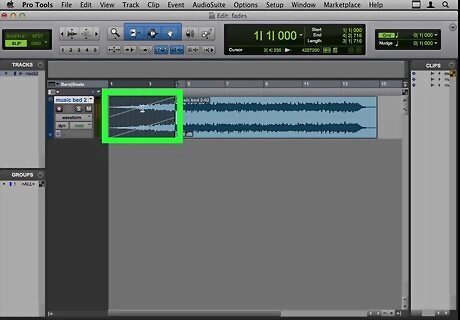
Select the region you want to create a fade for. Click and drag over a section of an audio clip to highlight it. This selects that region. You can select as much of the clip as you need. To create a fade-in, you'll want to highlight the beginning of an audio clip starting on the left side. You can also highlight any blank space in front of the audio clip. You can select a region that already has a clip on it. This will overwrite the fade. Alternatively, you can create a Fade-out by highlighting the end of a clip or you can highlight the beginning and end of two clips that are touching to create a crossfade. A crossfade will decrease the volume of one clip while increasing the volume of the other. This creates a smooth transition between two clips.
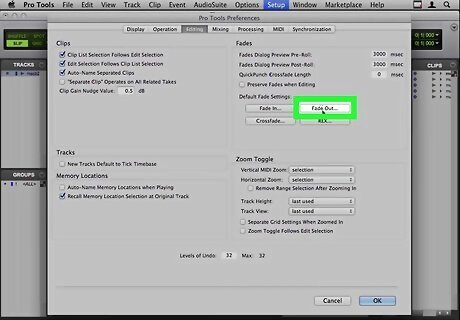
Press Ctrl+F or ⌘ Command+F to open the Fades dialog box. The Fades dialog box allows you to control the shape and slope of a fade. Alternatively, you can click the Edit menu at the top and highlight Fades. Click Create under the Fades sub-menu.
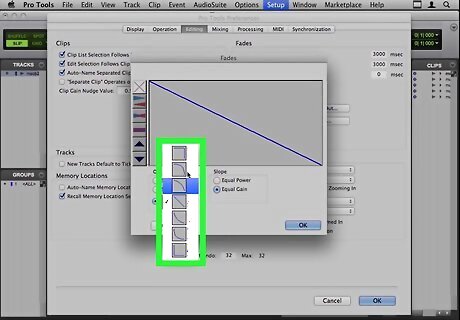
Select the shade of the fade you want to use. Click the radio option next to "Standard" or "S-Curve." The "Standard" setting is a general-purpose fade whereas the S-Curve setting allows for a faster fade-in. You may also select a custom curve by clicking on the arrows next to the curve diagram to display a drop-down menu.
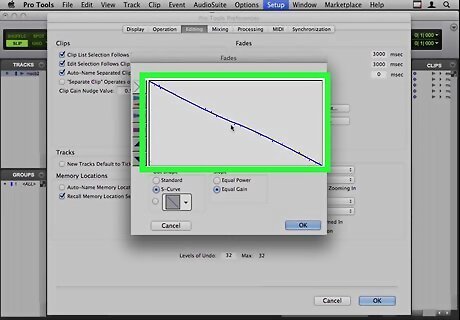
Modify the shape of the fade. You can modify the shape of the fade by clicking and dragging the line in the display at the top of the Fade dialog box. Alternatively, you can click the radio option next to the drop-down menu at the bottom and select a line curve from the drop-down menu. A straight diagonal line will create a steady increase in volume. A curved line will create a gradual increase in volume. If you are creating a crossfade between two clips, select "Equal Power" if the two clips have a different sound. If the two clips have the same or similar sound (i.g. two microphones on the same sound source), select "Equal Gain" instead.
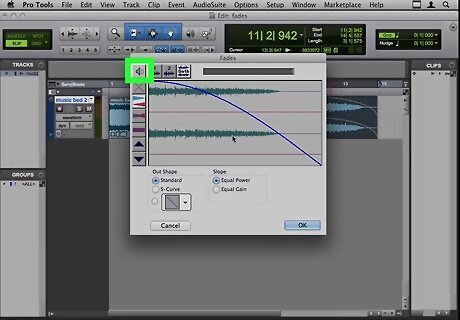
Test your fade. To hear the effects of the fade you created, click on the "Audition" button in the top, left-hand corner of the Fades window. It's the button that resembles a speaker.
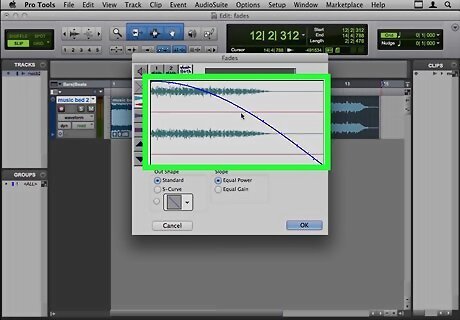
Edit your fade if needed. If you need to edit your fade, you can adjust the curve by dragging it to a new location or by selecting a different fade shape from the In-Shape or Out-Shapes settings section. You can click and drag the edge of a fade over an audio clip using the Trim (or Smart tool) to adjust the duration of a fade.
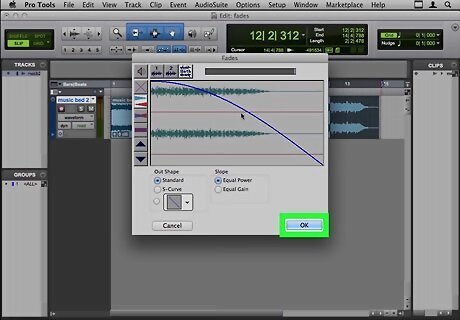
Click Ok to create your fade. It's in the lower-right corner. Pro Tools will then calculate the fade and add the selected fade curve to your region. If you need to delete a fade, simply click it using the Grabber tool and press the Delete key. This will delete the fade without deleting the underlying audio.


Comments
0 comment