views
Decide where you want to place your switch.
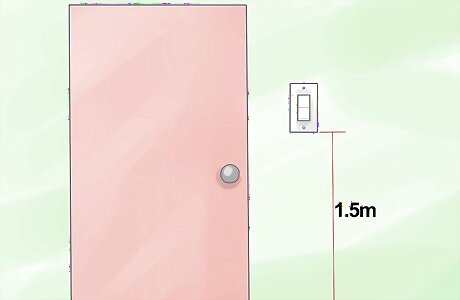
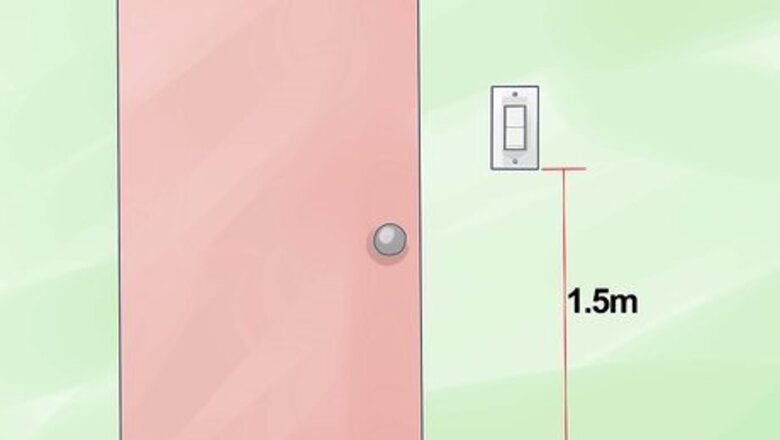
Generally, wall switches are on the right-hand side, a few feet/metres past the door opening. Go around your house and measure the height of other switches. 60" or 1.5m from the floor is common.
Always turn off the power to the fixture.
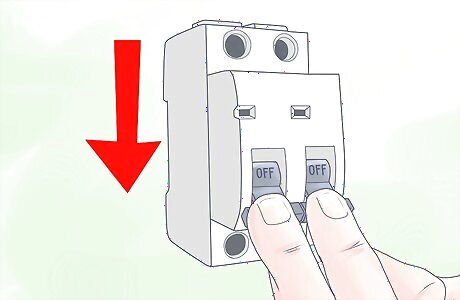
If there are other people in the home, always tell them that you have turned off the power, or leave a note on the breaker/fuse box so someone doesn't accidentally turn it.
Measure the distance from your fixture to the location of your new switch.
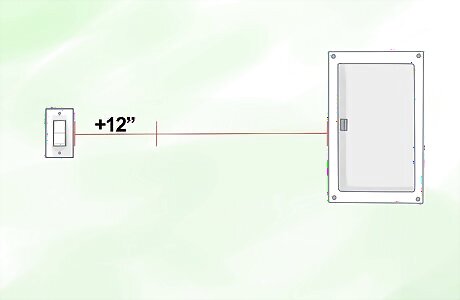
Always add an extra 12" or 30 centimeter (11.8 in) to your measurement - it's always better to have too much electrical wire than not enough.
Check your fixture with a power tester.
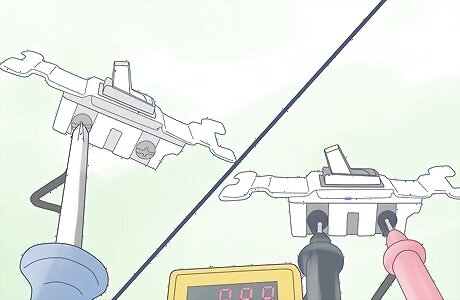
Make sure there's no power coming from the light fixture. Remove the black (or "hot") wire only. Leave the white (or "neutral") and any ground (green or bare) wires on the fixture.
Remove the plastic sheathing.
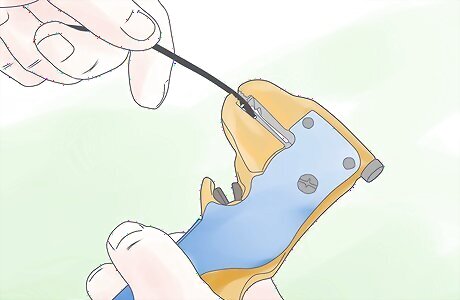
Strip 2"/5 centimeter (2.0 in) of the plastic sheathing from the end of the black and white wires.
Connect the wires.
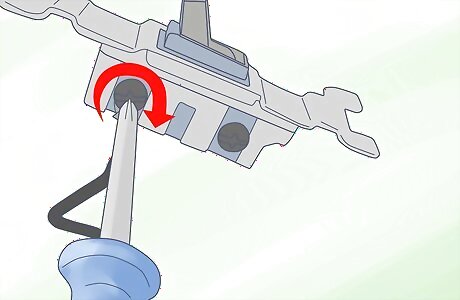
Connect the black wire from the electrical cable with the black wire you just removed from your fixture. Always use screw-on wire connectors..never use electrical tape. Ensure that the connection is tight.
Mark the electrical cables.
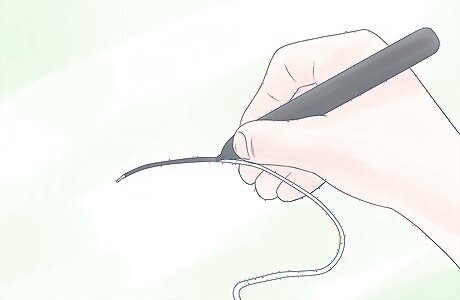
Using a black marker, "re-code" the white wire from your electrical cable to black. Mark on the plastic sheathing with a permanent marker so that anyone will know this is now a "hot" wire.
Connect your re-coded "hot" wire to the fixture.
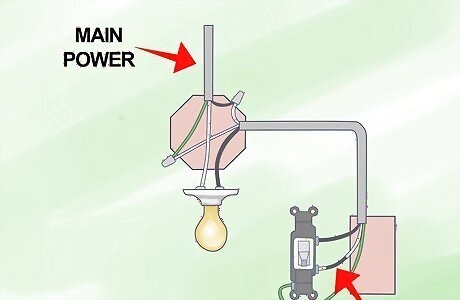
You should now have a white and re-coded black wire on your fixture.
Pull all the wires through the back of the electrical box.
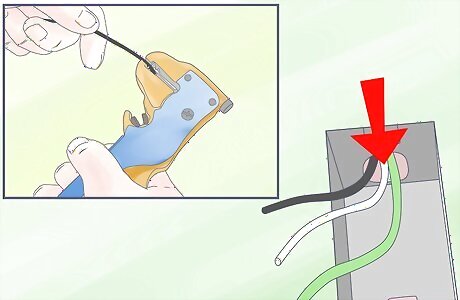
Strip black and white wires as in step 5. Connect the ground wire to the electrical box itself (there should be a screw at the back or side of the box).
Re-code the white wire.
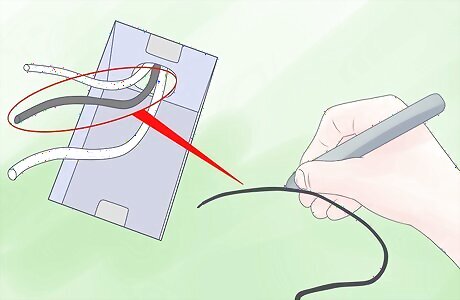
You will need to re-code the white wire as a "hot" wire with a marker, as in step 7.
Screw the black wire to the top screw on your switch.
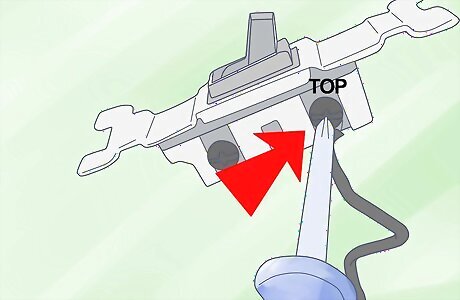
This will be the top of your switch.
Screw the second "hot" wire (white) to the bottom screw.
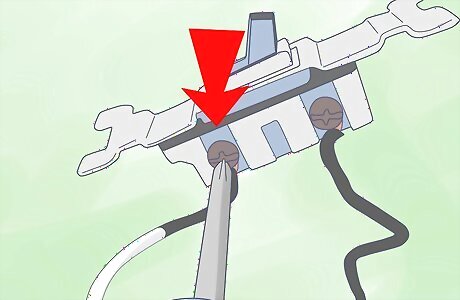
Ensure that both screws are secure and screw the switch into the electrical box. Do not attach the cover until you check that everything functions correctly
Turn the power back on.
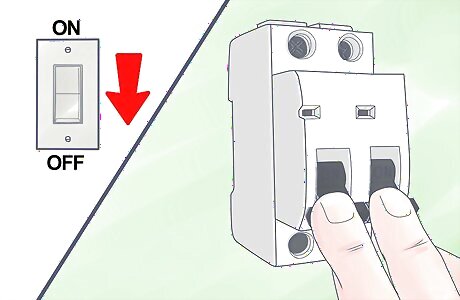
Flick the switch to the "off" position, then turn on power to the fixture.
Test that your new switch works.
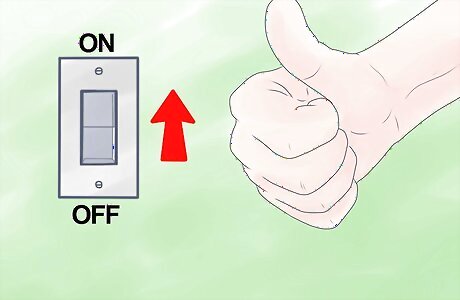
If it does not, double check that you have not turned off the fixture from the chain/cord.
Leave the light on.
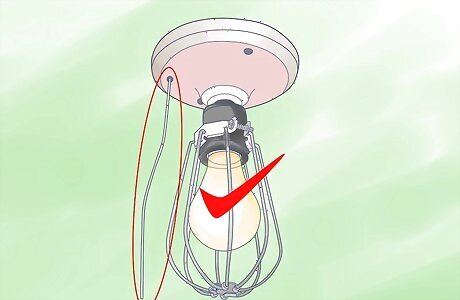
You should always leave the light"on" at the chain/cord in order to have full control from the wall switch. You can still use the chain, however this defeats the purpose of having a wall switch.
Attach a switch plate cover.
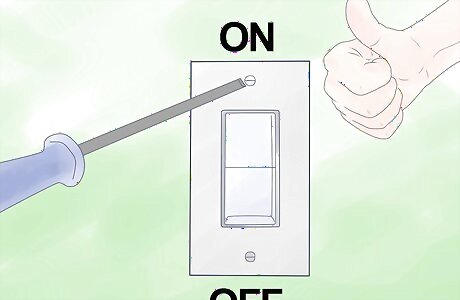
Provided everything works, you can close up your light fixture and attach a switch plate cover.


Comments
0 comment