views
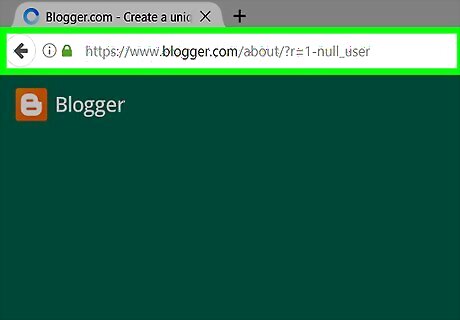
Go to Blogger. Use the link to the left or type "www.blogger.com" into a browser window.
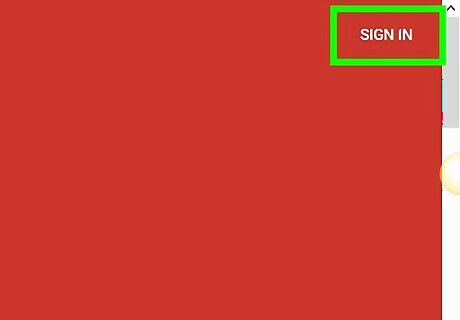
Click on SIGN IN. It's in the upper-right corner of the window.
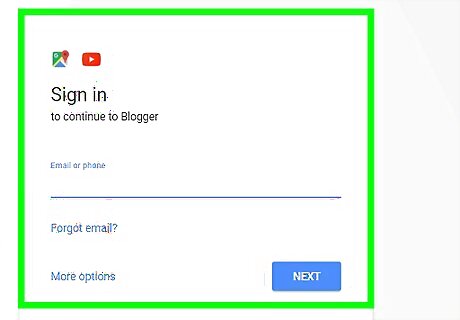
Log in with your Google ID. If your Google account appears on the screen, click on it, otherwise, click on Add account.
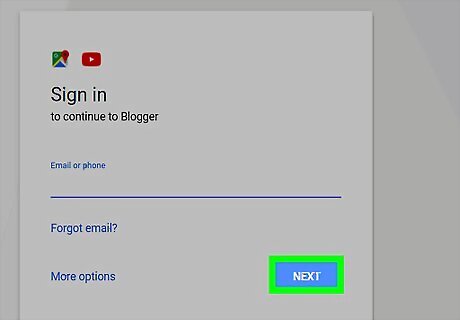
Enter your Google password and click on Sign in.
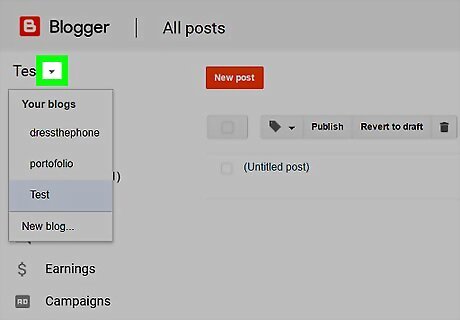
Click on ????. It's next to the blog title that appears below the word "Blogger" in the upper-left corner of the window.
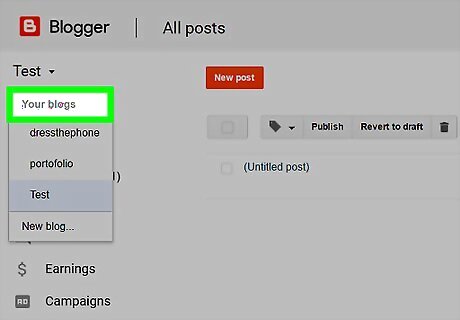
Select a blog. In the drop-down menu, click on the title of the blog to which you'd like to add a gadget. It will be in either the "Recent blogs" or "All blogs" section.
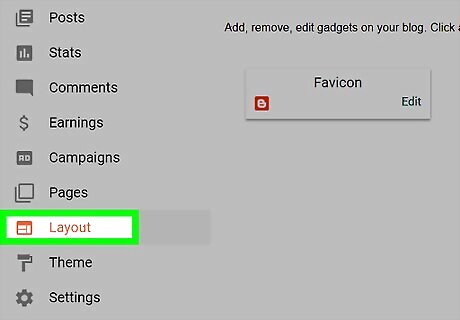
Click on Layout. It's on the left side of the window in the Blogger dashboard menu.
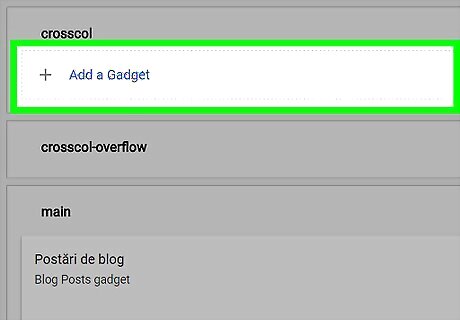
Scroll down and click on ➕ Add a Gadget. Select a button in the part of the layout where you want the gadget to appear, like the cross column or a sidebar.
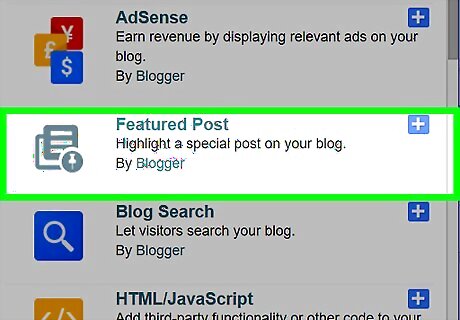
Scroll down and select a gadget. The set of gadgets that automatically appear are the "Basics" that are native Blogger widgets. Click on More gadgets in the upper-left corner of the window to see a list of available third-party widgets for your blog. Click on Add your own in the upper-left corner of the window to add a widget using a URL. To add a custom HTML or JavaScript widget, add the HTML/JavaScript gadget from the "Basics" menu and enter the widget's code in the dialog box that appears.
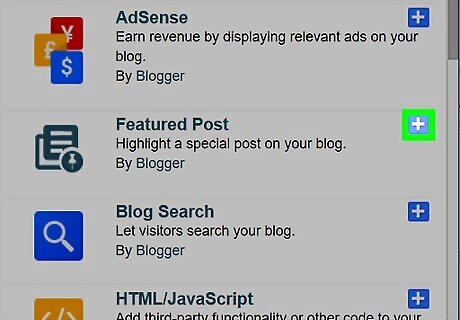
Click on ➕. It's to the right of the gadget's name.
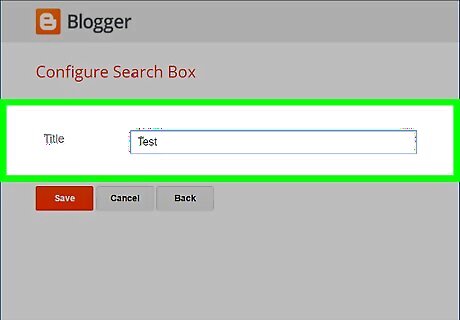
Customize your gadget. Add or change the gadget's title to how you want it to appear on your blog. Add or edit any additional text or information, like HTML or JavaScript code that the widget will need to function properly.
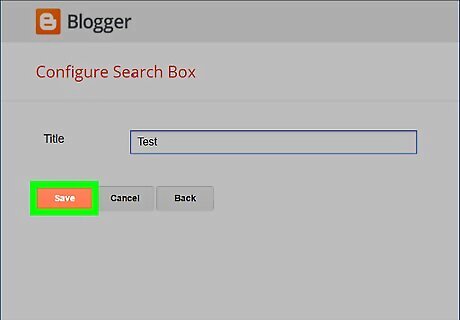
Click on Save. It's in the lower-left corner of the dialog box.
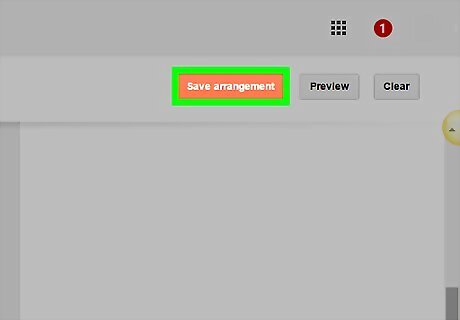
Click on Save arrangement. It's an orange button in the upper-right portion of the window. This saves your gadget and takes it live on your blog.




Comments
0 comment