views
Making Near Infrared Goggles
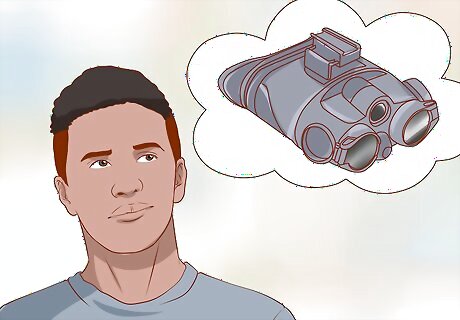
Understand these goggles. Human vision is most sensitive to light with wavelengths up to about 720 nanometers (red light). But if you filter out this "visible" light using these goggles, human eyes can pick up signals in the near infrared part of the spectrum, up to about 1,000 nm. Since our eyes can barely detect near infrared light, the goggles will only work in bright sunlight, or around another strong source of infrared light. They are not night vision goggles, but they will give you a weird new perspective on the world.
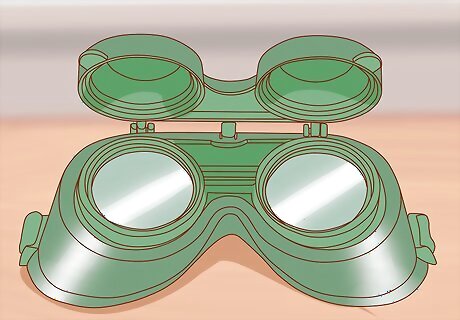
Find skin-tight goggles with removable filters. Most welding or soldering goggles fit tightly around the eyes and block out peripheral light. This is important, since any visible light that gets in around the edges will wash out the infrared light. Remove the filters or lenses that come with the goggles, since these block infrared light. If you wear glasses, purchase welding goggles that fit over them, with a single rectangular window.
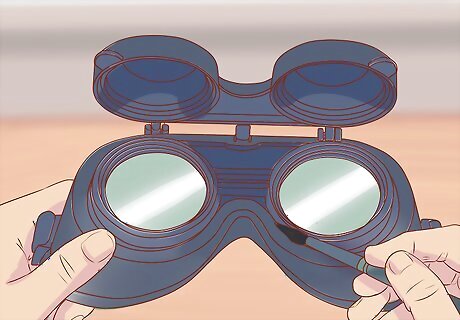
Paint the goggles black if necessary. This will reduce the amount of visible light you can see while wearing the goggles. Cover the lenses with painter's tape, then spray paint the goggles black, inside and out. Let the goggles dry between the inside and outside coats.

Purchase blue and red lighting gels. These stage lighting supplies are a much cheaper way to block visible light than a specialized infrared photography filter. Get a sheet of "Congo Blue" to filter out all visible light except for blue. For a purer infrared experience, also buy a sheet of "Primary Red" lighting gel to block the blue as well. Congo Blue is sold as ROSCO 382 or LEE C181 by two major brands. Primary Red or Medium Red is sold as ROSCO 27 or LEE C106.
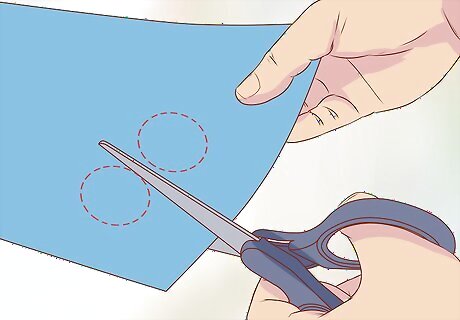
Trace the goggle lenses onto the lighting gels. Each lens on your goggles needs six layers of Congo Blue and two layers of Primary Red. Trace these shapes onto your sheets of lighting gels, using your goggle lenses or filters as a guide. Cut them out with a pair of scissors. If you're making multiple goggles and don't have enough room on your lighting gel sheet, you can get away with three blue layers and one red layer per lens. Handle carefully and minimize contact with the gels. Scratches and oil from your fingertips can damage the plastic.
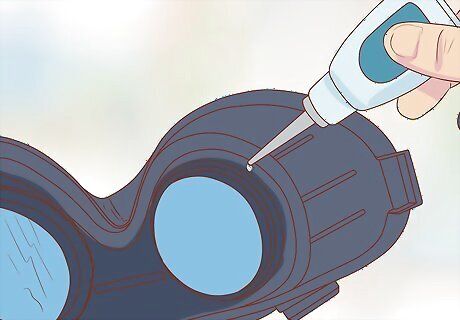
Glue the lighting gels to the inside of the lenses. This may require some trimming. The several layers of blue will block out most of the visible spectrum, allowing your eyes to pick up on the IR light that passes through. The red layer, if you are using it, will block out blue light as well. You may want to leave the red filter unattached for now, and see whether you like the goggles better with or without them. If you use only blue filters, you will have an easier time seeing in dim light, and notice a greater variety of colors.
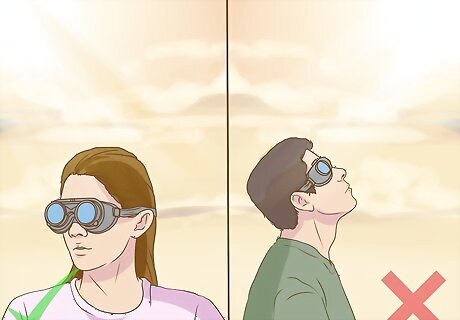
Use the goggles carefully. Put on the goggles in bright sunlight and look around. The sky should look dark, while trees and bushes become pink. Just take care not to stare at the sun: despite the lack of pain, ultraviolet light can still pass through the goggles and damage your eyes. The goggles make you more susceptible to this, since they keep your pupils wide open. If you're worried about this, a layer of glass in the goggles adds some protection, and a layer of UV filter (available from the same stores that sell lighting gels) adds more. Even then, looking directly at the sun is not recommended, since too much infrared light can cause damage.
Exploring Related Projects
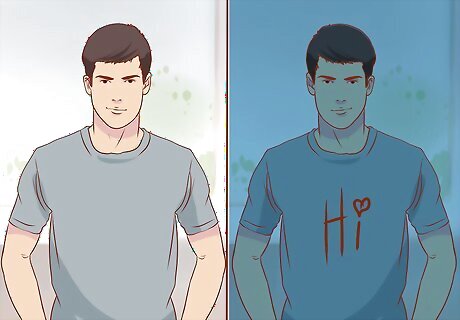
Use the goggles to share secret messages. Some materials are similar colors in normal vision (reflecting the same spectra of visible light), but behave differently in the infrared spectrum. You can take advantage of this to share messages or artwork only visible to people wearing infrared goggles: Cut out squares of blue and red filters from your leftover lighting gels. Layer the two colors to make an opaque black barrier that looks transparent through the goggles. Hide messages behind the barrier. Most black permanent marker ink still looks dark in IR light. Find a dark T-shirt or other cloth that looks light grey through the goggles. Draw on it with the marker to make a message that blends in with the cloth until you put on the goggles.

Pass sunlight through a prism. An equilateral glass prism will split a strong beam of sunlight into a rainbow pattern. By putting the goggles on and off while looking at the rainbow, you might be able to see a narrow band of infrared light next to the red stripe of the rainbow. This is similar to how infrared was first discovered in 1800, by an astronomer named William Herschel. Since Herschel did not have the fancy goggles you just made, he detected the invisible infrared light by measuring the temperature where it fell and heated up a thermometer.
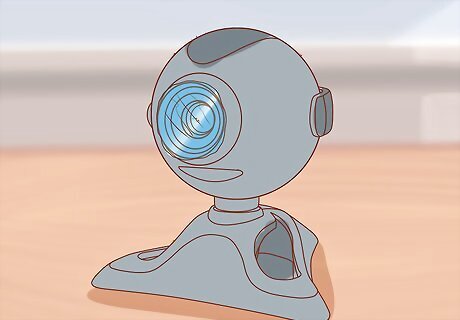
Turn a webcam into a night vision camera. Most webcams have an infrared cutoff filter attached over the lens surface. If you disassemble the webcam and remove this filter, it will detect infrared light (at the cost of lower image quality). In order for the webcam to work at night, it will need an IR flashlight or other infrared light source, but this is invisible to human vision. Cover the lens with a Congo Blue filter to make the webcam into a daylight infrared sensor. This works with most digital cameras as well, but do not disassemble them unless you have electronics experience. A camera's flash bulb is connected to a high voltage capacitor, which can remain dangerous even when the camera's battery is removed.







Comments
0 comment