
views
X
Research source
It might seem hard to tell your batteries health on Windows 10, but it's actually quite easy. This wikiHow will teach you how to check your laptop's battery health in Windows 10.
Creating a Report
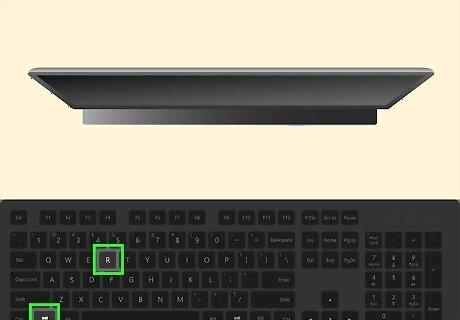
Press ⊞ Win+R. This will open the "Run" dialog box.
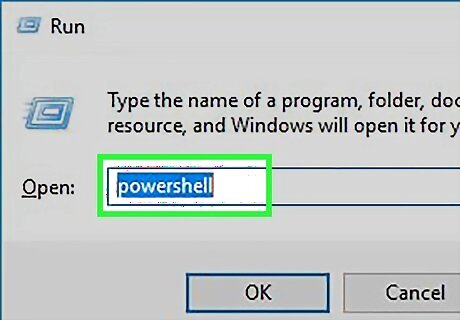
Type powershell into the box.
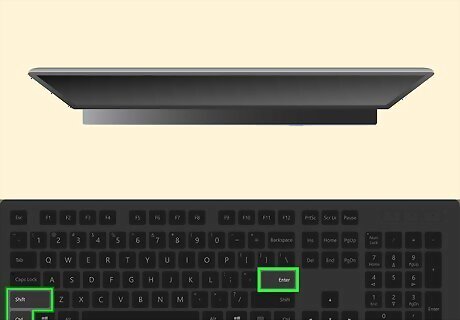
Press Ctrl+⇧ Shift+↵ Enter at the same time. This will run PowerShell with administrative permissions.
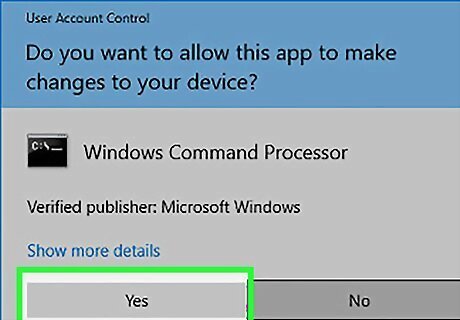
Click Yes on the UAC dialog box.
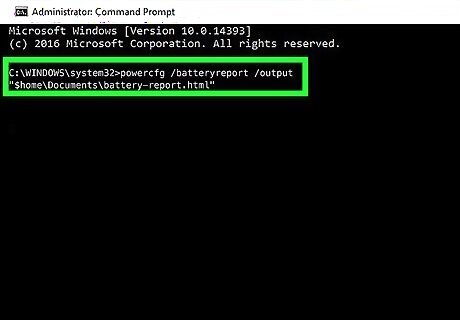
Type powercfg /batteryreport /output "$home\Documents\battery-report.html" into the PowerShell window. This command will generate the report and save it to your documents folder.
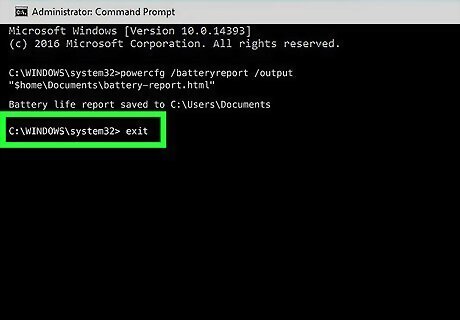
Type exit into the PowerShell window. This will close PowerShell.
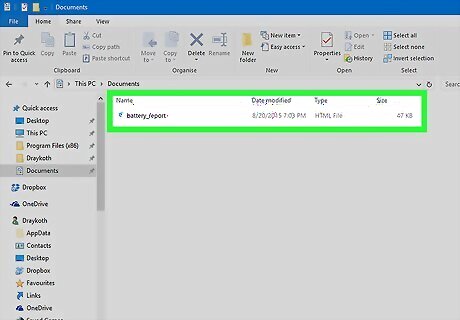
Open the report. Go to your Documents folder, and then open up the file called "battery-report".
Reviewing the Data
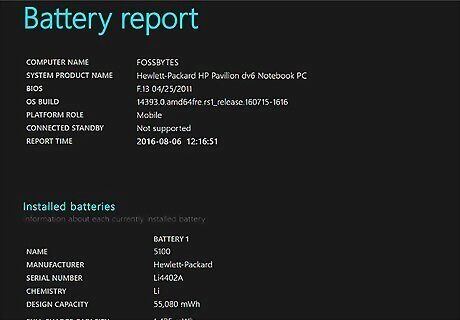
Review the basic information. At the top of the report, basic information about your computer and battery will be listed.
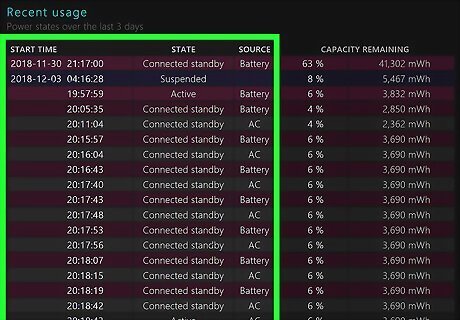
Check out the recent usage. The "Recent Usage" section is under the "Installed Batteries" section, and it shows the charge and usage history of your battery over the past 3 days.
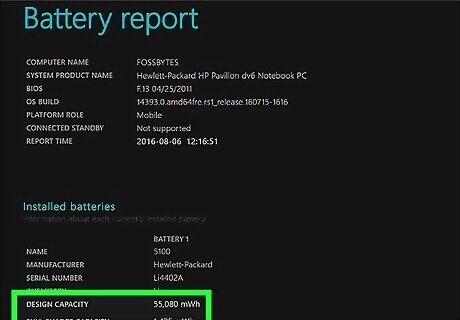
Review the "Battery Capacity" section. This section, which is near the bottom, shows the capacity of the battery over a long period of time. You can use it to see if the batteries life has been degraded over time. You can tell the batteries health by reviewing the differences between the full charge capacity listings and the design capacity listings.
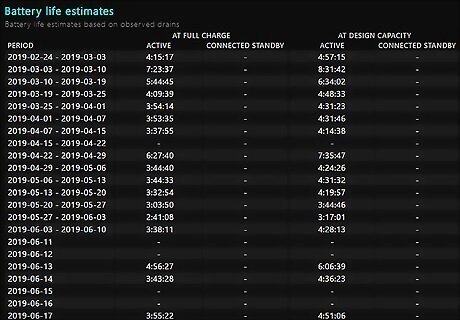
Read through the "battery life estimates" section. This section shows the estimated life of the battery at full charge, and at the designed capacity. You can tell the batteries health by comparing the at full charge estimates to the Design capacity estimates.




Comments
0 comment