views
X
Research source
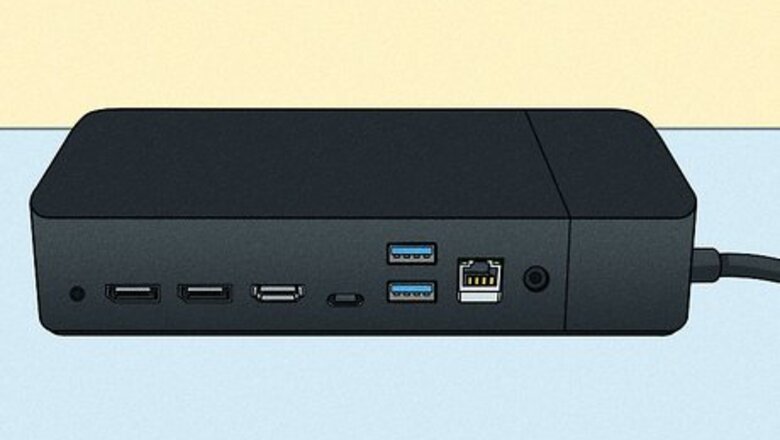
Docking stations come in many different varieties, but connecting a laptop to one is almost always easy!
Setting Up Your Dock
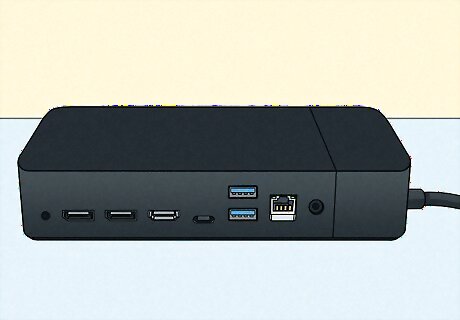
Place your dock on your desk. The dock should be placed so that there is easy access to ports.
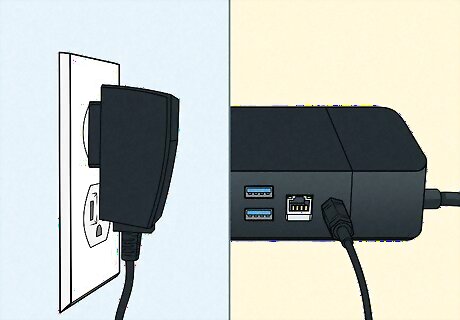
Plug the dock into power. Depending on the dock and laptop you will be docking, you may need to provide a greater power supply than what might be included by default. For example, if your laptop has a bigger battery, you may need to supply more power to it.
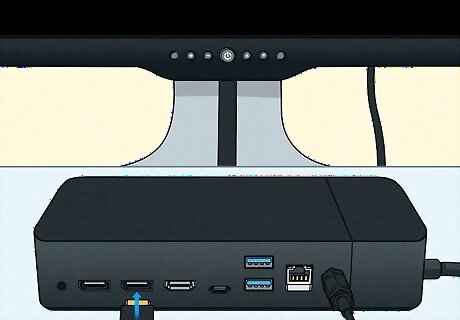
Plug in a monitor or two. Your dock might use Thunderbolt, USB-C, or DisplayPort for monitor connections. When your monitor is connected, you might see "No signal" or "Entering power save mode" on the display.
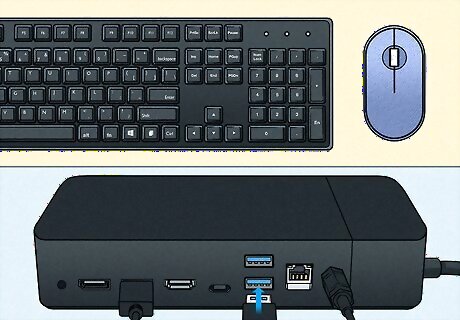
Plug in a keyboard and mouse. Your dock might have a USB port on the back to plug in a wireless transmitter for a keyboard and mouse. If so, you can plug the wireless transmitter and/or the power cable into USB. It might also charge the keyboard and mouse.
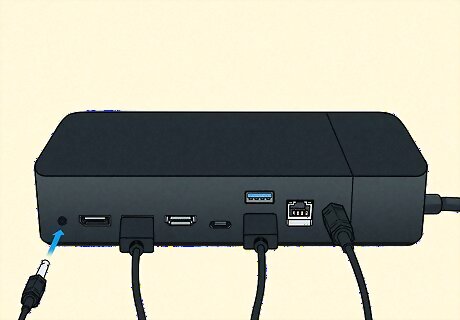
Plug in speakers. Your dock might also have an audio port that connects to speakers with a 3.5 mm audio jack. If so, you can plug your speakers in to the dock to set it up.
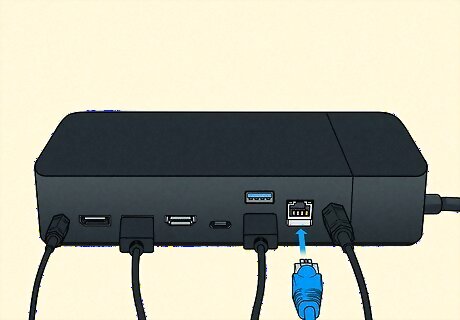
Plug in Ethernet. Your dock might also have an Ethernet port. If there is a working Ethernet jack in the wall, you can use an Ethernet cable to connect your dock to Ethernet.
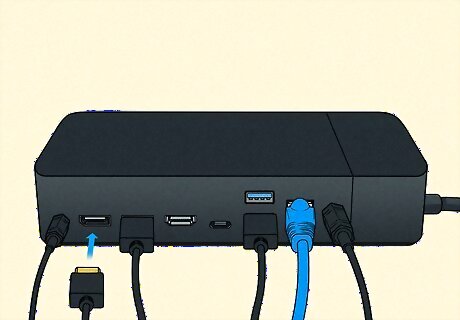
Plug in additional accessories. If there are enough ports and PCI express lanes, you might also be able to connect a printer, external backup drive, or digitizer tablet to use while your laptop is docked. Check your dock's manual for more information.
Connecting to a Thunderbolt or USB-C Dock
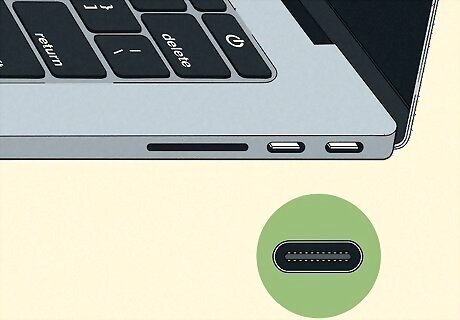
Make sure that your computer has a Thunderbolt or USB-C port. There are slight differences between Thunderbolt and USB-C, namely in the amount of PCI supported. Not all features of a Thunderbolt dock will work with a computer with only USB-C, but USB-C docks has less PCI and thus may have slower transfers and data access even with Thunderbolt computers.
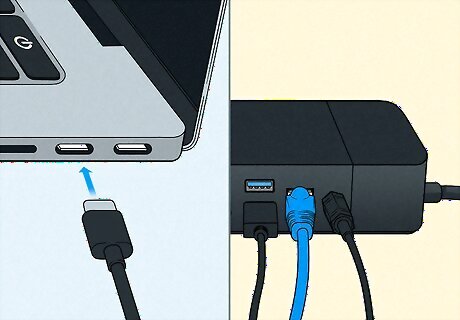
Plug the dock into the computer, after completing initial setup. Once plugged in, the computer will recognize the dock and its accessories and connect to all of them.
Connecting to a Proprietary Dock
Make sure that your computer has the port or layout for the proprietary dock. For example, certain Microsoft docking stations require a Surface computer to use.
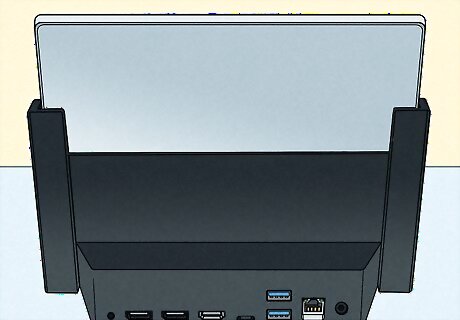
Place your computer into the dock, if the dock has a specific rest. Once your computer is in the dock, you will be able to connect the dock.
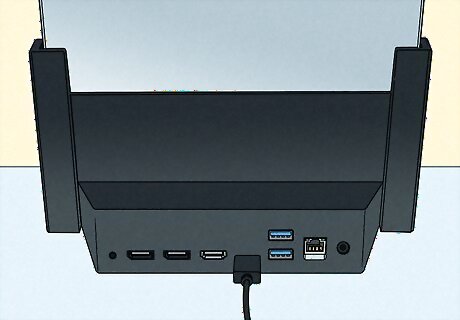
Plug the dock into the computer, after completing initial setup. Once plugged in, the computer will recognize the dock and its accessories and connect to all of them.
Fixing Common Problems
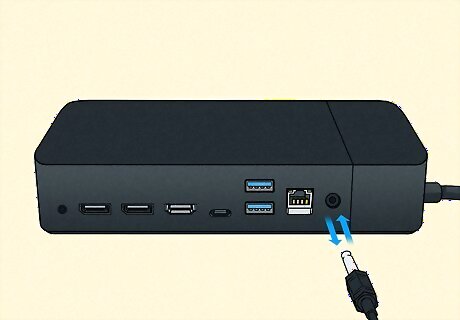
Check the dock's power. If you are having trouble with your dock, try unplugging it and plugging it back in. Do the same for your accessories.
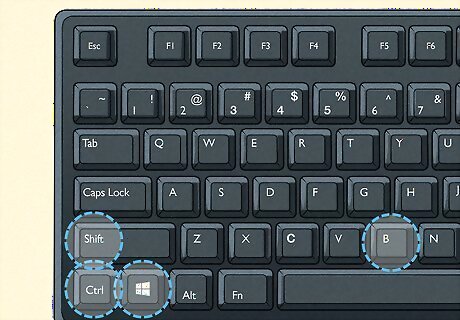
Press ⊞ Win+Ctrl+⇧ Shift+B if your monitor is not recognized or if the scaling appears wrong. If your monitor is not detected, you can press this key combination to refresh the screen.
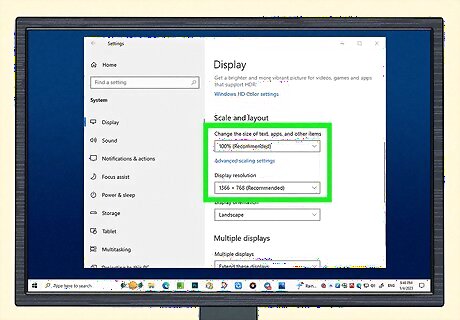
Fix further scaling problems in display settings. If the display still does not appear correct, you can use your computer's display settings to appropriately set scaling. You might also have to move the displays around on-screen until the display order and borders is correct.
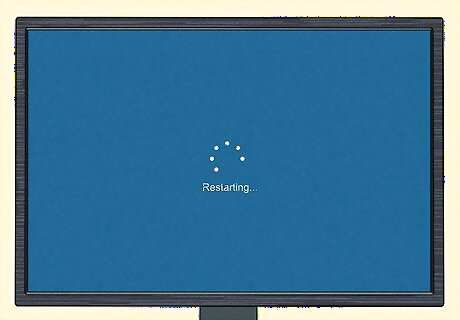
Restart your computer if you are still having a problem with the dock. If your accessories are not working properly, it might need a reboot to fix. This might fix a lot of other problems that you might be experiencing with your computer.
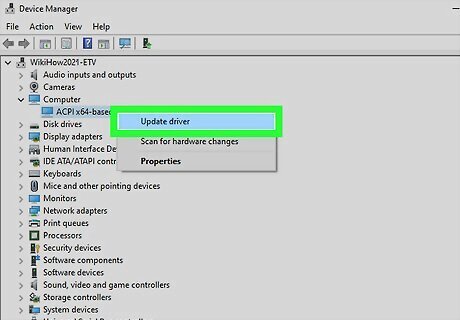
Reinstall the drivers. In Device Manager on Windows, check the drivers and choose "Update Driver" and/or "Uninstall Driver" for each of your accessories. Restart your computer and Windows will select default drivers and download drivers from the manufacturer.
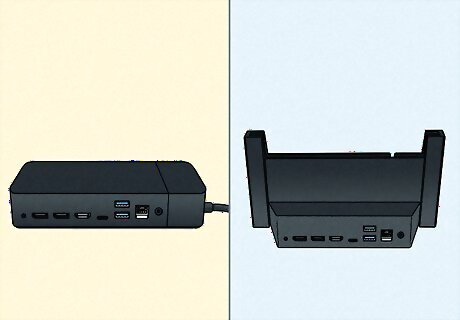
Try a different dock. Your dock might not be supported with your computer. Try a docking station from your computer manufacturer; that is more likely to work than a third-party dock.





Comments
0 comment