views
Changing DNS Settings

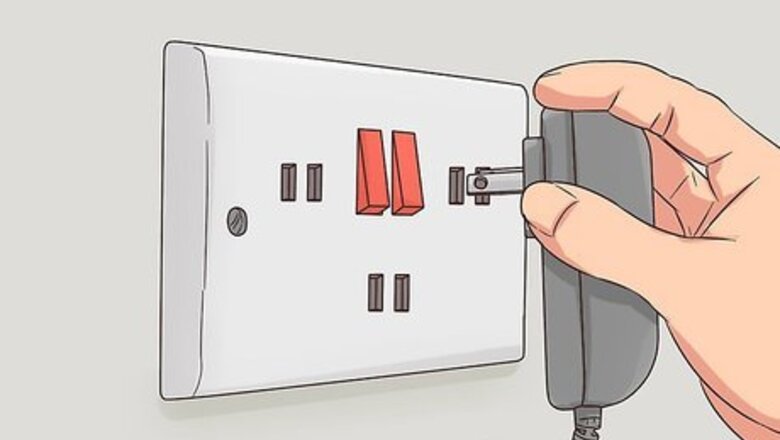
Unplug your modem (and router, if you have one) for a few seconds. Doing so will force your modem through a power cycle and might fix some DNS issues. Many modern modems are also a router, but if you have a separate router, make sure you unplug that as well to ensure the DNS settings are reset. Wait for about 30 seconds until you plug in your router and modem.
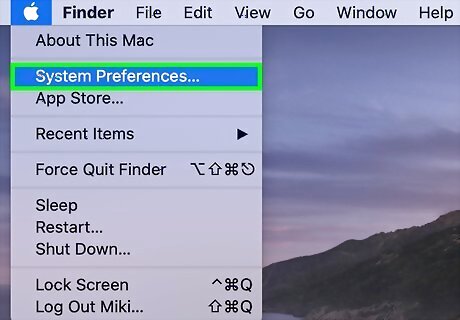
Open System Preferences. You'll find this inside the Apple menu at the top left of your screen.
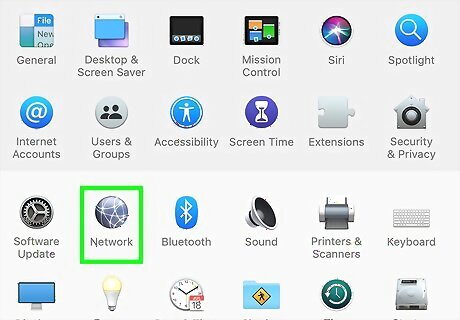
Click Network. This is usually in the third row from the top with "iCloud."
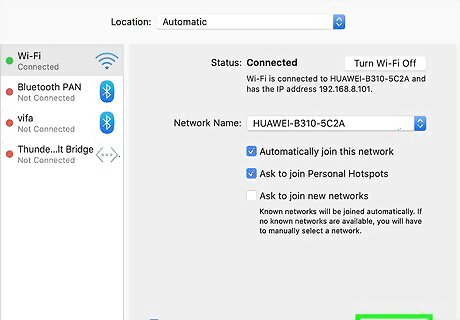
Click Advanced. You'll find this in the lower right corner of the pop-up window.
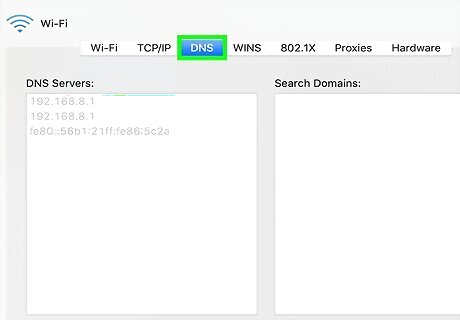
Click the DNS tab. You'll see this along with tabs for Wi-Fi and Hardware.
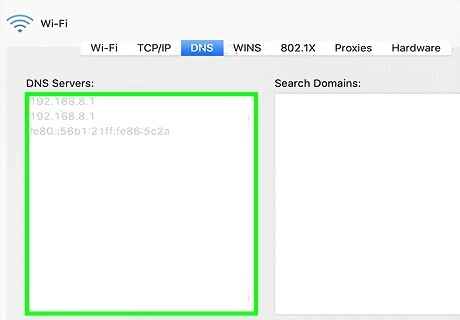
Delete the existing entries in the box on the left. You can do this by clicking them to select them and then clicking the minus icon (-) below the box.
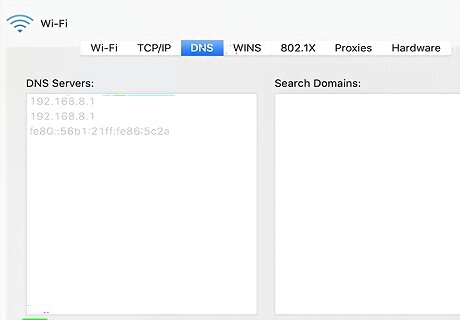
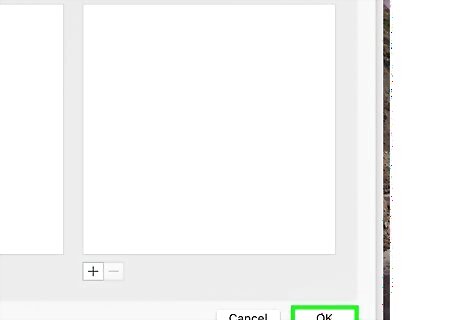
Add the two Google DNS addresses. Do this by clicking the plus icon (+) below the box and enter 8.8.8.8. Click the plus icon (+) again and enter 8.8.4.4. Click OK to proceed.
Click Apply. You'll find this in the bottom right corner of the Network window.
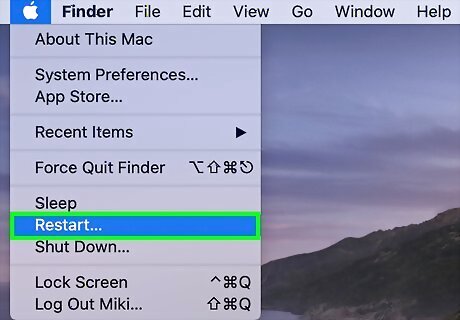
Restart your computer. After your computer restarts, try the website again. If it still won't load, continue through the next method.
Using a Different Browser
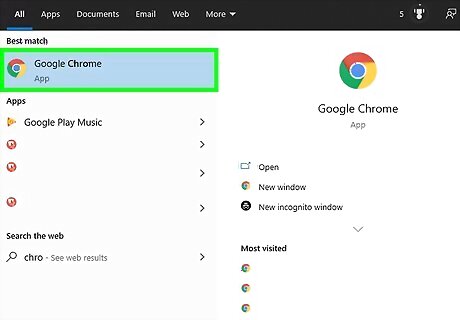
Open the site in another browser. Most likely, Safari won't load a page because it doesn't meet the security standards of macOS 10.10.4 and iOS 8.4. You can use another browser to unlock these sites for Safari so you can access them with the default browser.
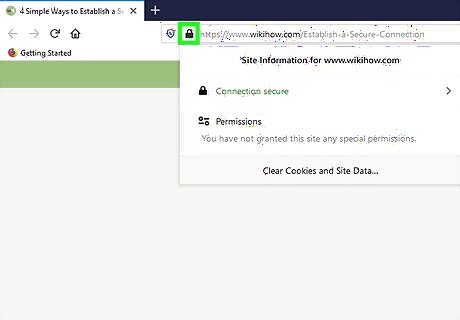
Click the lock icon in the address bar. Once the page loads in the other browser, such as Firefox, you'll see a small green lock icon next to the URL address. When you click that, a menu will pop-up.
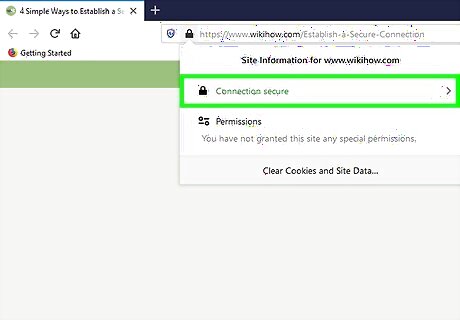
Click the arrow to expand more information Android 7 Expand Right. This will bring up more information and options for the site security.
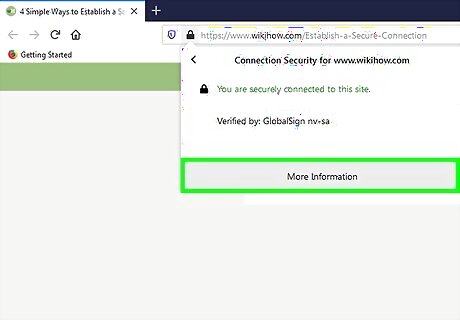
Click More information. You'll see this at the bottom of the pop-up menu.
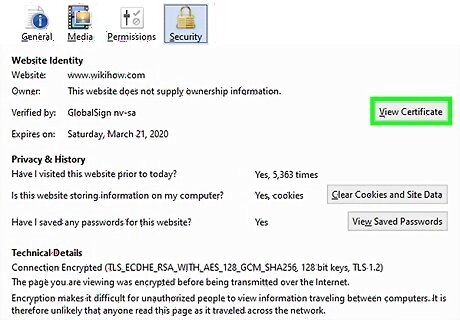
Click View Certificate. This is on the Security tab, in the top section.
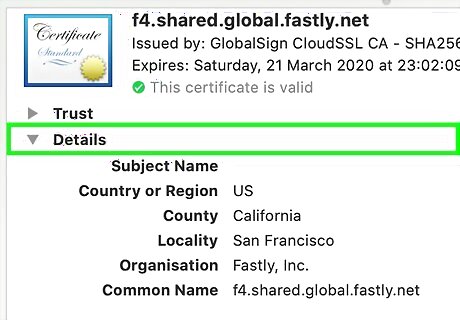
Click the Details tab. You'll find this near the top of the page with General. You'll see the information you need to allow Safari to connect to this site on this tab.
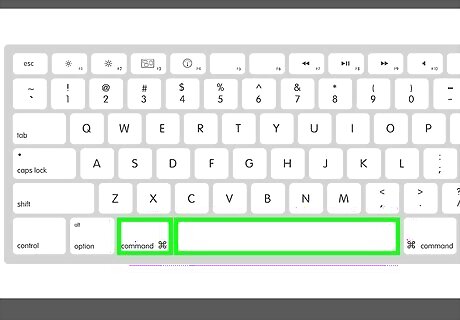
Open Keychain. You can either press Cmd + Spacebar and search for keychain in Spotlight or you can open the program from Finder > Applications > Utilities.
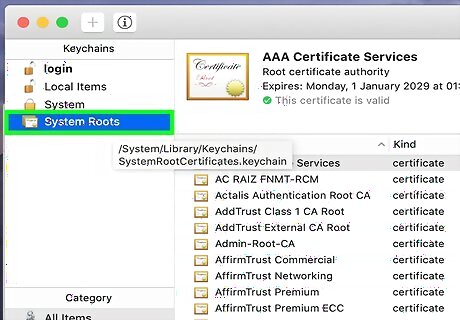
Click System Roots. You'll see this in the column on the left side of the window under "Keychains."
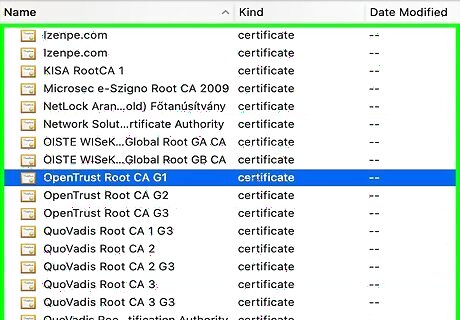
Find the entry that is blocked by Safari. You'll see this certificate information in the "Details" page of the website. It's usually listed as "Issued by…". For example, if Facebook is blocked by Safari, you'll see in the "Details" page of the website "Issued by: DigiCert SHA2 High Assurance CA," which you should find in your Keychain as well.
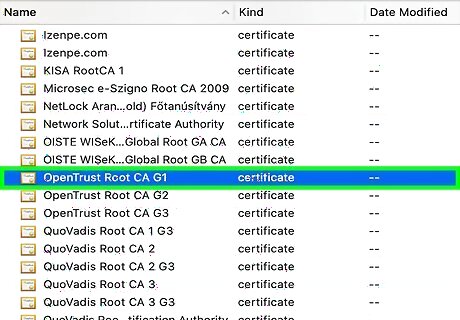
Double-click the entry. It'll open in a new window.
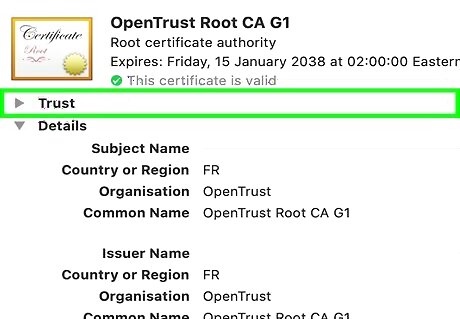
Click the arrow next to "Trust" to expand it Android 7 Dropright. You'll see a bunch of options load.
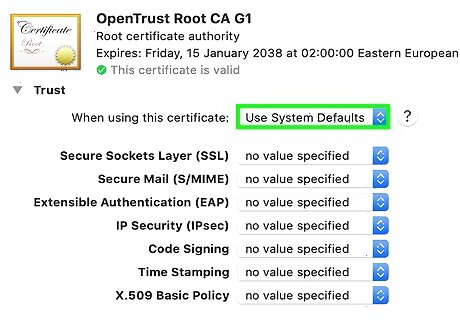
Select Use System Defaults next to "When using this certificate." You don't want to use your system's defaults because that'll end up blocking that page from loading.
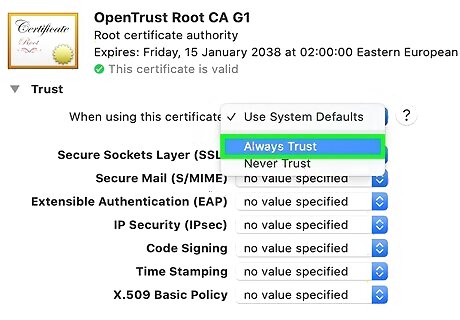
Select "Always Trust" from the drop-down. This setting allows this page to always load with Safari. You'll see all the other options change as well.
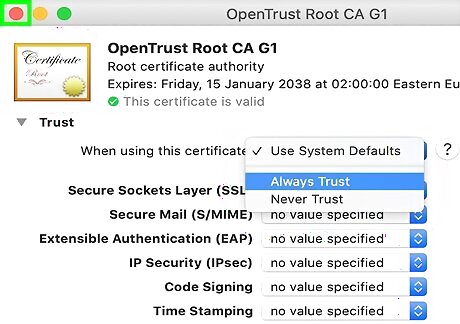
Close all the windows you have open and try the website on Safari. If it still doesn't load, continue to the next method.
Changing Antivirus Software Settings
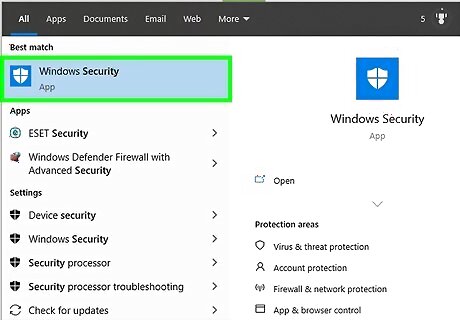
Open your Antivirus software. You might have a web shield feature enabled that is blocking the website without notifying you that it is doing so. If you don't have an antivirus application, you can skip this method.
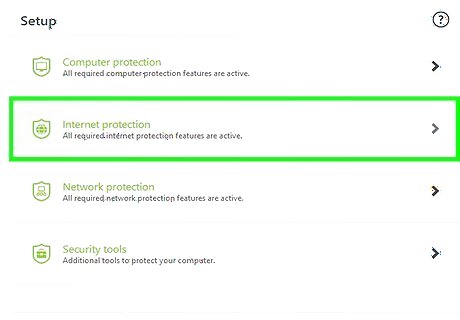
Look for Web Shield. Your antivirus software may or may not have a feature called "Web Shield" or something similarly named. You can generally perform a search in your antivirus software or browse the features.
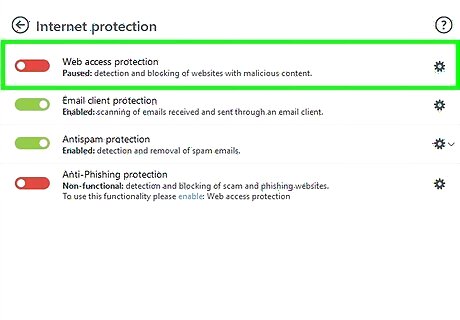
Disable Web Shield. If Web Shield is enabled, it could be blocking the website.
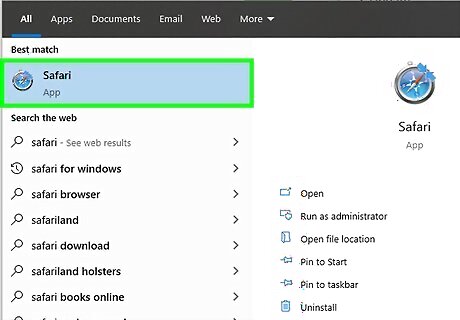
Use Safari to try to load your website. If the page still won't load, continue to the next method.
Disabling IPv6
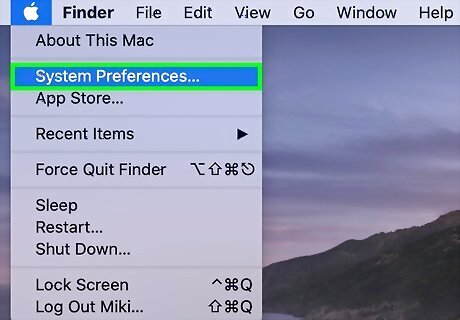
Open System Preferences. You'll find this inside the Apple menu at the top left of your screen.
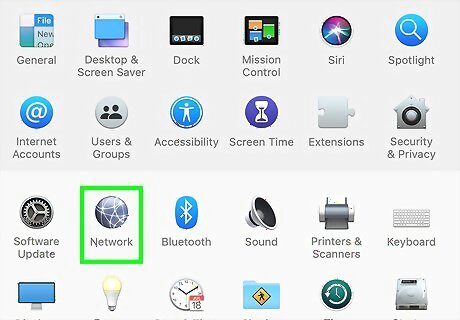
Click Network. This is usually in the third row from the top with "iCloud."
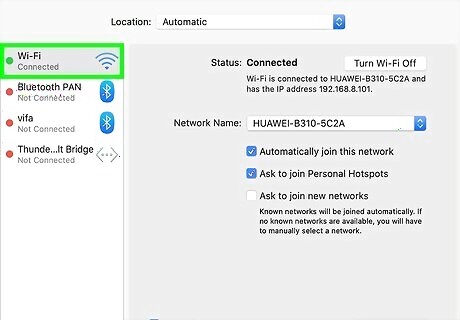
Click to select your network. You'll see a list of networks in the menu on the left. When you single-click your network, it will highlight in blue.
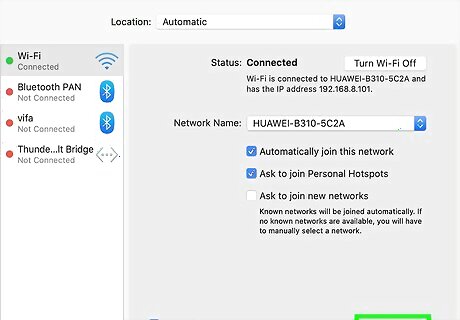
Click Advanced. You'll find this in the lower right corner of the pop-up window.
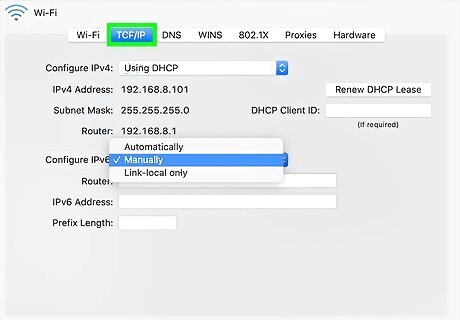
Click the TCP/IP tab (if not already active). You'll see this in the row of tabs with DNS, and Hardware.
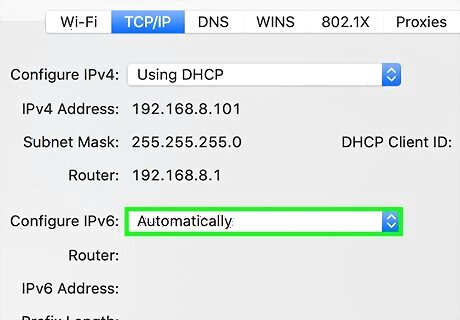
Click {{MacButton|Automatically" next to "Configure IPv6." A menu will drop-down.
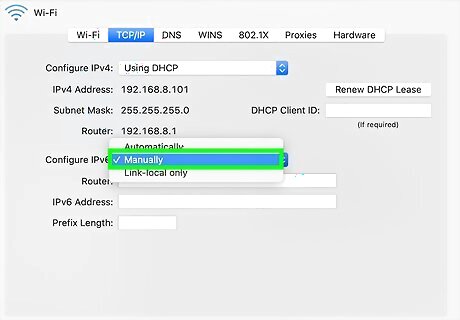
Select Manually. This is usually the second listing in the drop-down menu.
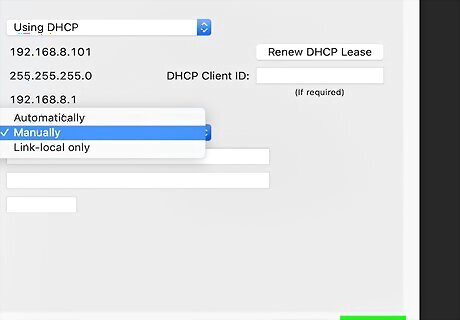
Click OK and Apply to close all windows.


Comments
0 comment