views
Blowing out the Candle

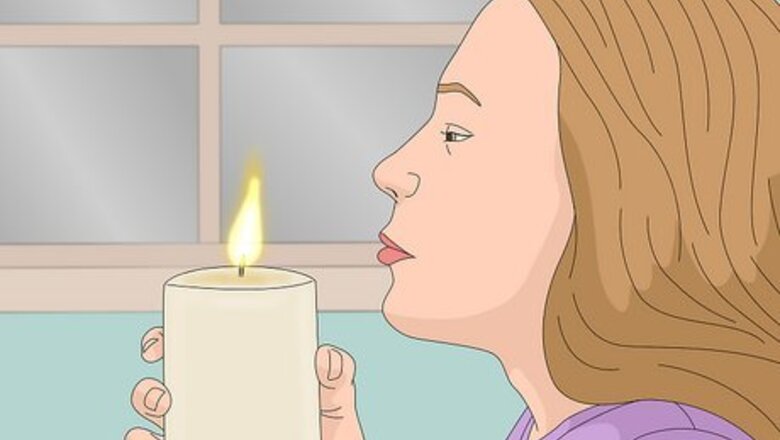
Position your face close to the flame. Move in until you’re only a few inches away, with the wick at around mouth level. This way, the air won’t have to travel as far to reach the flame, which will allow you to put it out easier. Don’t hover directly over the candle, or the heat rising from the flame may burn you.

Purse your lips together and blow. Exhale suddenly through the opening in your lips. The key is to create a thin stream of air that will put out the candle in one quick gust. Keep blowing until the flame is completely extinguished. If the flame sputters but doesn’t go out, you may not be blowing directly on it. Be careful not to blow too forcefully—doing so can send droplets of wax spraying, resulting in a big mess or even minor burns.

Stand clear of the smoke. When you blow out a candle, it releases a plume of thick, dark smoke. Keeping your distance from the extinguished candle will prevent this smoke from depositing soot on your skin or clothes or causing them to smell. Whenever possible, make it a point to extinguish your candles in a well-ventilated area where smoke won’t collect. Over the long term, blowing out your candles can lead to unsightly black buildup on the wax or around the the inside of the container.
Using a Candle Snuffer
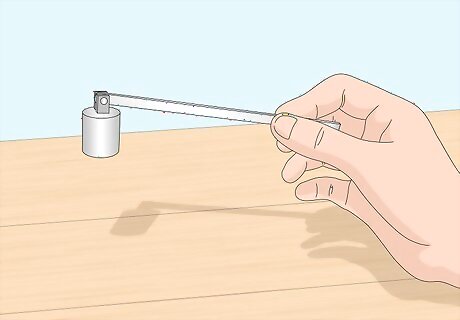
Grab a candle snuffer. Some people dislike the sooty mess that blowing out a candle can leave behind. For these people, a metal candle snuffer can provide a cleaner, more efficient alternative. These make useful tools to have on hand if you want to keep your candles looking clean and new for as long as possible. Snuffers have been used for centuries to extinguish fire lights with minimal smoke. Candle snuffers of various sizes can usually be found wherever candles are sold.
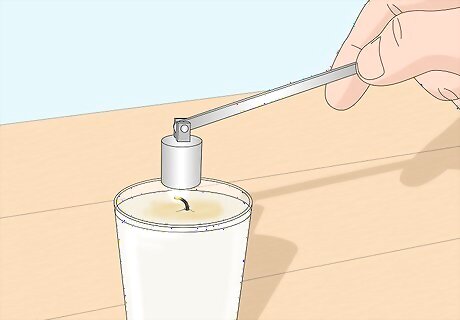
Place the bell of the snuffer over the wick. The bell is the small metal cup at the end of the long handle. When you lower the bell over the flame, it deprives it of oxygen, stifling it gradually. Unlike blowing out the candle, this won’t create as much smoke or soot. Some candle snuffers may resemble a cylinder, pyramid or disc instead of a rounded bell. Keep your hand a safe distance away from the flame to prevent accidents.
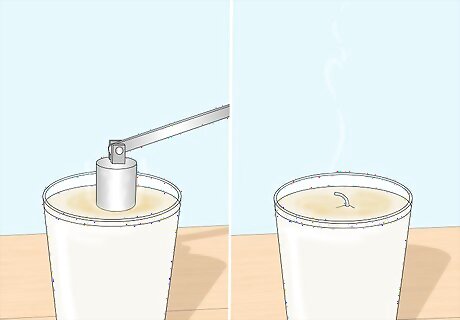
Hold the snuffer in place until the flame goes out completely. You may see a small wisp of smoke escape from around the edges of the bell. Keep it over the wick for at least one full second. Afterward, cover the candle with a lid and store the snuffer in a safe, out-of-the-way place. If you don’t hold the snuffer long enough, the flame may reignite, forcing you to try a second time. Be careful handling metal snuffers while they’re still hot.
Drenching the Wick in Wax
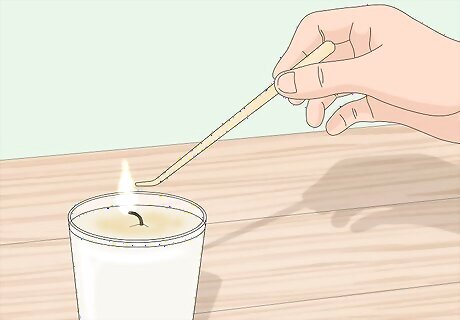
Take hold of the wick with a wick dipper or pair of tweezers. Bring the wick dipper around the sides of the wick, rather than directly over the top. Get a secure grip on the wick and hold it steady. If you don’t have a wick dipper on hand, you could also use another long, slender implement, such as a chopstick or paperclip, to force the wick down. In some cases, the pressure from the wick dipper or tweezers may be enough to put the flame out on its own.
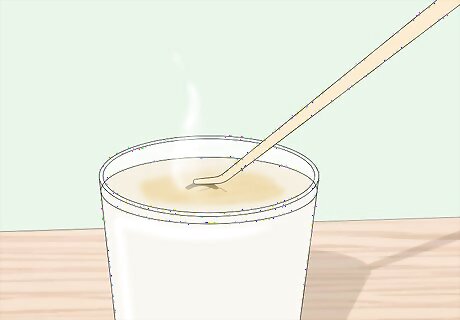
Press the wick into the melted candle wax. Bend the wick at an angle until it’s fully submerged in the liquid wax. This will kill the flame without producing any unpleasant scents or smoke. Be sure to pull the wick out right away to keep from losing it inside the wax pool. You’ll have the most success using wick dippers, tweezers and other tools on free-standing candles with minimal tunneling (the sinking that occurs when the wax around the wick burns down faster than the rest of the candle).
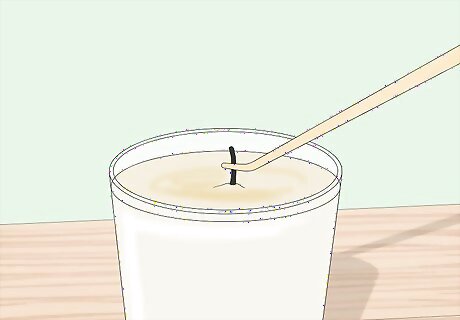
Straighten the wick. Remove the wick from the wax and smooth it out so that it stands up on its own. Be careful not to break it or pull it out of the candle while you're doing this. Let the wax cool before handling the wick any further. Extinguishing the candle in its own wax has the added benefit of conditioning the wick, allowing it to light easier and stay lit longer during future uses.
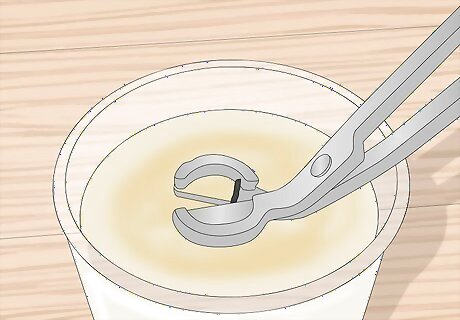
Trim the wick. Once the wax has had time to dry, use a wick trimmer to clip away the frayed, burnt tip. ⅛” (.31cm) is just about the perfect length to keep the wick burning brighter for longer. Discard the burnt wick tip, along with any other debris that may have fallen into the wax—these can present a fire hazard if they reignite. A pair of manicure scissors or nail clippers makes an acceptable substitute for a traditional wick trimmer. Get in the habit of trimming the wicks of your candles every time you use them. A pristine wick burns more evenly, which can greatly lengthen a candle’s lifespan.
Putting out the Flame with Your Fingers
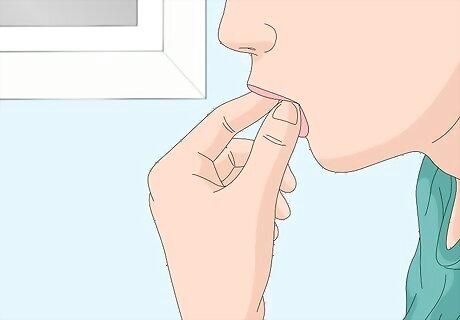
Lick the tips of your fingers. Run the pads of your fingers over your tongue just enough to moisten them slightly. Most people prefer to use their thumb and forefinger, but any two fingers will suffice. The idea is to wet them just enough to stifle the candle with a light touch. Wetting your fingers will also help protect your skin from the heat of the flame. If there’s a source of water nearby (like a sink or drinking glass), you can prepare your fingers that way, as well.
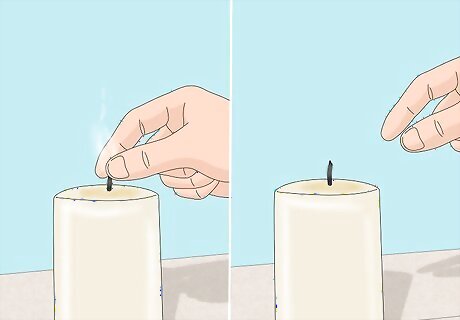
Pinch and release the wick quickly. In one rapid motion, grasp the wick between your two fingers. The moisture should cause the flame to die as soon as you make contact. Make sure you let go immediately so as not to take any chances. You may feel a warm sensation momentarily. Once the flame is out, however, the heat will dissipate almost instantly. The sizzling sound you hear is nothing to worry about—it’s just the moisture on your fingertips evaporating.
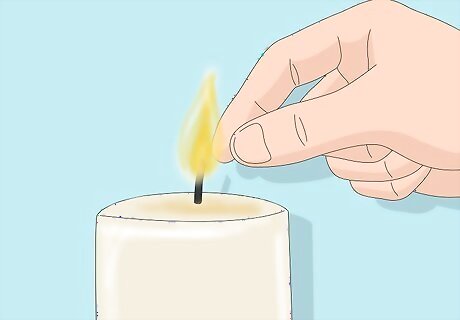
Be careful not to burn yourself. Needless to say, attempting to extinguish a candle wick with exposed fingers is risky, since it requires you to actually touch it. Always exercise the utmost caution anytime you bring any part of your body close to a burning candle. If the flame doesn’t go out, try again or give a different method a shot. Practice a few times on an unlit candle (with dry fingers) before you try for real. The inherent danger of using your fingers to put out a candle makes this more of a neat party trick than a practical everyday solution.




Comments
0 comment