views
Preparing the Planting Site
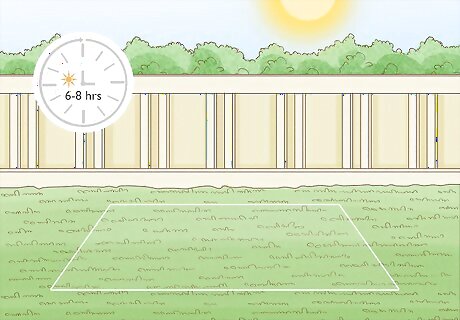
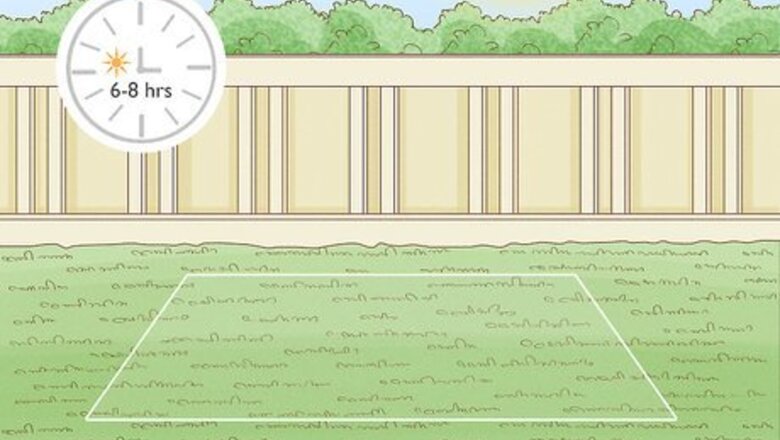
Choose a spot that gets at least 6 to 8 hours of sunlight. Beans and most peas prefer full sun. Observe your yard throughout the day, and note which areas get good sunlight. Since afternoon sunlight can be intense, go for a spot that gets lots of light in the morning, but is partly shaded later in the day. Some peas do well in partial shade, or 4 to 6 hours of sun. When you go shopping for seeds, check the plant's light preferences on the package's label.
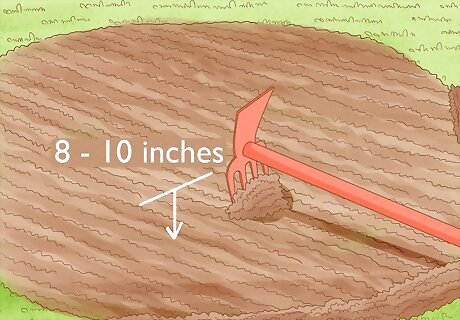
Till the soil to a depth of 8 to 10 in (20 to 25 cm). Use a hoe or garden spade to dig into and turn over the soil. Lightly water the soil beforehand to make it easier to till. Turn all of the soil in the area where you plan on planting your vegetables. Beans and peas thrive in well-draining soil. If you have dense soil, add at least 10 to 15 lb (4.5 to 6.8 kg) of sand or well-aged manure and compost when you till. Try digging a shallow hole, then water it for about a minute with your hose. If the water sits in a puddle and doesn't really drain, you'll need to amend it with organic matter or sand. You can also pick up a handful of soil and form it into a ball. If it holds a compact shape and doesn't crumble much, your soil is dense.
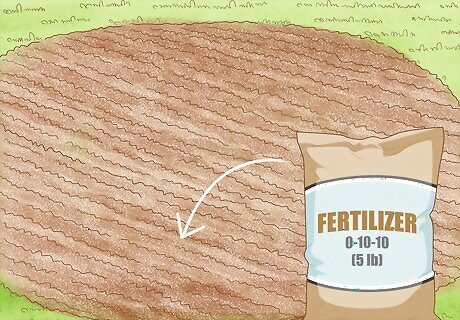
Add about 5 lb (2.3 kg) of low or no nitrogen fertilizer. Check a fertilizer's 3 NPK numbers. Choose one with 0 or 1 as the first number and high second and third numbers, such as 0-10-10. Spread the fertilizer over your planting area, then mix it into the soil. The 3 NPK numbers refer to a fertilizer's nitrogen (N), phosphorus (P), and potassium (K) contents. A 0-10-10 bag of fertilizer is 10% phosphorus and 10% potassium; the rest is substrate, or filler. Beans and peas don't require much fertilizer, and they can absorb nitrogen from the air. Frequent or heavy applications will lead to abundant foliage, but fewer pods.
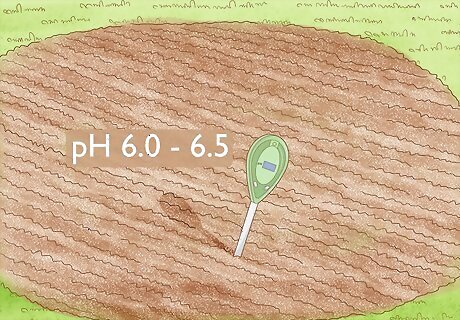
Acidify your soil if the pH is above 6.5. To test pH, mix 1 part each of soil and distilled water, insert a test strip into the mixture for 20 to 30 seconds, then compare the strip's color with the kit's color key. Beans and peas need slightly acidic soil; aim for a pH of 6.0 to 6.5. If your soil's pH is greater than 6.5, add an acidifier, such as sulfur or aluminium sulphate. Find acidifiers and other soil amendments at a garden center. Read the instructions, and sprinkle the amount specified to meet your target pH. As a rule of thumb, sprinkle 4 to 8 oz (110 to 230 g) of sulfur per square yard or meter, then rake or hoe it into the soil. If your soil is too acidic, add an alkaline amendment, such as lime. It's best to test and amend your soil's pH during warm weather. Additionally, you should add an acidifier to your soil at least 3 months before planting to ensure it has time to take effect.
Planting Bean and Pea Seeds
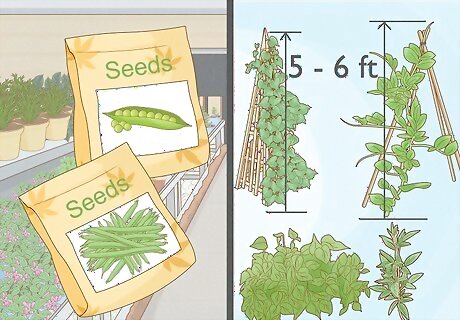
Purchase seeds at your local garden center. There are a wide variety of beans and peas, and they loosely fall into 2 categories. Climbing or pole beans and peas are vines that can grow at least 5 to 6 ft (1.5 to 1.8 m) tall, and they need to be trellised. Bush beans and peas don't grow as tall, so they don't need extra support. Green beans, lima beans, and dry beans (such as kidney beans) are common choices among gardeners. Many types of beans, such as green beans, come in both pole and bush varieties. Commonly grown peas include English peas, snow or sugar peas, and sugar snap peas. Like beans, many peas are available in both bush and climbing varieties. If you don't want to put in the extra effort to install and build a trellis or pole, go with a bush variety. On the other hand, climbing vines could be a good choice if you like the look of a vine-covered trellis, or your garden backs up to a tall structure, like a fence. Beans and peas have delicate roots and don't tolerate being transplanted. For this reason, it's best to grow them from seed directly in the garden.
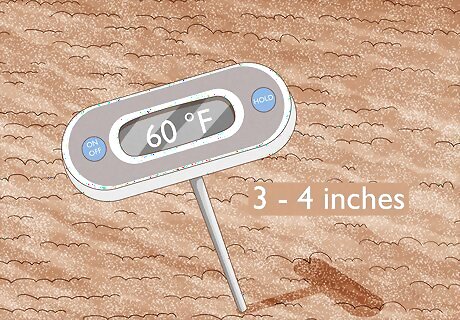
Sow your seeds once the threat of frost has passed. Before planting, make sure the soil temperature is over 60 °F (16 °C). The most accurate way to test soil temperature is with a soil thermometer, which is an inexpensive tool available at most garden centers. Insert the thermometer about 3 to 4 in (7.6 to 10.2 cm) into the soil to take a reading. You could also use average air temperatures to estimate soil temperature. To find an average air temperature, add together a day's high and low temperatures, then divide by 2. Find the average air temperature for the last 3 days. The soil temperature should be roughly equal to that number. Using this strategy, you can use forecast temperatures and predict when the soil will be warm enough to plant. In general, the best time to plan is mid-spring, or in mid-May for temperate climates in the Northern hemisphere. Consider staggering your planting if you plan on growing lots of plants. For instance, plant 5 one week, another 5 a few weeks later, then another 5 a few weeks after that. You'll space out your crop instead of getting overwhelmed with a big harvest all at once.
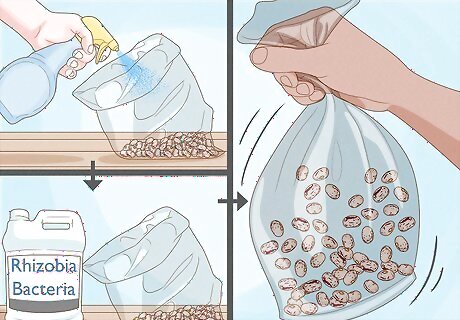
Apply Rhizobia bacteria to the seeds for healthier plants. Rhizobia bacteria help peas and beans absorb nitrogen, and applying them to seeds is a common practice. Open your seed package or transfer your seeds to a plastic bag. Mist the seeds lightly with water, pour the package of Rhizobia bacteria into the bag, then shake it to ensure all the seeds are covered. You can find Rhizobia bacteria online and at garden centers. Rhizobia is a bacteria of the soil, and it fixes nitrogen by forming a symbiotic relationship with the legumes.
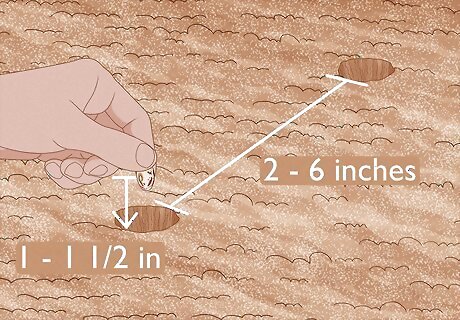
Plant the seeds 1 to 1 ⁄2 in (2.5 to 3.8 cm) deep and 2 to 6 in (5.1 to 15.2 cm) apart. Push your finger into the soil, pull it out, then place a seed into the hole. Plant your seeds in rows; if you have multiple rows, leave about 2 to 3 ft (0.61 to 0.91 m) between them. Check your seeds' package for that plant's specific space requirements. In general, space bush beans about 2 to 4 in (5.1 to 10.2 cm) apart. Space pole bean seeds about 4 to 6 in (10 to 15 cm) from each other. Plant pea seeds 3 in (7.6 cm) apart.
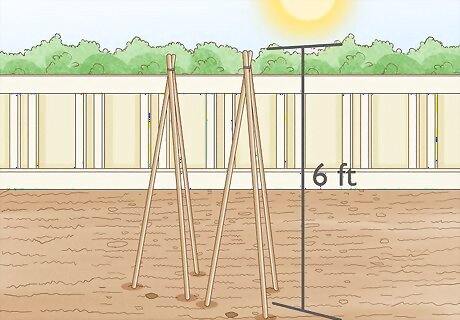
Provide a support for pole beans and tall-growing peas. Climbing varieties need the support of poles, bean teepees, trellises, or a face. Insert individual 6 ft (1.8 m) bean poles into the soil by each seed hole, or tie bamboo sticks together to construct teepees. Don't cover the planted seeds with soil until you've added the supports. The holes will help you keep track of where to place the supports. Since beans and peas have sensitive roots, you'll need to erect supports when you plant the seeds. Doing so after they've sprouted could injure your plants. If you're using a trellis, be sure that it doesn't block sunlight from reaching the planted seeds.
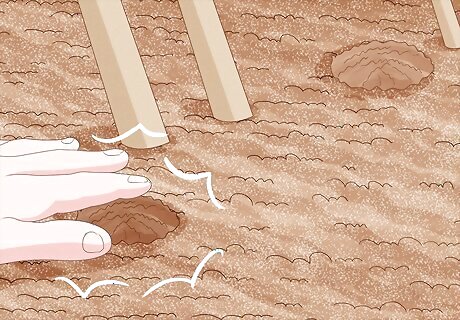
Cover the seeds and firm the soil with your hand. Fill in the holes, then press down gently on the soil where you planted each seed. You don't want to pack the soil; just pat it down with your hand to encourage germination. Good soil contact will help protect the seed and encourage it to sprout.
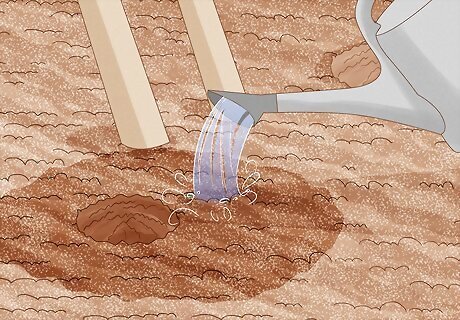
Water your garden area lightly after planting the seeds. After covering the holes and firming the soil, water the planting site just enough to get the soil moist. You'll need to keep the soil moist, but it shouldn't be waterlogged. Check your soil's moisture daily, and avoid letting it become dry. Since too much moisture discourages germination, just get the soil damp, and don't water it before planting as you might with other kinds of plants. Additionally, avoid planting bean and pea seeds right after heavy rain. Depending on the type of beans or peas you've planted, expect the first sprouts to appear within 1 to 2 weeks.
Caring for You Garden
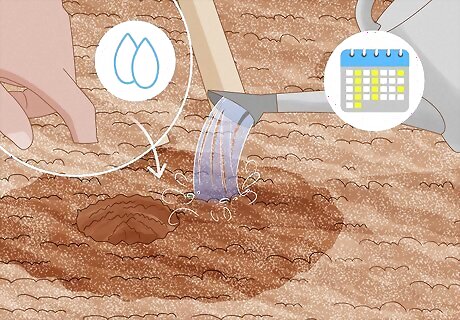
Water your garden at least 2 to 3 times weekly to keep the soil moist. To test the soil, push your finger into the ground. If the soil feels dry and doesn't stick to your finger, it's time to water your plants. Remember that the soil shouldn't be waterlogged. Beans and peas like consistent moisture, or about 1 in (2.5 cm) per week. Water the planting area with a light spray to avoid injuring seedlings. As the plants mature, Try to water directly into the soil to avoid getting the leaves wet. Wet leaves can promote disease. To best way to prevent disease is to keep your plants' foliage as dry as possible. Water earlier in the day so the sun can dry any moisture on the leaves, and don't prune leaves or harvest pods when your plants are wet.
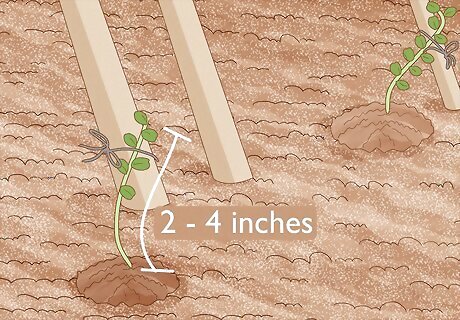
Tie the sprouts to their supports when they're 2 to 4 in (5.1 to 10.2 cm) tall. Once the seedlings are too tall to stand up straight, carefully tie them to the support with garden twine. As they grow, tie the vines to the support in 1 ft (30 cm) intervals. Alternatively, if you're using a trellis or fence, weave the vines into the rails as they grow. If you allow the vines to fall over, they could rot or tangle. The majority of bean and pea varieties have no trouble climbing a support after they get started.
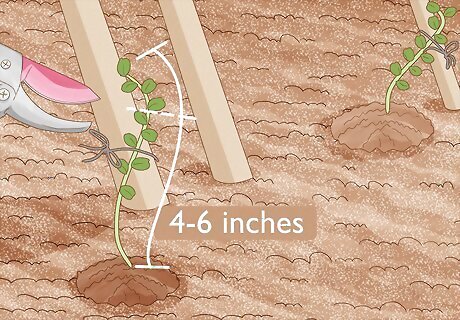
Harvest pea shoots, or the top immature leaves, if desired. Tender pea shoots are delicious, and can be eaten raw or cooked. When your pea plants are 4 to 6 in (10 to 15 cm) tall, cut off the top 2 sets of leaves with clean hand pruners. Try sautéing your harvested pea shoots with a tablespoon of olive oil, a pinch of salt, and a splash of lemon juice for about 1 minute. Not only are shoots good to eat, pruning your pea plants will encourage further growth.
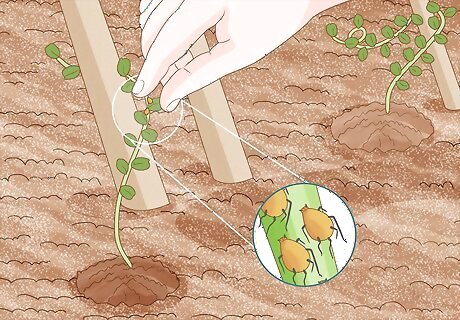
Remove pests by hand or, if necessary, use an insecticide. Check your plants regularly for insect larvae, beetles, slugs, and other pests. If you only find a few here and there, just pick them off of your plants. For infesting insects, such as aphids, use an insecticide labeled for the the type of pest. Read your product's instructions and use it as directed. If you want to avoid using chemicals, rinse away infesting insects with a sharp, steady stream of water from your hose. Be sure that the stream isn't so hard that it'll injure your plants. Remember to rinse away pests in the morning to prevent disease. To combat aphids, you could also order ladybugs online and introduce them to your garden. They'll eat the aphids, but leave your plants alone. Keep in mind that you may have to wait a season or 2 before you see any changes.
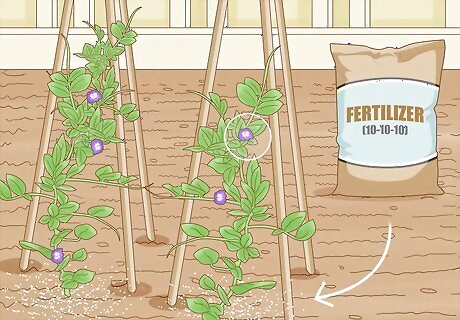
Apply nitrogen-free fertilizer when your plants flower. Flowers should appear a few weeks after your seedlings sprouted. Use a slow-release fertilizer that doesn't contain nitrogen to give your plants a little boost. Legumes don't need a lot of fertilizer, but a light application after they've spent lots of energy to bloom can help sustain their growth. If you use slow-release pellets, carefully mix about a tablespoon into the soil around each plant. Alternatively, dilute a liquid fertilizer and apply it with your hose. Since beans and peas can extract nitrogen from the air, avoid using a nitrogen fertilizer. Too much nitrogen will lead to fewer pods.
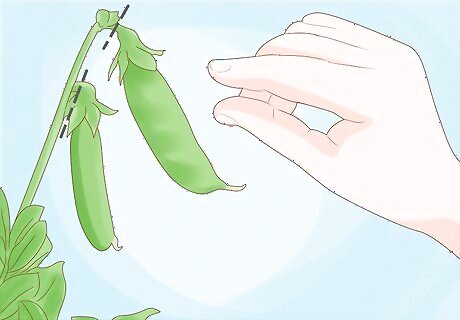
Harvest the pods when they're crisp, firm, but still immature. Depending on the variety, you should have your first harvest about 2 months after germination. For legumes with edible pods, such as sugar snap peas and green beans, it's best to pick the pods before the seeds inside fully develop. The pod should be crisp, firm, and tender, and the seeds inside should be small and immature. Field peas and dry beans, such as kidney beans, should be left until the seeds develop completely. They'll be ready to harvest when the pod easily opens. Avoid harvesting pods while the plant is wet. Wait for morning dew to evaporate to pick pods, and don't water them right before harvesting.
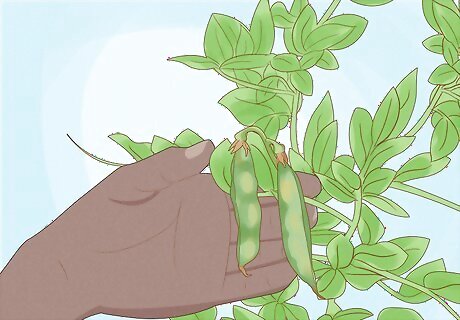
Allow a few pods to mature completely at the end of the growing season. Let some of the pods to mature until they're just about ready to fall off naturally. Open them up and collect the seeds, then store the seeds in a cool, dry place until next spring. Start the process all over again, and replant a bean and pea garden next year! Wet seeds will go bad, so don't wash the seeds before storing them. For best results, choose another spot in your garden for next year's crop.







Comments
0 comment