
views
Choosing and Securing Fairy Lights
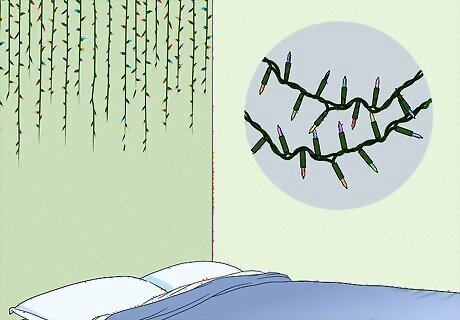
Use lights that are proportionate to the item you are securing them to. Standard-sized fairy lights or Christmas lights may look fine on a tree or large wall, but they will look bulky on smaller items, such as house plants or small mirrors. It would be a good idea to use miniature fairy lights with tiny bulbs for these types of items. Fairy lights that plug into an outlet are great for large spaces, such as walls and trees. Fairy lights that are battery-operated work best for small items, such as mirrors. Netted fairy lights typically come in standard size, so they'll work best on larger items, such as ceilings and shrubs.
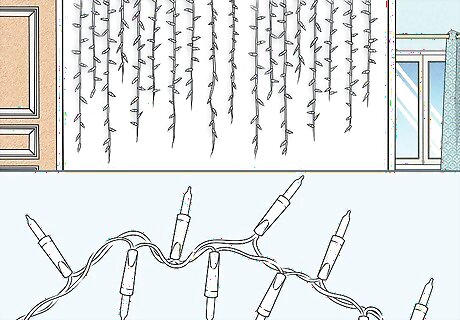
Match the color of the wire to the item's background, if possible. Christmas fairy lights typically come with a green wire. While this may look great on a tree, it won't look nice on a wall or around a mirror. Instead, choose fairy lights whose wire matches the item you are hanging them from. For example, if you are hanging fairy lights from a white wall, choose ones that have a white wire. If you can't find any, try fairy lights with silver or gold wire; avoid the green wire seen on most Christmas lights.
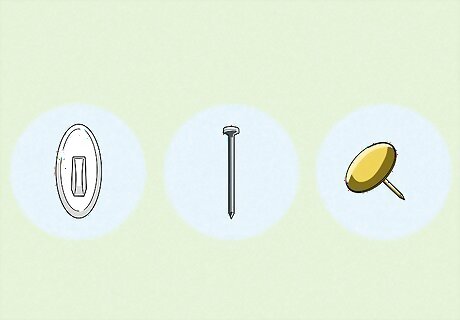
Use nails, thumb tacks, or clear wall hooks to hang the lights up. What you use to hang the lights with depends on what you are doing with the lights. Use clear, self-adhesive wall hooks (i.e. Command hooks) on walls, mirrors, shelves, and items you do not want to ruin. Use nails or thumb tacks for all other items, including outdoors. Match the color of the nail or thumb tack to the color of the wire. Drive the nails or thumb tacks between the twisted wires. Never drive them through the wires.
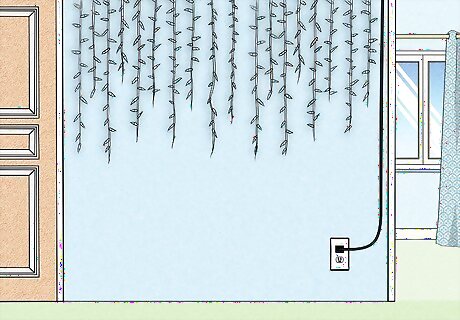
Place plug-in lights near an electrical outlet. If you don't have access to an outlet, use an extension cord that matches the wire color. Alternatively, you can purchase battery-operated fairy lights. They come in standard bulb-size and mini-bulb size.
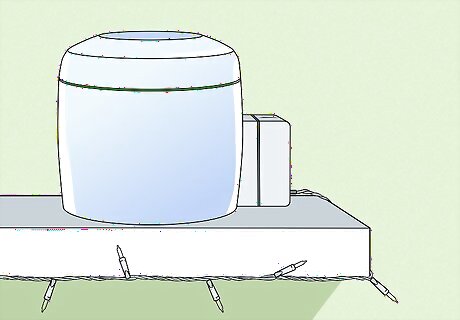
Get creative when it comes to hiding and securing battery packs. Don't leave a battery pack dangling against a wall, as this can tear the wire. Instead, secure it to the wall with a strip of adhesive Velcro. If you are using the lights to decorate a shelf or mirror, you can hide the battery pack behind an item that's on the shelf or counter.

Choose outdoor lights when decorating your porch or garden. Not all lights are made to withstand the weather. Even if you live in a dry climate where it seldom rains or snows, you still want to use outdoor lights. Many places get humid in the evening and early morning, and the resulting dew can short-circuit standard lights.
Hanging from Walls and Ceilings

Clip photos to strands of lights for a creative display. Hang a long strand of standard-sized lights in a vertical zigzag formation, then secure photos to the wires with mini clothespins. Alternatively, you can hang several parallel rows of lights for larger displays. Leave enough space between the rows for the photos. This is a great way to share memories during weddings, anniversaries, and graduations.
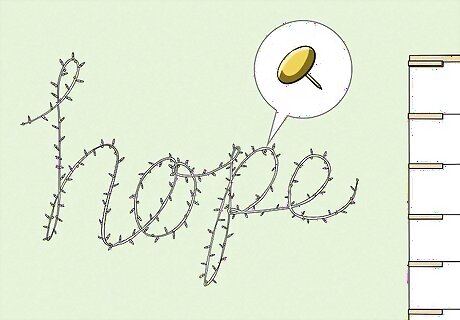
Spell words out in cursive if you want to decorate your wall. Use a pencil to write the word you want on your wall in cursive. Use nails or thumb tacks to secure the lights to your wall, following your traced lines. Space the nails closer together in areas with tight curves and loops. You can use this method to create a simple shape, such as a heart. You can use standard-sized or miniature lights for this.

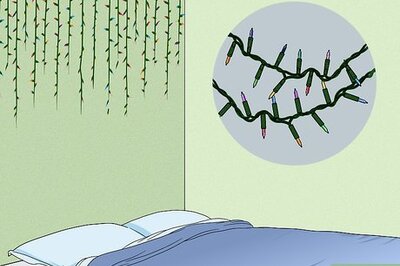
Combine fairy lights with a mirror garland if you want glittering wall art. Install a short curtain rod on your wall. Wrap standard-sized fairy lights loosely around the rod so that they drape down like icicles. Next, wrap a mirror garland around the rod in the same fashion. When you turn the lights on, the mirrors will glitter and reflect. You can use icicle Christmas lights instead. You won't need to wrap them loosely because they already have the right shape. A mirror garland is a long piece of string with tiny mirror circles or squares glued to it.
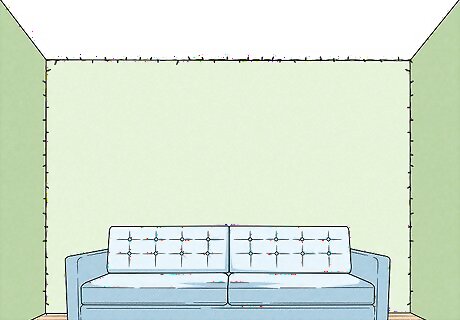
Join several strands of lights together to frame an accent wall. Use nails, thumb tacks, or wall hooks to secure the lights to the perimeter of your desired wall. Secure the lights to the side and top edges of the entire wall; leave the bottom edge along the floor empty. This works best with string lights that have to be connected to an outlet.
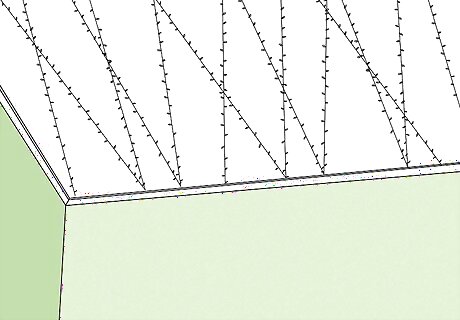
Crisscross strands of lights across a hallway ceiling to brighten it. Use nails or thumb tacks to pin the lights in a zigzag across the width of your hallway's ceiling. Start at 1 of the narrow ends, and finish at the other narrow end. The closer you pin the strands together, the brighter your ceiling will be. Save time by using netted or latticed fairy lights. Make sure that the width of the net matches the width of your porch or ceiling. You can use this method outside under porch roofs. Make sure that the lights are suitable to go outside.
Illuminating Furniture

Frame a wall mirror if you want to add glamour and light. Use nails or thumb tacks to secure the lights to the wall around the mirror. You can pull the strands taut for a sleeker look, or you can let them coil into spirals for a fuller look. If you can't find lights with white wires to match your wall, get ones with silver wires to match your mirror instead. You can also secure the lights to the frame of a full body standing mirror instead. Use nails or thumbtacks for wooden frames, or wall hooks for plastic/metal frames.
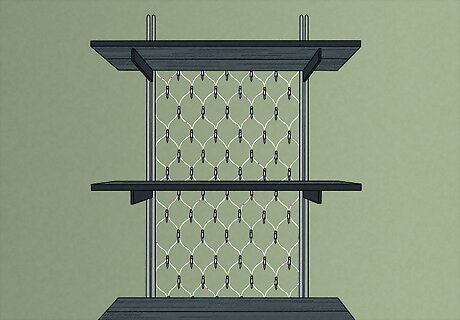
Place netted fairy lights behind shelving units for a lighted display. Remove the backing from your shelving unit first. Get a strand of latticed or netted fairy lights, and slide them behind the shelving unit so that they replace the backing. Secure the lights to the wall behind the unit with nails. If there are any lights sticking out from the sides of the unit, fold them behind the unit. Use a hammer to pry the nails out of the shelf backing first, then pull the backing off.
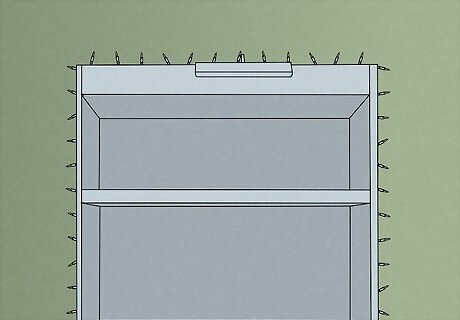
Wrap fairy lights around your shelves if you want to light up your room. Use clear hooks or nails to secure standard-sized fairy lights to the edges of your shelves. If you are working with an entire shelving unit, secure the lights to the top and side edges. If you are working with single wall-mounted shelves, secure the lights to the front and side edges. Connect multiple wall-mounted shelves by nailing the wire to the wall behind them. Make sure that the nail goes between the twisted wires, not through them. If you are using battery-operated lights, hide the battery pack behind an item on the shelf.
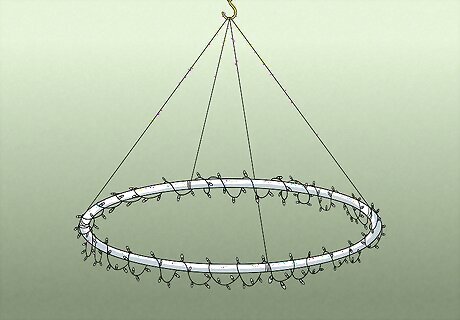
Drape the lights from a circular chandelier to add whimsy. Buy or make a simple ring-shaped chandelier, and suspend it from your ceiling. Loosely wrap several strands of standard-sized or miniature fairy lights around the chandelier. Battery-operated lights work the best for this, unless you have an outlet in the ceiling for standard lights to plug into. Make a simple chandelier by painting a hula hoop black or white, then suspending it from the ceiling using 3 to 4 chains and a large ceiling hook. If you are using battery-operated lights, hide the battery pack between some lights on the chandelier. Decorate the chandelier further with moss and fake flowers for a floral chandelier.
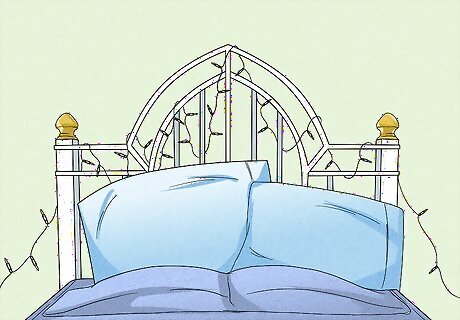
Decorate your bed with fairy lights as an alternative to a nightlight. There are lots of ways you can go about this. If you have a wrought-iron headboard, you can wrap standard-sized lights around the spokes and rails making up the headboard. If you have a canopied bed, you can try any of the following: Wrap long strands of lights around the tall bed posts. Drape latticed or netted lights across the top of a sheer canopy. Wrap the lights around the frame, and let them droop from the curtains.
Hanging Fairy Lights Outdoors

Wrap lights around tree trunks or large plants to illuminate your garden. Fairy lights aren't just for Christmas trees; you can use them to light up your outdoor plants as well. Choose lights with a gold wire, and wrap them around a tree trunk. You can also use lights with green wires on plants and shrubs. Wrap small, delicate lights around indoor plants and small trees, such as a ficus.
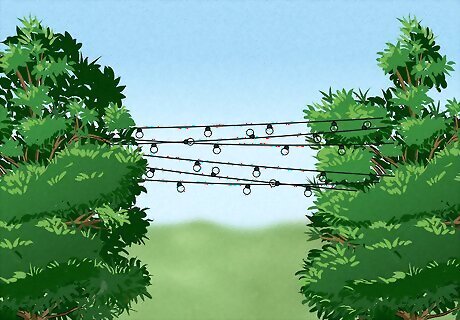
Hang a strand of lights between 2 trees to create an arch. Use a hammer and nails to secure 1 end of your lights to 1 tree, and the other end to another tree. Hang the lights tall enough so that you can walk under them. You can use standard-sized fairy lights, or you can use ornamental garden lights instead. This works best with trees that are close together. If you have to connect 2 or more strands together, the trees are too far apart.

Wrap fairy lights around a pergola or garden arch for a magical touch. Choose fairy lights with a wire color that closely matches the tone of your arch. Wrap the lights around the top of a pergola or arch. Secure the lights at both ends with nails. Use lights with silver or white wires for white pergolas and arches. Use lights with gold wires for brown (unpainted wood) pergolas and arches. If your arch is curved, rather than square, you can wrap the lights around the sides as well.
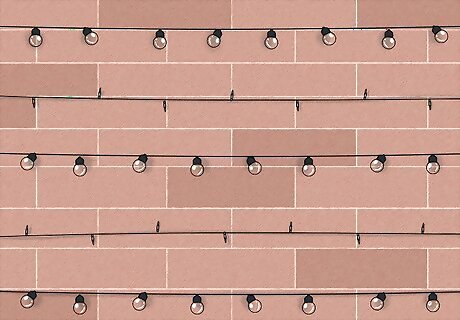
Combine ornamental and standard fairy lights to create wall art. Buy 2 strands of standard fairy lights and 2 strands of ornamental fairy lights. Hang the lights on your exterior wall in rows, alternating between fairy lights and ornamental fairy lights. You can pull the lights taut to create straight lines, or give them some slack to create swooping drapes. Examples of ornamental lights include orbs, bells, lanterns, pinecones, and other interesting shapes. Standard fairy lights are the incandescent ones that look like Christmas lights.




Comments
0 comment