views
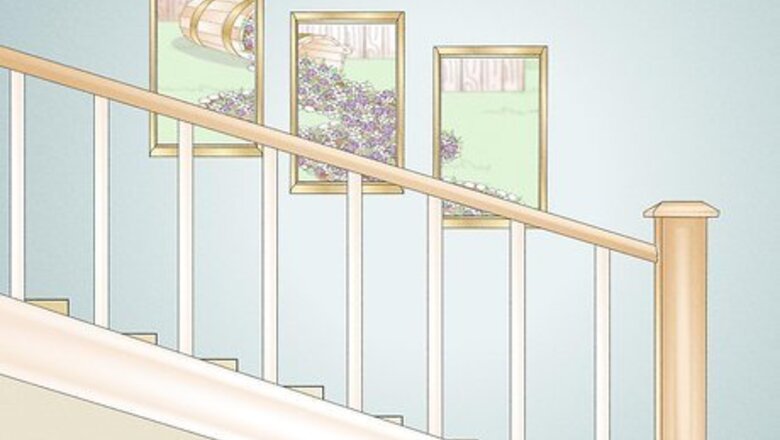
- Use a grid layout for a more organized look, or a freehanded layout for a more organic feel. Hang large pictures in the center of a landing for a natural focal point.
- Use masking tape to mark a diagonal guideline about 60 in (150 cm) above each stair, which is around eye level.
- Hang the largest picture first, in the center of the staircase, and evenly space smaller pictures around it to fill out the wall.
Staircase Frame Layouts
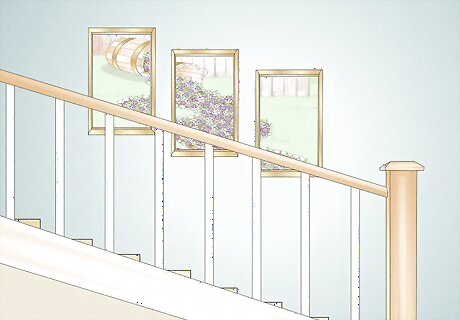
Use a stepped arrangement if you have a shorter staircase. Hang similarly-sized artworks at regular intervals, each centered above a step. This creates a symmetrical, orderly look. Or, go ahead and hang different-sized pictures this way for a livelier feel.
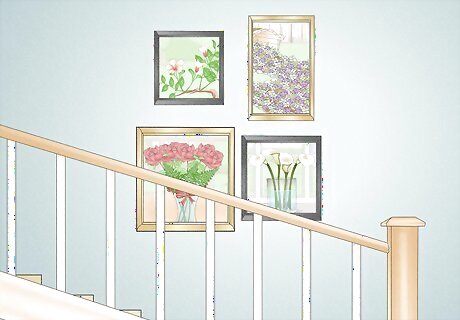
Use a grid format to hang many differently-sized prints. Line up the center of each piece so that it’s center with the middle of the pictures above, below, and to the sides of it. This helps make hanging many pictures feel less chaotic.Or, line up the edges of each picture with the edges of those next to it, rather than lining up their centers, for an even more organized look. Keep each picture about 2–3 in (5.1–7.6 cm) away from the next to ensure the spaces between them are the same.
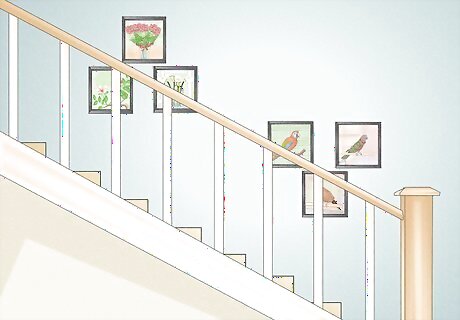
Keep it organic with a scattered arrangement. Ditch the measuring and hang pictures wherever they feel right. This can create a comfortable, natural feel that isn’t too constrained. Or, hang pictures in groups to make only a handful of pictures span a longer staircase.
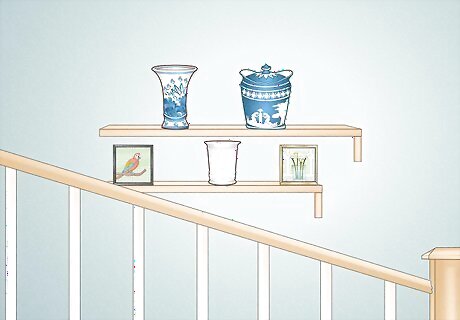
Use shelves to fill in space and add variety. Installing shelves along the staircase lets you showcase other, more three-dimensional art, as well. You might also place smaller frames on the shelf and lean them against the wall for a more temporary arrangement.
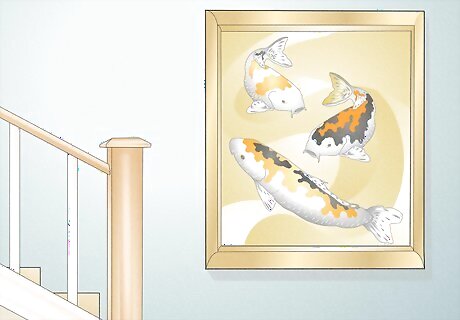
Use 1 main picture as a focal point on a landing. Go for a large piece of artwork or a framed family portrait to take up the space. Center your photo in the middle of the landing wall for a fun decoration that won’t look cluttered. Feel free to arrange smaller pieces around it to fill in landing space.
Hanging Pictures Along a Staircase
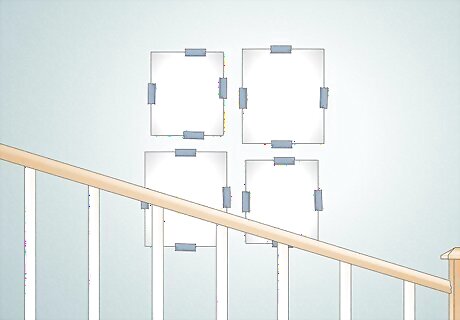
Plan your layout on the floor, or with paper stand-ins on the wall. Craft expert David Julien advises placing your pieces of art on the floor “to visualize the space you want between them.” This helps finalize your layout before you put a bunch of holes in the wall.Or, trace your frames onto large sheets of paper, cut out the tracings, and use masking tape to fix them to the wall, simulating your final layout.
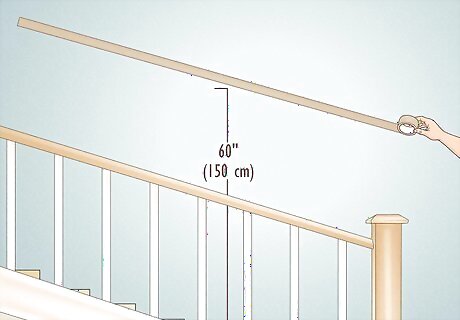
Place a strip of tape 60 in (150 cm) above each stair as a guide. Measure 60 in (150 cm) above the first and last steps and mark those points with masking tape. Then connect the points with one long strip of tape that spans the staircase.This gives you a clear guideline to roughly follow as you hang pictures. Generally, aim to hang the centerpoint of any larger frames along this line. 60 in (150 cm) is the average eye level, which makes it ideal for hanging pictures. For more precision, place an X along the line above the center of each stair to line up smaller frames with individual steps.
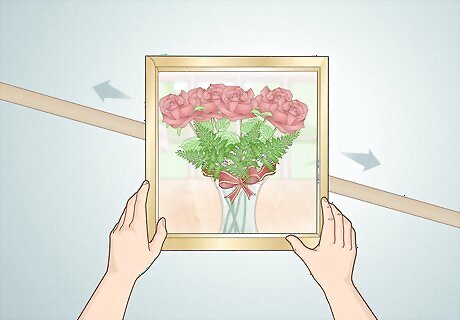
Start in the center of the staircase and work outward. Hang our first piece, ideally a large one, centered above the middle step. Then, hang other pieces up the staircase and down it to create a balanced arrangement.
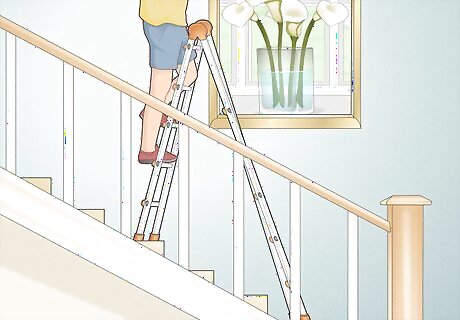
Use a ladder with a ladder extension to reach high-up places. Ladder extensions hook onto the bottom of a folding ladder so it can balance on top of 2 stairs. Attach one to the bottom of your ladder to reach your wall safely and carefully. Never try to use a normal ladder without an extension on a staircase. The uneven surface can cause you to slip and fall if you aren’t careful.
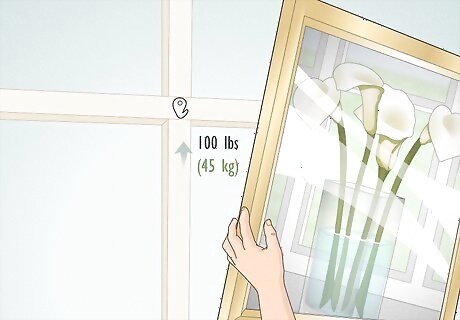
Hang pictures that weigh more than 100 pounds (45 kg) on studs. Drywall and plaster can’t handle heavy weights, so if you’re hanging up a picture or a large piece of artwork, use a stud finder to mark the perfect location. If you don’t have a stud finder, use your knuckles to gently tap on the wall. If it sounds hollow, there’s no stud there; if it doesn’t sound hollow, that’s a stud. If you have cement walls, install a wall anchor first so the pictures don't fall down.
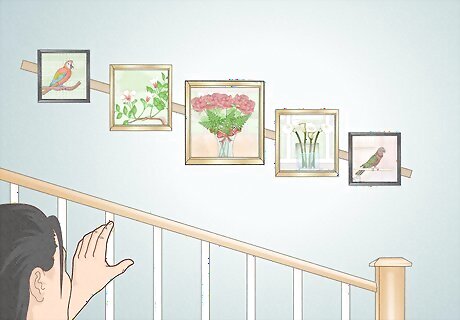
Step back and check your work after hanging each frame. This lets you analyze your placement from a distance. Don’t be afraid to re-hang or rearrange pictures throughout the process to get things just right!
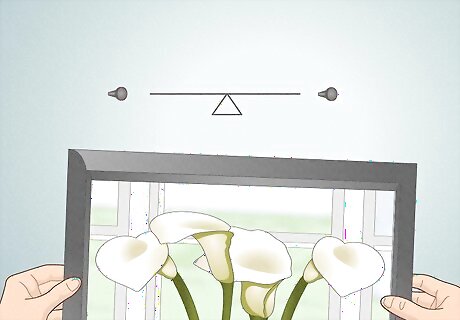
Hang each frame with 2 nails to keep them level. Whether you’re hanging your frames from wire or eye hooks, using 2 nails or screws instead of 1 keeps them straight and secure.
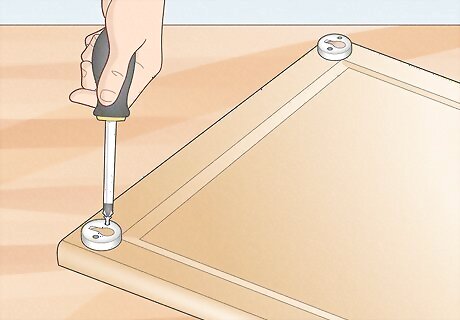
Hang pictures on a sloping wall using keyhole hangers. Drill screws into all 4 corners of your frame and screw 4 keyhole hangers to the wall in the corresponding spots. Then slip the frame’s screws into the hangers.




Comments
0 comment