views
Choosing the Flowers
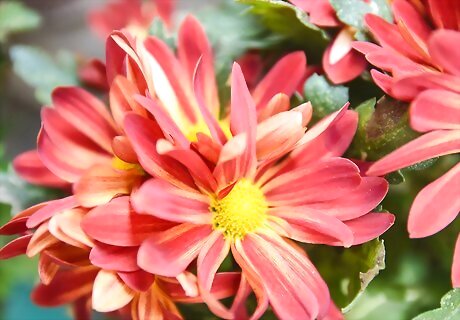
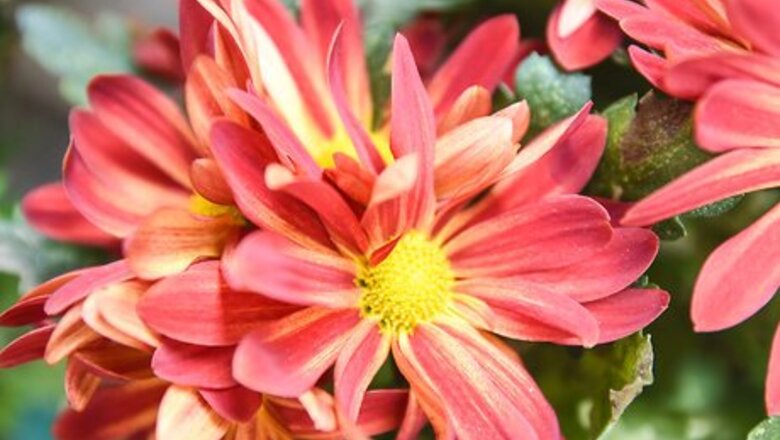
Select hardy flowers with low moisture content. The best flowers for drying are sturdy, with a small calyx and tightly enclosed petals. Experiment with any flowers and herbs that interest you, but the best candidates for drying are amaranth, artemisia, aster, astilbe, baby’s breath, calendula, celosia, chrysanthemum, coneflower seed heads, dahlia, daisies, gomphrena, herbs, hydrangea, lavender, lunaria, marigold, poppy seed pods, rose buds, salvia, sea holly, statice, strawflower, yarrow and zinnia. Flowers with high water content, like peonies, are harder and take longer to dry. They can also lose their shape and color during the process. Delicate flowers, like carnations, are beautiful when dried, but their fragility makes them difficult to work with.

Choose flowers that are almost at full bloom. Fresh flowers for bouquets are usually harvested with new buds in early bloom. If you want to dry fresh cut flowers that are already in a bouquet, wait until the blooms have opened almost completely. If you’re harvesting flowers yourself specifically for drying, wait until the buds have opened about 90% – you want them to be just shy of full bloom when you cut them. Avoid harvesting flowers that are mature or past their prime – they will often lose their petals and shed pollen during the drying process. Make sure the flowers haven’t set seeds yet.
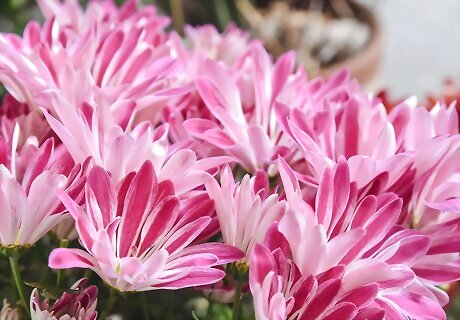
Harvest flowers and herbs in the morning. Flowers are at peak quality for harvesting on dry, sunny mornings after the early morning dew has evaporated. Get the flowers out of the sunlight immediately after you harvest them. This helps them retain their vibrant color. Do not use water to rinse dirt off the petals. Hold them upside down and shake them gently to remove any dirt. Dewy flowers take much longer to dry and the moisture may cause mold to develop between the petals. Avoid harvesting at midday, when the temperature peaks. The heat can cause the flowers to wilt, making them less ideal candidates for drying.
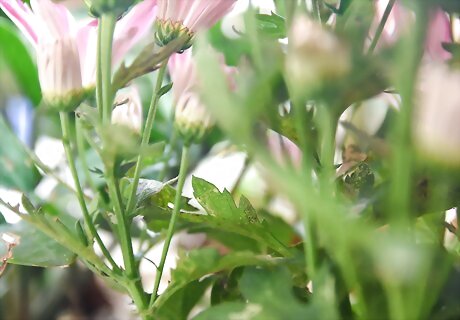
Opt for flowers that have long, straight stems. These work best when building dried flower bouquets. Cut the stems no shorter than six inches in length. This will facilitate the bundling and drying process later. Place the flowers upright in a bucket or basket while you’re harvesting them.This inflicts the least amount of damage to their fragile petals and is the easiest way to transport them from the field. If you plan to use tall vases for your dried bouquets, keep the final look in mind while harvesting. If you don’t know how you’ll be displaying the flowers, leave as much length as possible on the stems. You can trim them to your desired length later.
Hanging Up Flowers to Dry
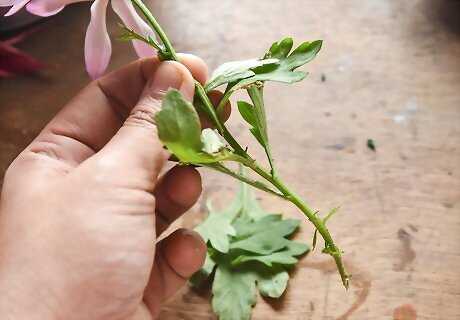
Remove the excess foliage. Strip all the extra greenery and leaves away, leaving only the bare stems. Work carefully around any thorns and avoid touching the petals as much as possible. If you want to do any stem trimming, this is the best time to do it. The flowers you plan to use in the same bouquet should have stems that are approximately the same length. Some people find it easier to strip the leaves and foliage off when they’re out gathering flowers in the field, but use whatever technique works best for you.
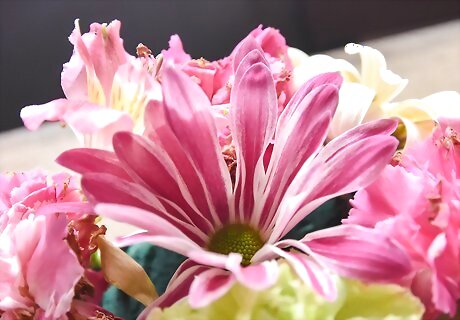
Gather the flowers into small bunches. How you group them together is up to you – by species, purpose or any other way you like. The more stems that are bundled together in one bunch, the longer it will take for them to dry, so try to limit your bundles to about five or six flowers each. In most cases, it is better to dry flowers separately from herbs because their drying times can vary so much.
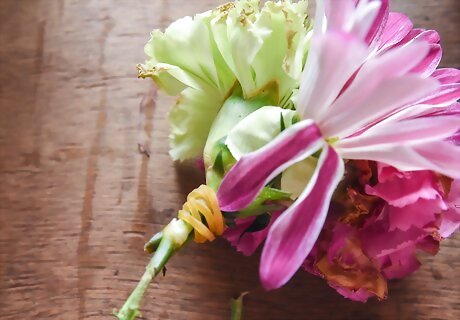
Bind the small bunches together with rubber bands. Make sure the bundles are secure, but avoid packing them too densely or tightly. You can use twine, wire, string or unflavored dental floss to tie the bunches together, if you prefer. However, rubber bands are the best choice because they will hold the stems securely together when the flowers start to dry and contract. Avoid building your bouquets before you dry the flowers. The blooms and stems will contract as they dry, leaving you with empty spaces and unsatisfying bouquet shapes.
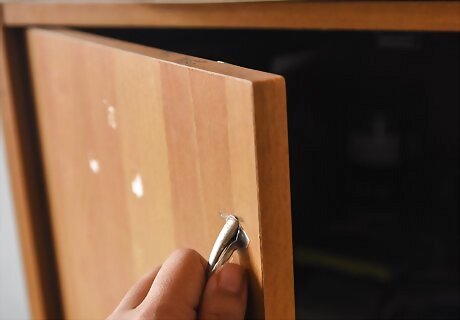
Select a drying location that is dark and well-ventilated. Attics, garages, sheds, barns and closets are great choices, as long as the area is well-ventilated. Without proper ventilation, moisture can accumulate and mold could start to grow on the flowers. Avoid rooms and other areas with windows, since sunlight can fade the color of the petals. When you’re trying to preserve vibrant color, the darker the drying location, the better.
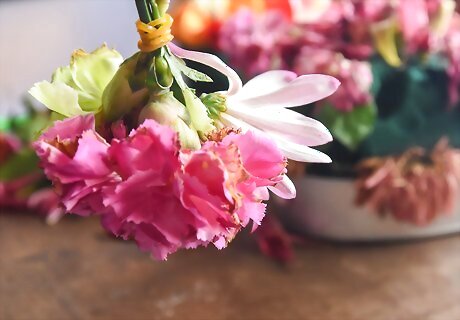
Hang the flower bundles upside-down to dry. Use whatever means you have to suspend the flowers upside-down – hooks, wire clothes hangers, florist wire, or twist ties are all popular techniques. Hanging them upside-down will ensure that the stems remain straight through the drying process. Space the bundles apart so that proper ventilation is maintained. Give the flowers two to three weeks to dry completely. Once the petals become crisp to the touch, they’re ready to use.
Using Other Drying Methods
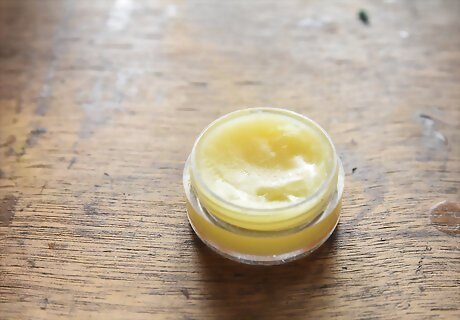
Use silica gel. Silica gel is an agent that can help you dry your flowers quickly and efficiently in the microwave. Cover the bottom of a microwave-safe container with one or two inches of silica gel and place the flowers, blossoms-up, into it. Gently pour a little more gel over the blooms and stems. Place the uncovered container into the microwave. Silica gel can be obtained at any craft store. It tends to be on the pricy side, so this method isn’t as budget-friendly as air drying.
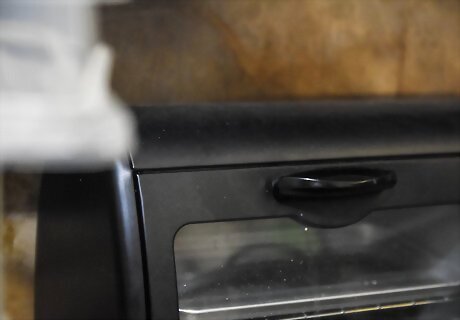
Place the flowers in the microwave. The time and temperatures required will vary, so you may want to experiment with a few flowers first. Begin with one or two heat levels above defrost and set the time for two to five minutes. Check their progress intermittently and make adjustments as necessary. In general, fleshier flowers (like roses) will require more heat than delicate ones (such as daisies).
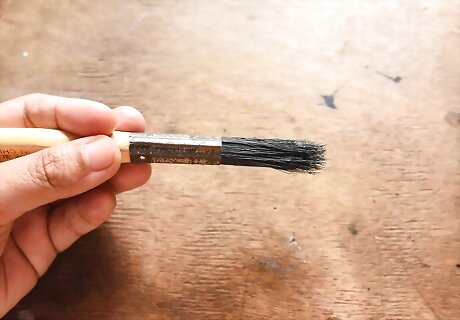
Remove and cover the container. After the flowers are dry, open the microwave and cover the container right away. Then take the container out of the microwave and let the flowers sit for 24 hours. Use a fine-bristled paint brush to gently brush away the silica gel from the blooms. Spray the flowers with an acrylic spray, which can also be obtained at craft stores. Once the acrylic spray has fully dried, your flowers are ready to use. Store them or display them out of direct sunlight and away from high heat.
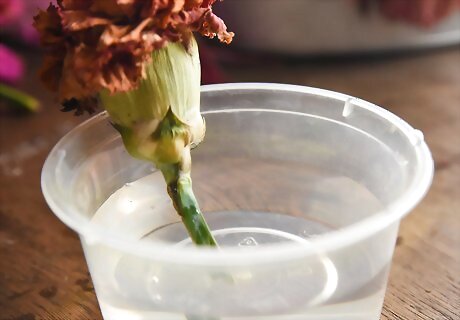
Use glycerine and water to dry the flowers. Mix equal parts vegetable glycerin and water in a tall, sturdy container. The mixture should fill the container to about three inches. Place the stems of the flowers into the mixture – don’t immerse the blooms themselves, just the stems. Leave them in the solution for two weeks. Remove them and allow them to drain on newspaper. The flowers are ready to use in a bouquet after draining and drying completely. This method is unique because the foliage remains pliable after the drying process is complete.
Putting the Bouquet Together
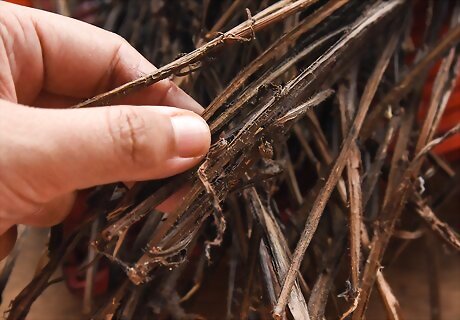
Take the dried bundles apart. Remove the rubber bands and disassemble the flower bundles. Handle the flowers gently, since the crispy petals are prone to breakage. Spray the flowers with unscented hairspray to help keep them intact. You can also use spray varnish or florist’s fixative for the same purpose.
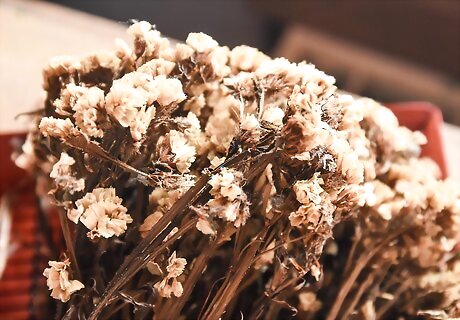
Pick out the largest flowers first. Start building your bouquet around the largest flowers, since they will be the focal point of the arrangement. Then choose complimentary components and add them to the group in any way that pleases you. There is no “right” way to do this, so experiment! You can build the arrangement around a particular color scheme, for instance. Add greenery, such as herb sprigs, last.
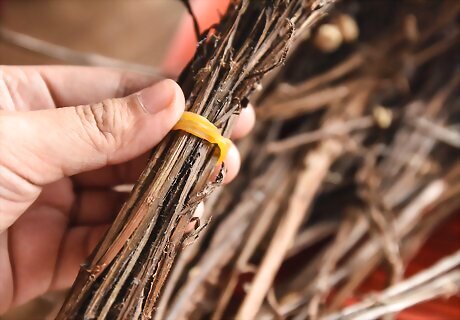
Tie the stems together or display in a vase. For a rustic look, secure your bouquets with twine and hang them on your walls. For a more traditional display, place the bouquets in vases of your choice. The bouquets can also make lovely, delicate gifts. Use a matching velvet or satin ribbon to secure the stems together before giving it away. If you’re making hand bouquets, aim for a height of four to six inches. If you’re a crafty person, don’t forget to put some of the dried flowers aside to use in your projects! Store them in a safe place between sheets of tissue paper until you’re ready to use them.
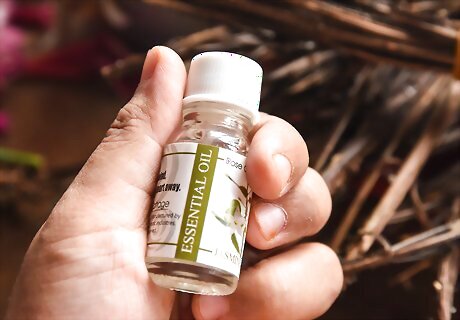
Scent the bouquet with essential oils and herbs (optional). A sweetly scented bouquet, called a nosegay, can be created with just a few drops of floral essential oil. Use a dropper to place three or four drops directly into the centers of the biggest flowers. Additional scents can be achieved by including dried herbs in your bouquets. Geranium, jasmine and rose essential oils are popular choices for adding scent to bouquets. Dried herbs like lavender, rosemary and sage are great-smelling options for nosegays, but you can experiment with any herb you like.





Comments
0 comment