views
Preparation
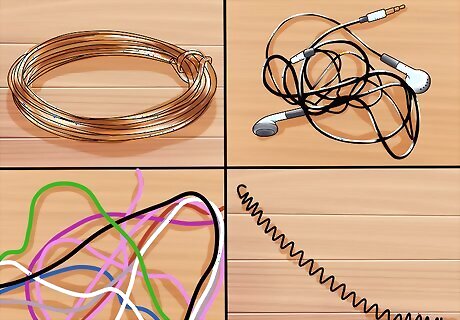
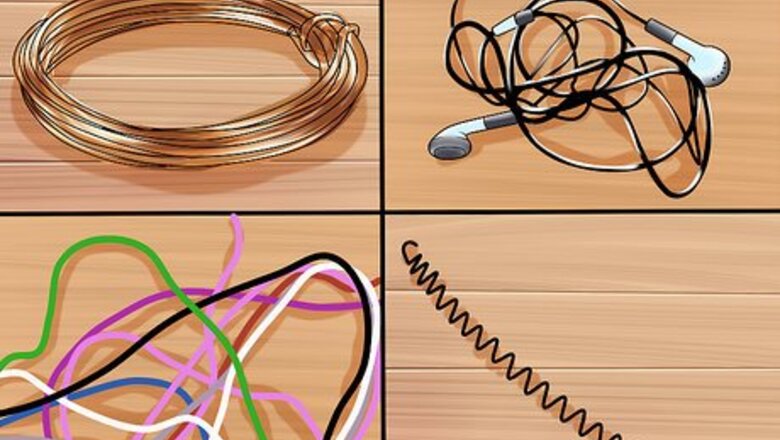
Choose a sturdy noose material, preferably wire. To build a noose, the most effective material to use is wire. You can use anything as long as it's flexible and not too thin or brittle. It must quickly and easily tighten. There are a number of wire types you can choose from: Craft wire Headphone wire Stripped wires from cars An uncoiled spring

Use string or cord if you don’t have wire. Make sure it's strong enough to hold a small (5-8 lbs; 2.5-3.5 kg) animal. If it snaps under your own strength, it probably won't work. The following items are suitable for a snare trap if you don't have or can't find wire near you. Shoelaces Dental floss Fishing line
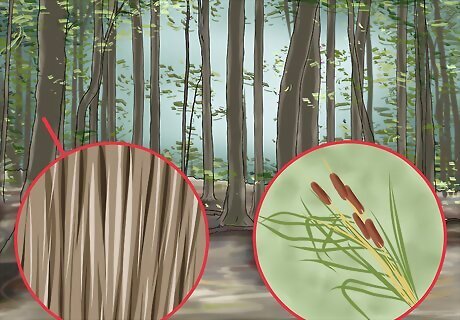
Consider the tools found in nature if you don’t have string or cord. That means stringy tree bark and plant fibers. It's going to be more work, but if primitive cultures did it, so can you. Milkweed Dogbane Cattail
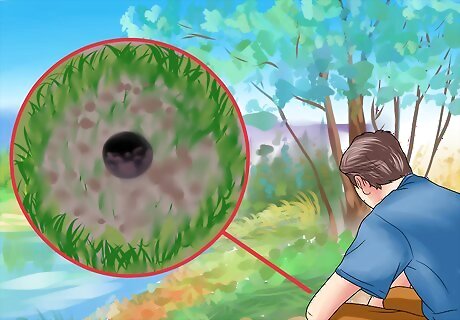
Scout out the area. A snare can be used day or night, rain or shine, and in any climate. All you need to make sure of is that animals pass by more than once in a blue moon. Placing random snares with no eye for signs of small game is a waste of time. Look for signs of game in droppings, shelters, tracks, scratches, and signs of feeding. A significant source of water and food for the area is a safe bet as well.
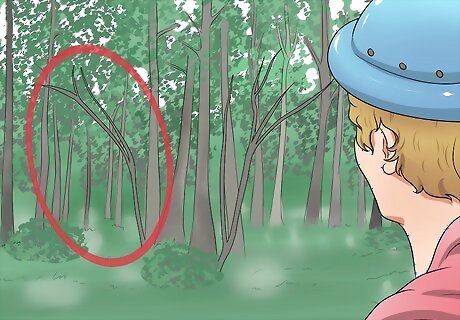
Pick your "engine". Now that you've found the general area you want to build your snare in, look above you. What sort of trees do you have to work with? The tree will be the beef of your machinery. Find a sapling (a young tree) that is strong enough yet bendy. Keep in mind, it must be able to hold the game high in the air until you find it. If no saplings are around, look for a large tree limb and decent-sized rock. This is an alternate method that uses the same idea but doesn't require a bendable, well-placed sapling.
Building a Hook Trigger
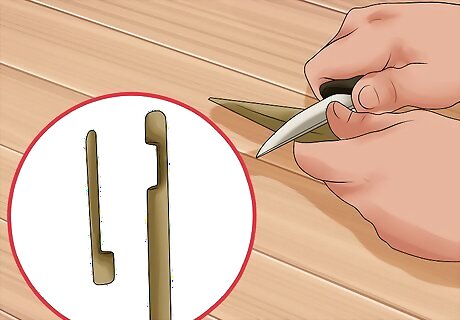
Carve a mouth, or hook, into two sticks. Think of linking your own hands together (fingernails tucked into the other hand) and pulling your elbows apart. That is the tension you'll be using. The base should be longer than the hook and a bit sturdier. The hook can be small--as long as it fits into the mouth of the base.

Plant the base into the ground. It is easier to drive into the ground if you carve it into a peg shape first. The point breaks the soil much more quickly. The base should be very close to the sapling you scouted out; the two will work in tandem.
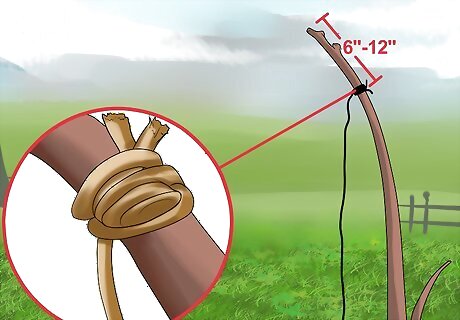
Tie your cord around a bendable sapling. Make a knot that will not come off, even under tension. It should be about 6-12 inches (15-30 cm) from the top, depending on the strength of the sapling. Test it before you assume it's sturdy. Remember: the animal will be struggling.
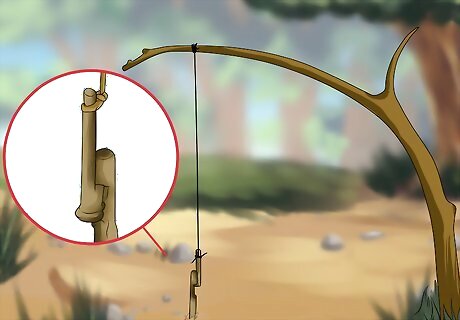
Attach the other end of your cord to the hook. Place the hook in mouth of base. Right now, the base should be the only thing preventing the hook from flying up into the air and the sapling straightening out. Make sure your cord is the proper length. When the hook is in place, the sapling should be bent towards a 90 degree angle. When the hook is removed, it should straighten up again (dangling the animal).

Tie a noose to the bottom of the hook. Again, make sure the knot is securely in place. At this point, the hook should have two cords attached: one to the noose and one to the sapling.
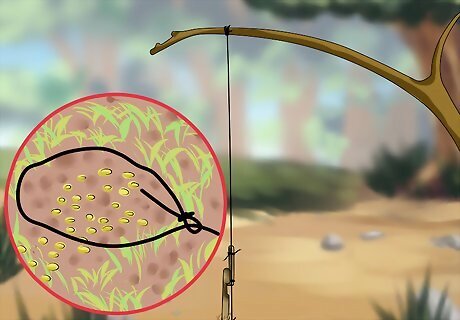
Arrange your noose. The snare is in place. All that's left is arranging a noose, filling it with bait, and snaring your game. Make the noose wide enough that it won't miss your target. You can spread it out on the ground with small twigs or pebbles; they won't interfere with it flying up when the animal is caught. It can be a good idea to prop the noose up with some sticks, especially if you are snaring at a game trail.
Building a Three-Stick Trigger
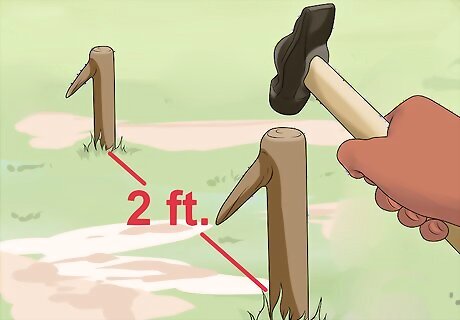
Hammer down two sticks into the ground. They should both be shaped like a one armed man and roughly two feet apart (.6 m). Carve them into peg shapes beforehand to drill them into the ground more easily. Place their "arms" parallel to each other. You will use the armpits as a source of support for the necessary tension.

Hammer down a third, peg-shaped stick. It should be, again, two feet or so apart from the other two, forming a triangle. This stick does not have to be any particular shape but semi-straight.

Tie a thin stick underneath the arms of the first two sticks. Using your same wire, make sure the stick is securely in place in the armpits of the two original sticks.
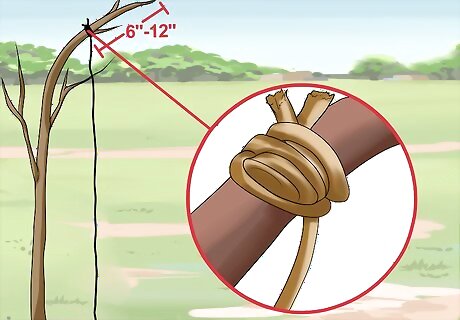
Tie your string around a nearby sapling. Just like in the hook method, it should be 6-12 in (15-30 cm) from the top, depending on the strength of the tree. Test everything before you assume it's secure. A struggling animal will not go easy on your trap. Tie your wire around a rock and throw over a sturdy tree limb if easier or more convenient. The rock should dangle above the ground and emulate the same methods used with the sapling.
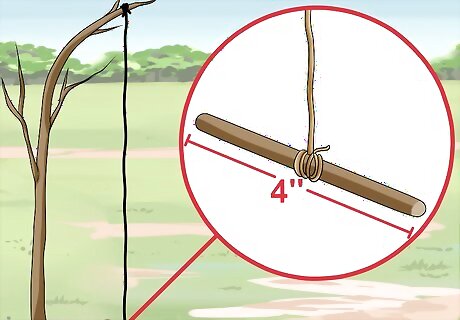
Attach a small stick at the end of your wire. This is your trigger point. Knot your wire and then knot it again. A stick that is around 4 in (10 cm) is long enough. Hold it under the stick that's in the armpit of the first two, wire tugged tight in front. It uses the tension between the cord and armpitted stick to stay where it is when propped up.

Place a stick between the peg and small stick on the wire. This will be the stick that gets hit, falls, and pulls up the sapling. It is propped up between the smallest stick and the peg, just waiting for trouble. This is a balancing act. Make sure it's centered near perfectly or a breeze could knock it off kilter.
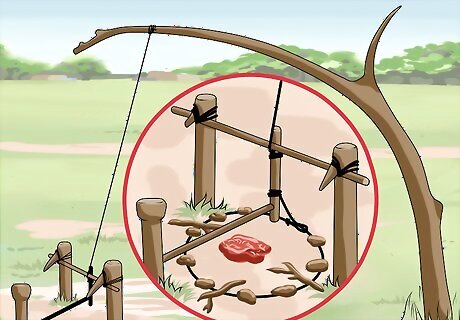
Tie a noose underneath the trigger system to the smallest stick. The noose will follow the small stick flying in the air when an animal walks across its path. Use small pebbles or twigs to widen the noose, lowering the possibility of your target just tripping the snare and escaping. Place your bait within the noose. Choose whatever bait appeals to the type of game you are aiming to catch.
Building a Fishing Trigger

Find a sapling near the water's edge. Test it for strength and flexibility. Try to see if fish seem to venture close to the area.
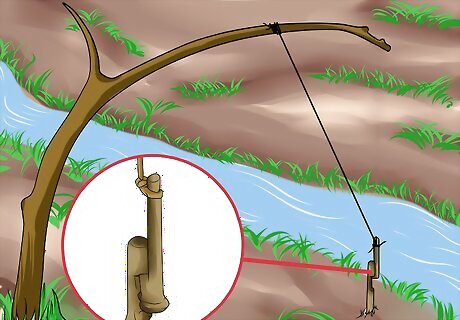
Follow the hook trigger method. You will need two sticks with carved out mouths and several feet of wire. The only difference between this method and the hook trigger method is that you must make sure the soil is compact and will not erode away while your trap is waiting for its target.
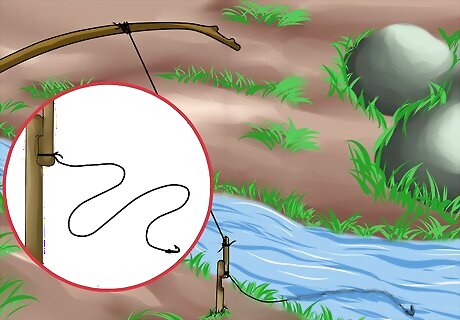
Tie one end of your line to the hook and place the baited line in the water. Instead of a noose, you will be using your baited line to catch fish. The bait dangles in the water and the top of your line rests on the hook, ready to fly into the air upon even the slightest of tugs. Make sure algae or seaweed won't mess up your trap. Try to clear the area of any needless shrubbery that could trigger your snare unnecessarily.


Comments
0 comment