

Steps

Gather your supplies in a comfortable, well-lit work area.

Trace the desired shape(s) onto the back side of your material.
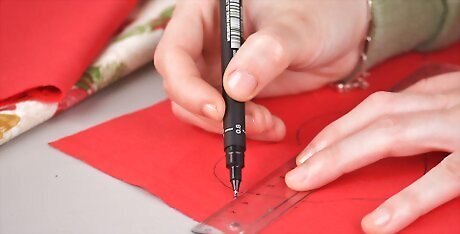
Add ⁄4 inch (0.6 cm) seam allowance.

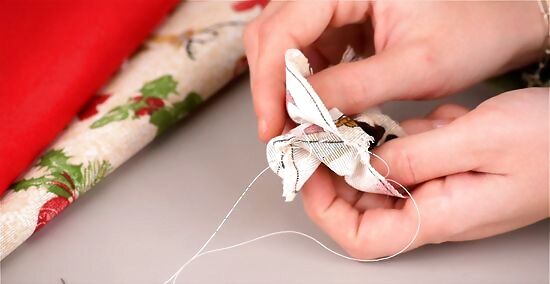
Cut out two or three of each of the shape(s) including seam allowance. If doing the apple, cut shapes for the stem and leaf and then sew them as shown.

Position your two pieces with wrong sides facing.
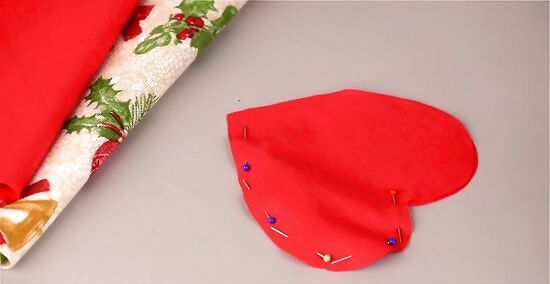
Pin them if you feel it is necessary.
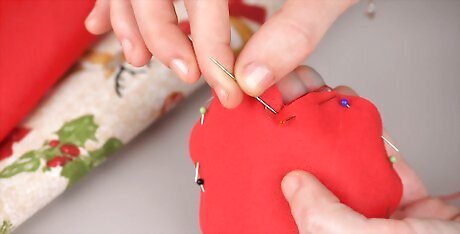
Place the knotted ends of a 6–8 inch (15.2–20.3 cm) strand of embroidery floss (or other thin corning) at the top end of your ornament with the loop to the outside of the ornament and the knots to the inside, so that they will be sewn in place as you sew the two layers together.
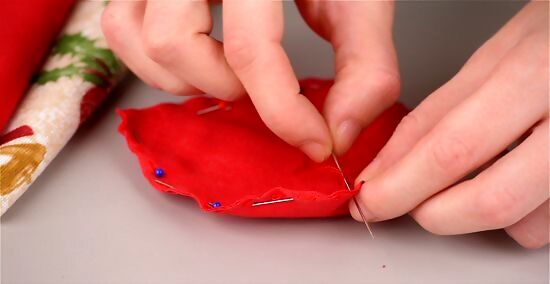
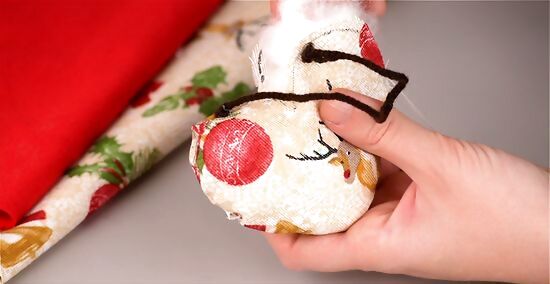
Sew around the perimeter, leaving at least an inch and a half gap for stuffing.
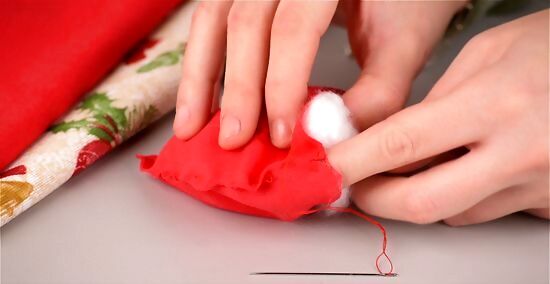
Stuff lightly, just enough to puff the item.

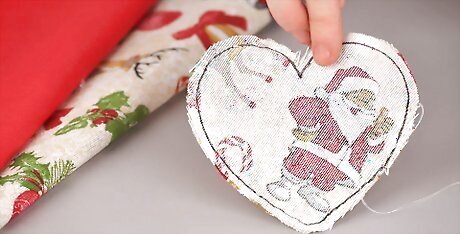
Stitch the opening closed.

Leave the raw edges of the material to fray naturally, giving the ornament a sort of hand-made charm.
Alternate Method
Sew as above, but with right sides facing and the loop of the hanger to the inside of the ornament.
Turn right side out.
Stuff lightly.
Slip stitch the opening closed.


Comments
0 comment