
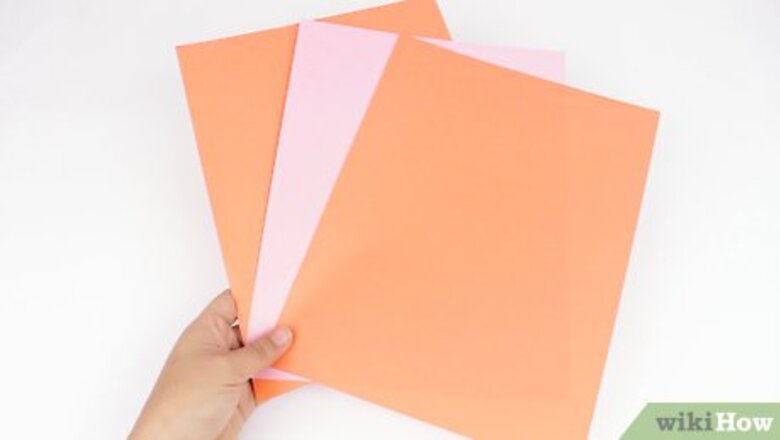
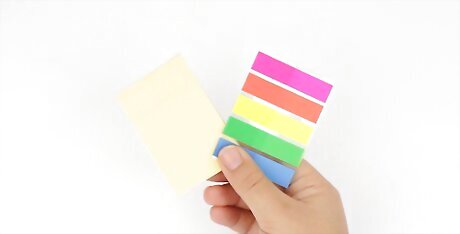
- Use thick, colorful paper for your dividers, like colored printer paper or card sheets.
- Use a hole punch to make holes along one side of each divider so you can insert the dividers into your binder or notebook.
- Cut out small rectangles from white cardstock and label each one to make the tabs for your dividers.
Selecting the paper
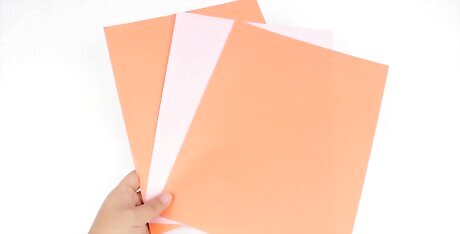
Select paper that is strong and colorful. Colored printer paper is ideal, as are thin colored card sheets (color helps you to quickly locate the divisions in your binder, against the white paper inserts). You could also use notebook paper, but it is probably best strengthened if you're going to use it as a divider page (see the following step). The paper size must be the same as or larger than the binder or notebook. If it's larger, measure and cut to size.
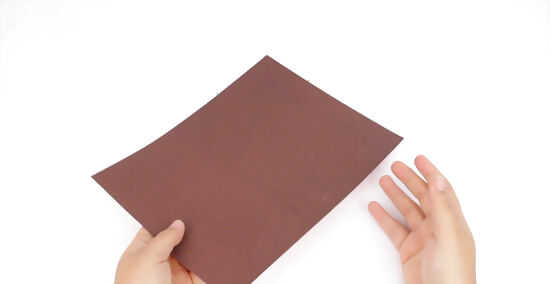
Strengthen the paper if needed. This step is necessary for notebook paper, as it will prolong the life of the divider sheets. Choose one of the strengthening methods suggested below: Use contact paper. Measure and cut out a section of contact paper that is double the size of one side of the paper sheet. Remove the backing from the contact paper and slowly cover one side of the paper sheet. Smooth out any bubbles or wrinkles that form. Then enfold the other side of the paper, to cover the divider completely. Cut away excess edges. The resulting divider sheet is now strengthened. Find a piece of cardboard that is strong and thin. Art quality cardboard or cardstock is ideal (even ripped old dividers can be repurposed for this). Avoid using anything that is too thick or it will add bulk to the folder. Align the cardboard with the notebook paper and cut to size if needed. Glue the cardboard to the notebook paper; if using ripped old dividers, tape the ripped section flat before gluing onto the notebook paper. Allow to dry before proceeding and make the remaining dividers as well. You now have a set of strengthened divider sheets.
Making the dividers
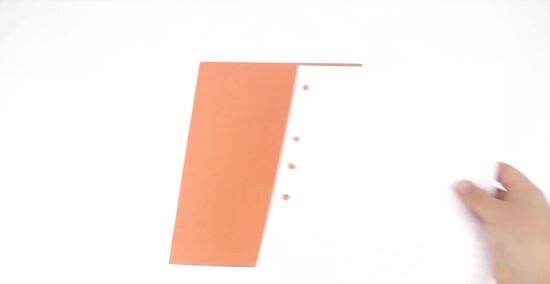
Make holes in one side of the divider, so that it can slot into the binder. Use a hole-punch for this and ensure that it matches the exact layout of the binder rings.
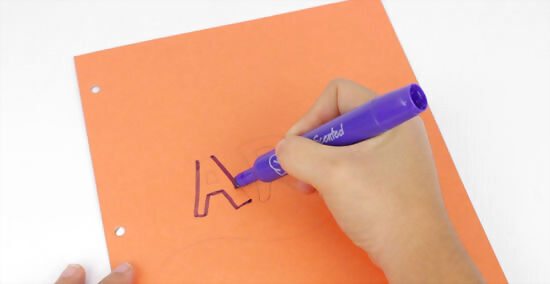
Decorate the dividers if wished. You can add pictures, collages, stickers, drawings, notes, etc. Alternatively, add a list box and list all of the items behind each divider, or simply add a printed note as to the contents from an online spreadsheet.
Adding tabs
Decide how you will add a tab. You can simply stick on a Post-It note but over time, this is liable to pull off. You can also purchase large plastic flag tabs that are a bit stronger or glue on small pieces of paper. If you'd rather make a stronger tab, follow the suggested version in the next step.
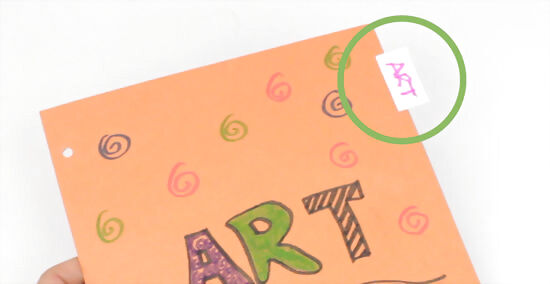
Make your own divider tabs. Measure a small rectangle on white cardstock. The rectangle should be around the same size as a tab would normally be, although you're free to adjust the size as needed. Cut out the rectangle. Write the name for the relevant divider onto the tab. Cover the tab in contact paper. Glue the tab to the divider (paper glue or spray adhesive work well). Alternatively, leave an edge of contact paper on one side when covering the tab, and use this to attach the tab to the divider sheet. Continue in the same way with all of the remaining divider tabs.


Comments
0 comment