views
Preparing to Mod
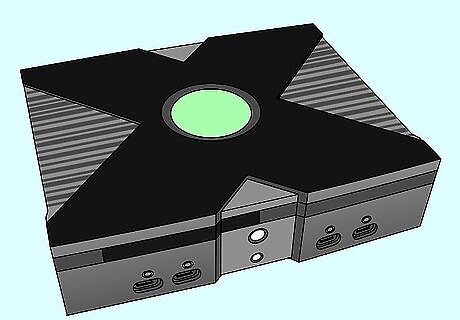
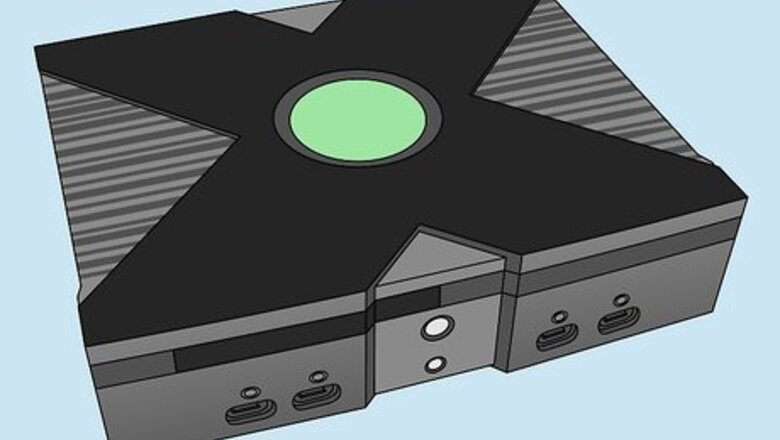
Ensure that you have a classic Xbox console. These steps will only work for an Xbox console; if you want to mod an Xbox 360 or an Xbox One, the process is different. The classic Xbox was released in November of 2001.
Make sure you have access to a Windows computer. Since the files used to create the installation media are exclusive to Windows, you cannot perform this process on a Mac.
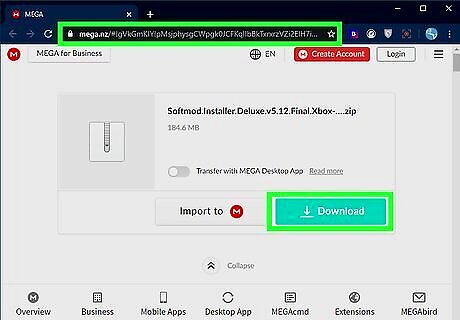
Download the mod software. Go to https://mega.nz/#!gVkGmKIY!pMsjphysgCWpgk0JCFKqlIbBkTxrxrzVZi2ElH7i9wA in your computer's web browser, then click the red Download button. The software's ZIP folder will begin compiling; after it completes this process, it will download onto your computer. You may have to click Allow in your browser window before the file will begin downloading. Depending on your browser, you may first have to confirm this choice or select a save location before the file will download.
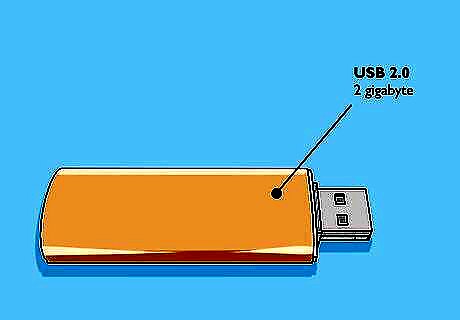
Buy a compatible USB flash drive. Modern flash drives won't work when you connect them to your Xbox, but you can buy an older USB 2.0 flash drive in the 2 gigabyte range to use with your Xbox. You can review a list of USB flash drives which will work with your Xbox here.
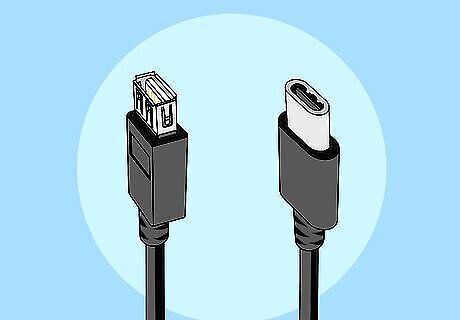
Purchase a USB-to-Xbox adapter. You'll use a USB-to-Xbox adapter cable in order to connect your USB flash drive to your Xbox. These cables can be found on Amazon and eBay, though you may be able to find them in some hobby shops as well.
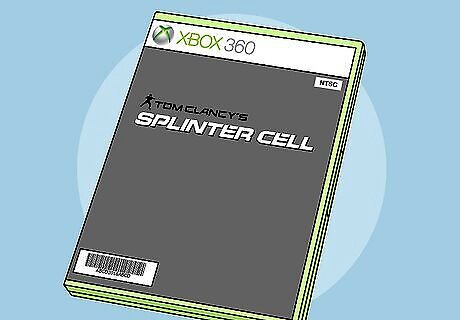
Obtain a copy of Splinter Cell. The original Splinter Cell can be used to access the mod files for your Xbox. You should be able to find an original Splinter Cell copy on Amazon or eBay, though some game shops will probably stock it as well. While you can use different versions of the original Splinter Cell game (e.g., the "Platinum Hits" version or the classic version), other Splinter Cell games such as Pandora Tomorrow or Chaos Theory will not work for this mod. Other games that you can use to mod your Xbox include the original black label version of MechAssault and the original black label version of 007 Agent Under Fire, though the process will differ from Splinter Cell.
Formatting Your Flash Drive
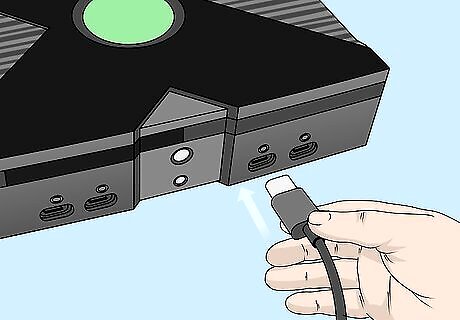
Plug the adapter into your Xbox. The Xbox end of the adapter cable should plug into one of the slots on the front of the Xbox console.
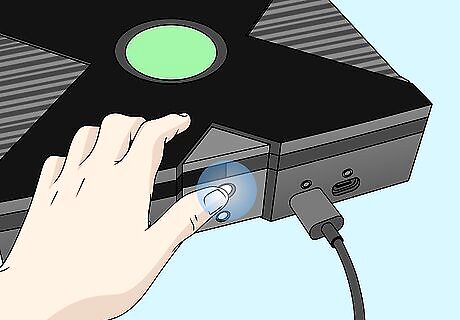
Turn on the Xbox and a controller. You'll need to use your Xbox's menu to format the flash drive.
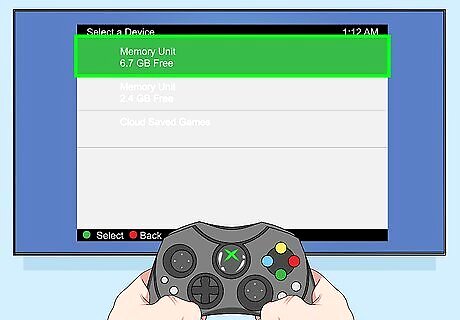
Select MEMORY. It's at the top of the menu.
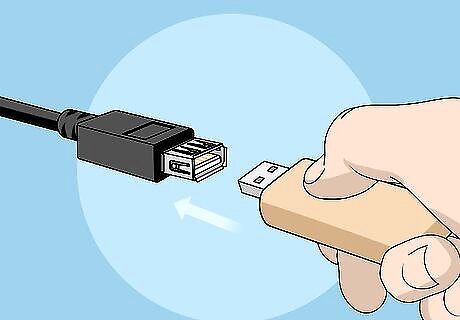
Plug the flash drive into the adapter. Using the free end of the adapter cable, connect the flash drive that you purchased in the previous part; after a few seconds, you should see an error message appear.
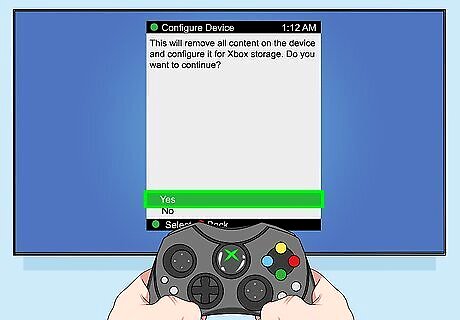
Confirm the error message. This will erase and format your flash drive for Xbox storage. If the error message says "The memory unit you inserted isn't functioning; it may be damaged", your flash drive isn't compatible with your Xbox. Buy a flash drive from the list of compatible USB drives to avoid this issue. If plugging your flash drive into the Xbox results in a strobe effect, your flash drive isn't compatible.
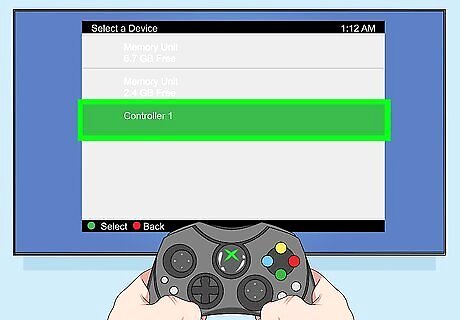
Look for the flash drive. In the "Controller" slot, you should see your flash drive pop up as a peripheral (e.g., Controller 1). If so, your flash drive has been formatted successfully.
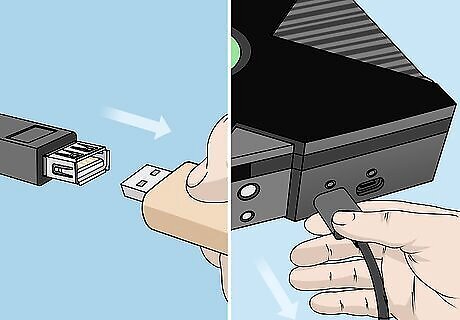
Remove the flash drive. Unplug the flash drive from the adapter. Now that your flash drive is formatted for use with your Xbox, it's time to add the mod software.
Adding Files to Your Flash Drive
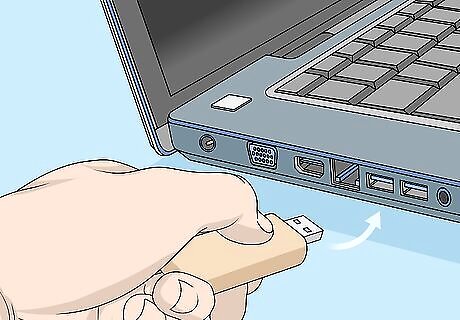
Plug your flash drive into your computer. It should plug directly into one of your computer's rectangular USB ports.
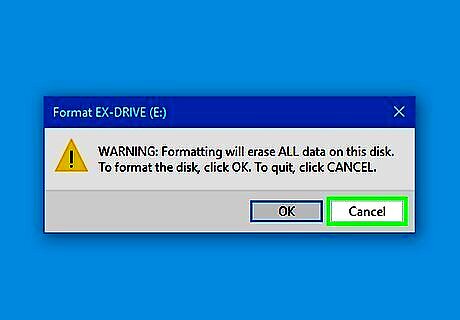
Click Cancel if prompted to format the flash drive. Since you just formatted the drive for use with your Xbox, you don't want to reformat it here.
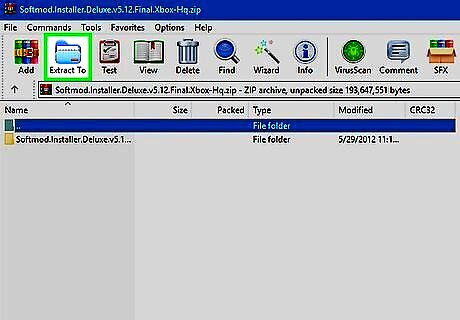
Extract your mod software's folder. To do so: Open the downloaded ZIP folder. Click Extract at the top of the folder. Click Extract all in the toolbar. Click Extract in the pop-up window.
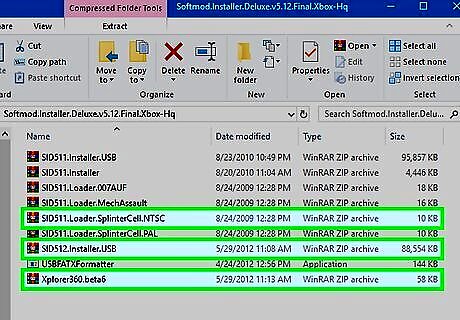
Extract the necessary folders. Open the Softmod Deluxe folder to view the list of installation ZIP folders, then do the following: Click the SID511.Loader.SplinterCell.NTSC folder once to select it, click Extract, click Extract all, and click Extract. Close the window which opens. Click the SID512.Installer.USB folder once to select it, click Extract, click Extract all, and click Extract. Close the window which opens. Click the Xplorer360.beta6 folder once to select it, click Extract, click Extract all, and click Extract. Close the window which opens.
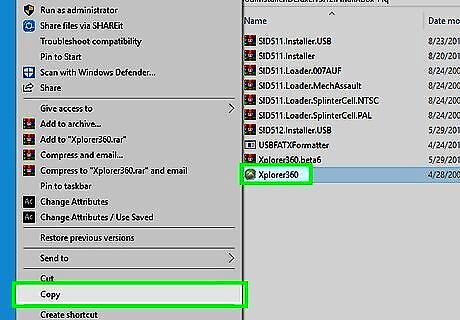
Move the Xplorer 360 file into the main folder. Open the extracted Xplorer360.beta6 folder, select the EXE file in it, press Ctrl+C, click the "Back" arrow, and press Ctrl+V to paste in the EXE file.
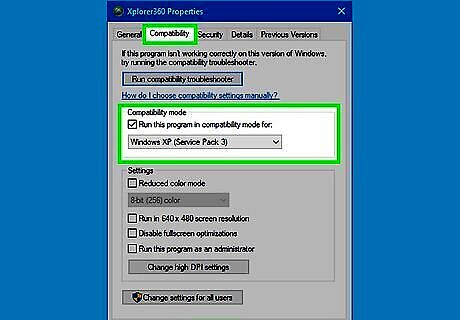
Change the Xplorer 360 compatibility settings. Since Windows 10 won't properly execute the Xplorer 360 program, you'll use XP Service Pack 3 to run Xplorer 360: Right-click the Xplorer360 EXE file. Click Properties Click the Compatibility tab. Check the "Run this program in compatibility mode for:" box. Select Windows XP (Service Pack 3) from the "Compatibility mode" drop-down box. Click OK
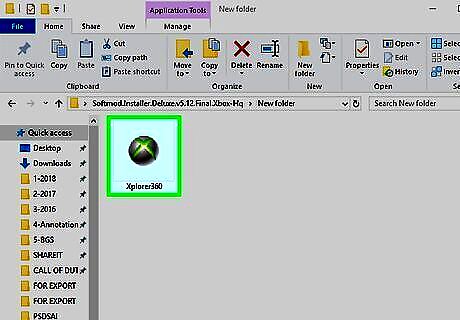
Open Xplorer 360. Double-click the Xplorer360 EXE file, then click Yes if asked whether you trust the source.
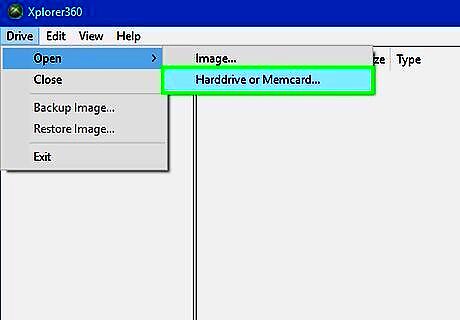
Select your flash drive. You'll need to do this from the Drive menu: Click Drive in the top-left corner. Select Open Click Harddrive or Memory Card...
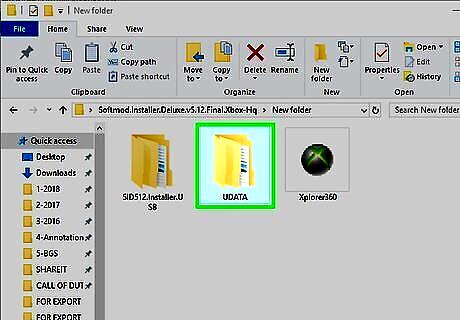
Add the Splinter Cell folder's "UDATA" files to Xplorer 360. Unfortunately, Windows 10 makes this process a bit difficult; you'll need to add the SID511.Loader.SplinterCell.NTSC folders in by hand. Do the following: Open the extracting Splinter Cell folder, then open the UDATA folder. Right-click the folder inside UDATA, click Rename, and press Ctrl+C to copy the name. Right-click the right pane in Xplorer 360, then click Add New Folder Right-click the new folder, click Rename, and press Ctrl+V to paste in the correct name. Open the 5553000c folder in both the File Explorer window and the Xplorer 360 window. Right-click the right pane in Xplorer 360, then click Insert File... Open the 5553000c folder in the pop-up window, then select one of the files and click Open. Repeat this process with the other file. Add the 8D5BCE250B35 folder and its contents in the same way.
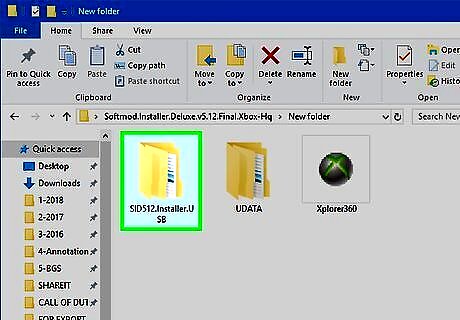
Add the installer files. Using the SID512.Installer.USB folder, repeat the process you used for the Splinter Cell folder. Be sure to treat ZIP folders as "Items" and not folders. Unzipped folders must be treated as folders. There are over 60 files and folders you'll have to transfer by hand, so this process can take a fair amount of time.
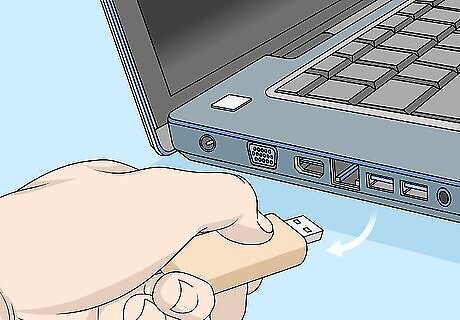
Eject your flash drive. Now that your flash drive has all of the necessary files on it, you can proceed with adding those files to the Xbox.
Adding the Mod Files to Your Xbox
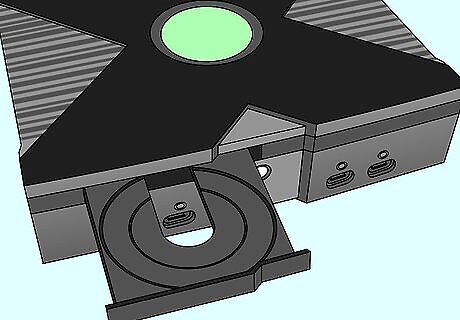
Make sure your Xbox doesn't have a disc in it. You'll want your Xbox's disc tray to be empty before proceeding.
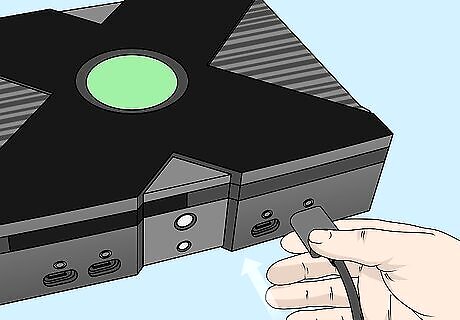
Plug your flash drive into your Xbox. Do so using the adapter cable from before.
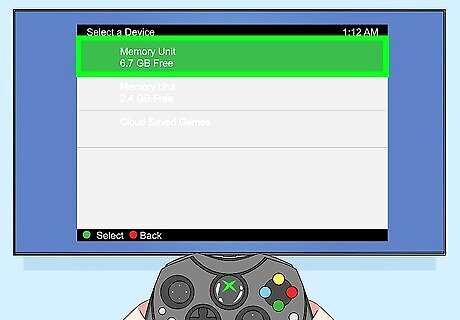
Select MEMORY. You'll find this option at the top of the Xbox's main menu.
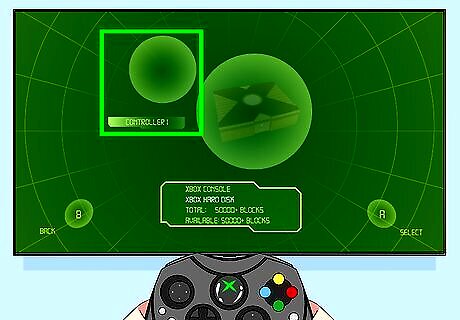
Select your flash drive. It's in one of the controller slots (e.g., Controller 1) in one of the corners of the screen.
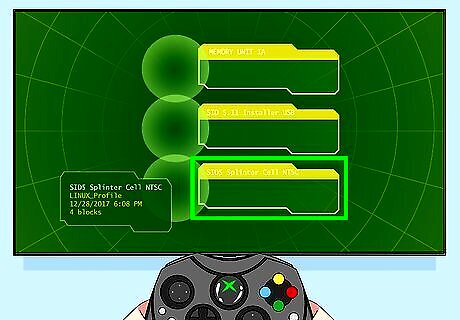
Select SID5 Splinter Cell NTSC. You'll find this option near the bottom of the screen.
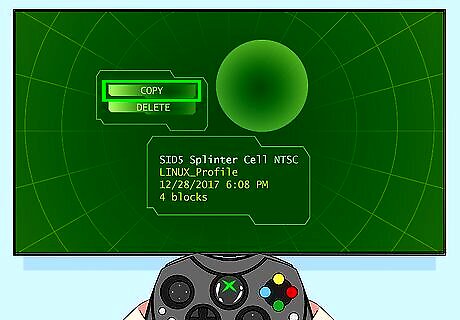
Select COPY. Doing so will bring up a list of locations to which you can copy your file.
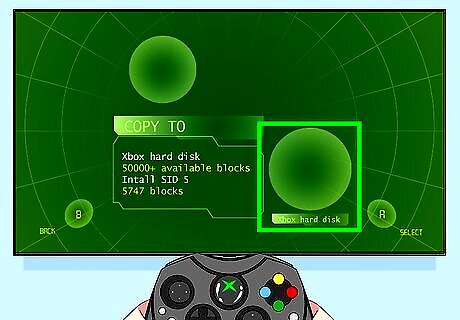
Select the hard drive. Press A when prompted to do so.
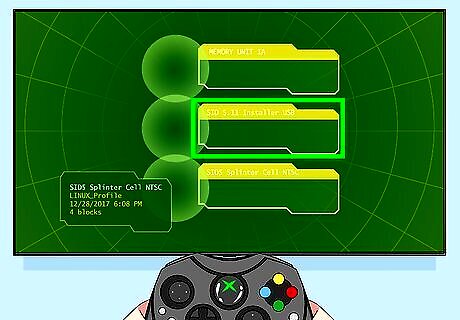
Select your installer. It should be labelled SID 5.11 Installer USB.
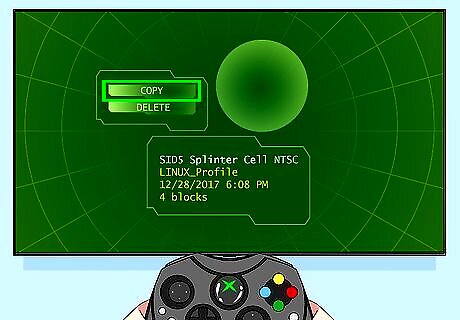
Select PASTE, then select your hard drive. This will paste the installer onto your Xbox's hard drive. Once the installer is finished pasting, you can proceed with finally modding your Xbox.
Modding Your Xbox
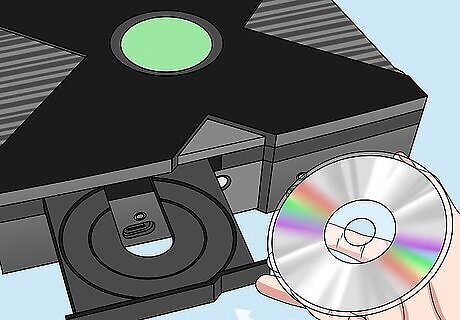
Place Splinter Cell in the Xbox. Make sure the disc is logo-side-up.
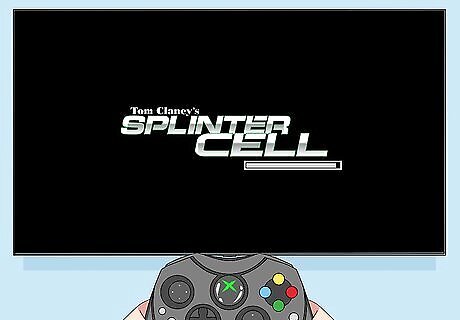
Wait for Splinter Cell to load. Once the main Splinter Cell menu loads, you can proceed.
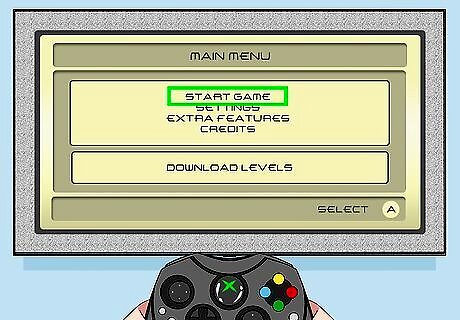
Select START GAME. It's near the top of the screen.
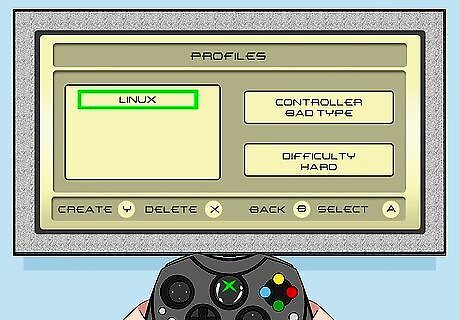
Select the LINUX profile. This option will be on the left side of the screen.
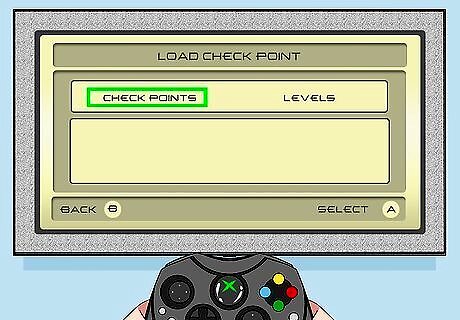
Select CHECKPOINTS. It's in the top-left corner. Doing so will cause your Xbox to begin flashing erratically; a few seconds later, you should see the softmod menu appear on-screen.
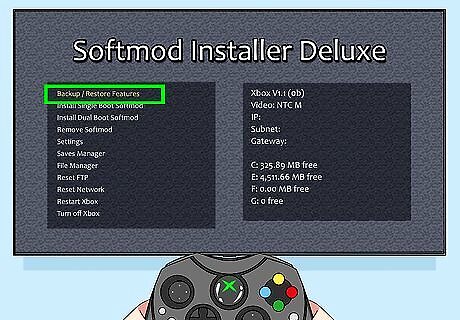
Back up your Xbox. Before you can mod your Xbox, you'll need to create both an Eeprom backup and an MS backup: Select Backup / Restore Features Select Create Eeprom Backup Select Backup Eeprom Scroll down and select Back to Main Menu Select Backup / Restore Features again. Select Create MS Backup Select Yes when prompted. Select OK when prompted.

Return to the main menu. Press B on your controller to do so.
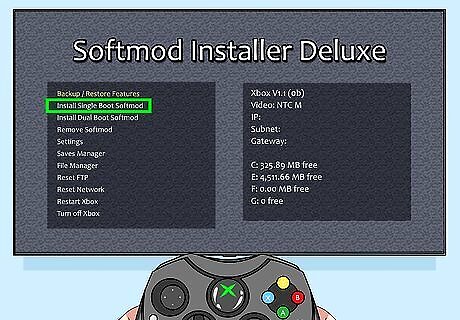
Select Install Single Boot Softmod. You'll find this option near the top of the screen.
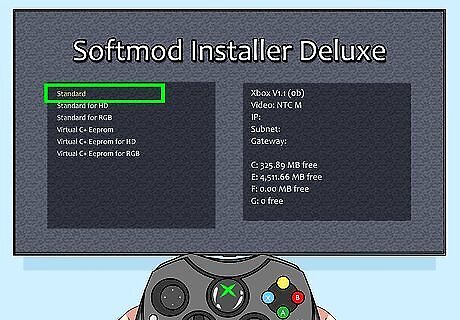
Select Standard. It's at the top of the menu. If you use HD cables with your Xbox, select Standard for HD instead.
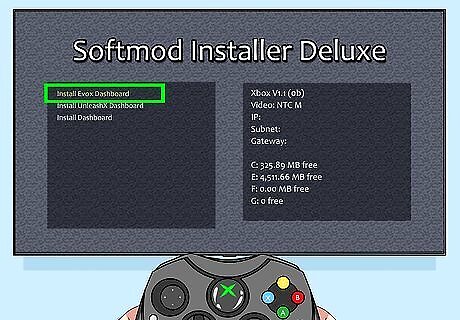
Select a dashboard. The dashboard version you select doesn't matter, and is purely dependent on your preferences. If you don't have a preference, select Install UnleashX Dashboard here.
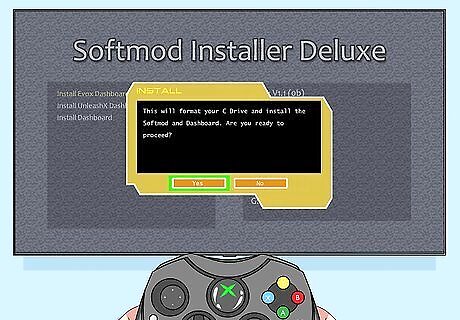
Select Yes twice when prompted. Doing so causes your Xbox to check for a backup and, as long as there is one, begin installing the mod.
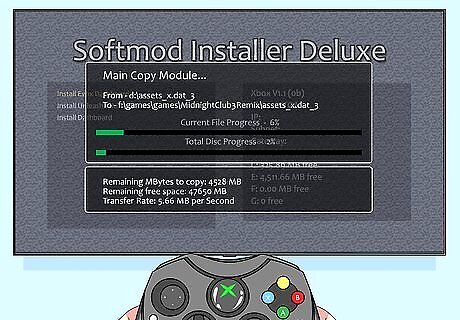
Allow the mod to install. The softmod will begin installing once you select Yes the second time. Keep in mind that this process will take a while.
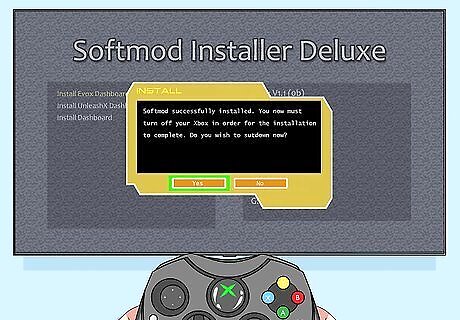
Select Yes when prompted. Doing so will immediately shut down your Xbox.
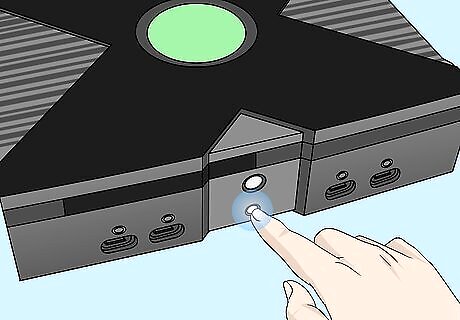
Press the "Eject" button. This will both prompt Splinter Cell to eject and turn on your console. Once you've ejected Splinter Cell, your console should load to the modded menu.




Comments
0 comment