views
Extracting and Preparing Apple Seeds
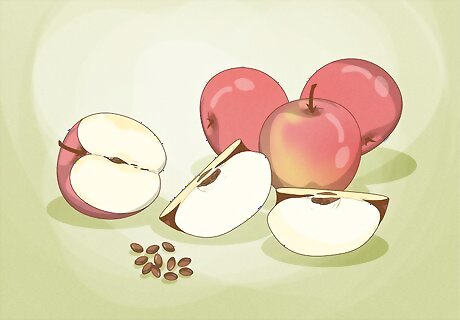
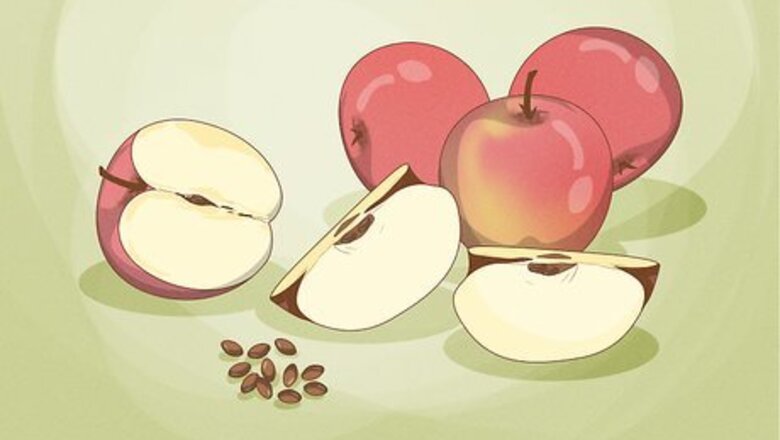
Remove apple seeds from the cores of several apples. Purchase several ripe apples, then eat them or cut them until you reach their cores. Carefully remove the seeds from around the cores of the apples, being sure to pick out every seed before disposing of the cores. Be aware that most apple trees grown by farmers and gardeners come from grafted trees, and are not planted directly from the seed. Planting trees from apple seeds produced highly variable fruit, since apple trees are not guaranteed to grow according to their type or variety. The more seeds you plant, the more likely it will be that one of the trees will produce edible apples, as opposed to less edible varieties like crab apples. There is about a one in ten success rates of seeds growing into apple trees that produce fruit good enough to eat. Try to start the process of preparing the seeds during the fall, so that by the beginning of spring, the seeds are ready for planting.
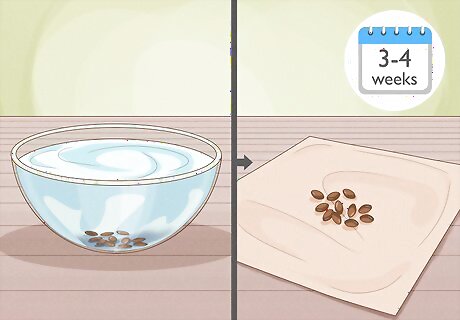
Dry the seeds on a paper towel. After you extract the seeds from the apple or apples, add the seeds to a bowl of water. If they float, throw them away, because they are less likely to grow. Lay the other seeds out on a paper towel and allow them to dry for three to four weeks. Flip the seeds over every two days so that they dry evenly on both sides.
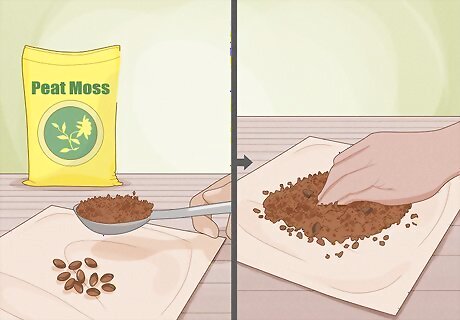
Mix the seeds with peat moss. After a couple days of drying, purchase some peat moss. Pour a few tablespoons of the peat moss on the paper towel, then sprinkle on a few drops of water. Use your hands to mix up the peat moss and seeds.
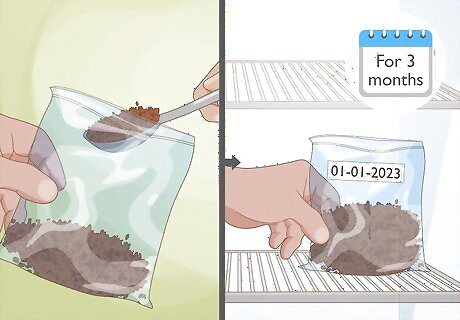
Put the seeds and peat moss in a bag and refrigerate. After you mix up the seeds and peat moss, pour the mixture into a ziplock bag. Write the date on the bag with a marker, then place the bag in the refrigerator for three months. The process of storing the seeds in moist, cold conditions is called stratification. Stratification softens the hard outer coat of the seed and encourages the embryo inside the seed to start germinating. After three months, remove them from the refrigerator, and allow them to warm up so that you can plant them.
Planting the Seeds Outside
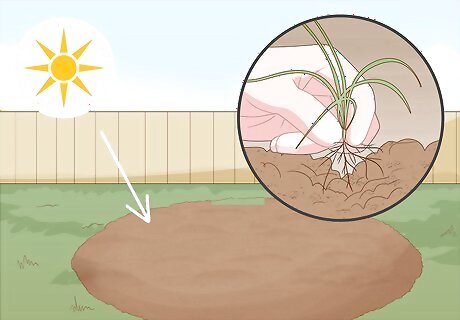
Weed your garden plot. Locate an area of your yard or garden where you intend to plant the apple seeds. Prepare the ground by removing any weeds from the soil, pulling the weeds up by the roots. Also remove any large rocks or stones and break up any large clumps of soil. Pick an area of your yard that receives direct sunlight and that has rich, well-draining soil. Well-draining soil means that water drains through the soil easily, rather than pooling on the surface of the ground. Well-draining soil is usually dark and fertile looking, as opposed to thick and clay-like. Try to plant the seeds in early spring.
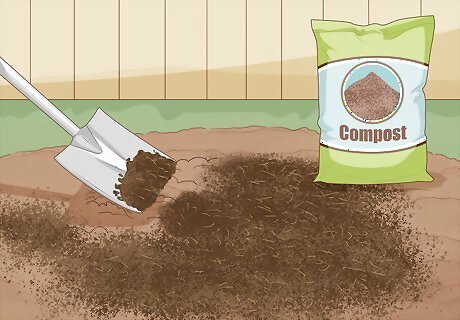
Spread compost over the soil. Before you plant your sprouted apple seeds, you want to be sure that the soil is as hospitable and nutrient-rich as possible. After weeding, spread a one inch (2.54 cm) layer of compost over the soil. You can prepare garden compost or buy it at a gardening store. Compost enriches soil with essential nutrients and also makes soil airier so that it can drain better.
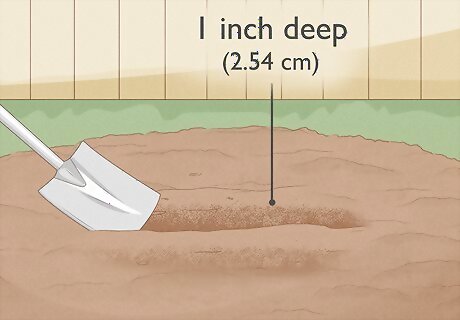
Create a furrow in the soil. Use your hands or a garden spade to create an inch-deep (2.54 cm) furrow, or small trench, in the soil. If you are planting a number of seeds, create one long furrow. You need to extend the furrow 12 inches (30.4 cm) for every seed that will be planted.
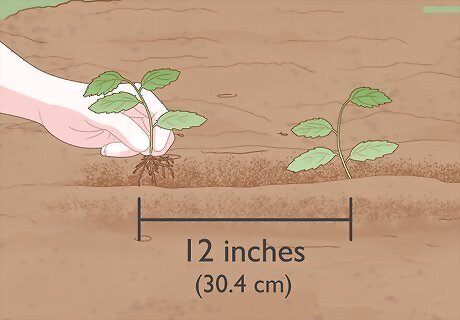
Plant the sprouted seeds in the ground. After you dig the furrows, plant the apple seeds in the ground, spacing each seed 12 inches (30.4 cm) apart from the next. Spacing the seeds gives them the space to grow and ensures that they won't compete for soil nutrients.
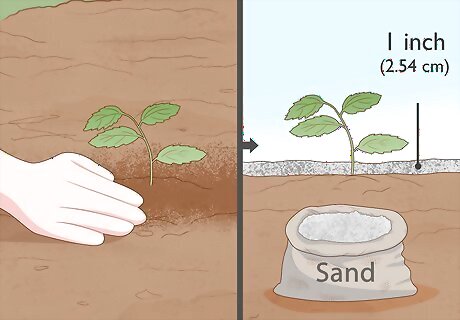
Cover the seeds. After planting the sprouted seeds, brush a thin layer of soil over the furrows to protect them. Then sprinkle on a one inch (2.54 cm) layer of sand on top of the soil you brushed over. Sand protects the ground from crusting in cold weather, which can impede the sprouting of the seedlings above the soil.
Potting the Seeds Indoors
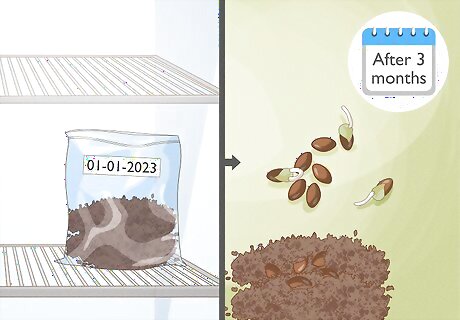
Separate the seeds from the peat moss. To begin potting your plants, take the ziplock bag of seeds and peat moss from the fridge. After three months in the fridge, the seeds are ready to plant. The best time to do this is in early spring. It's possible to start the growth of apple trees in indoor pots rather than outside. Keep in mind that apple trees are healthier when they are initially planted outdoors instead of in pots.
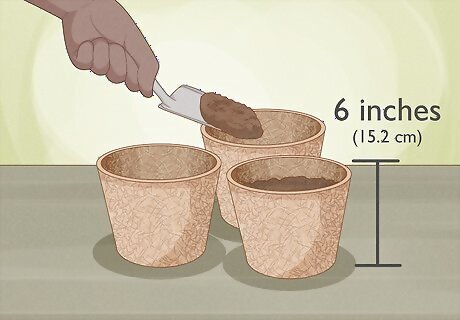
Fill degradable pots with potting soil. Purchase several small 6 inch (15.2 cm) degradable plant pots, depending on how many seeds you want to sow. Fill the plant pots with potting soil, leaving about an inch (2.54 cm) at the top. Make sure that the plant pots have drainage holes at the bottom. Degradable pots, like peat pots, make transplanting easier and less shocking for the seedlings.
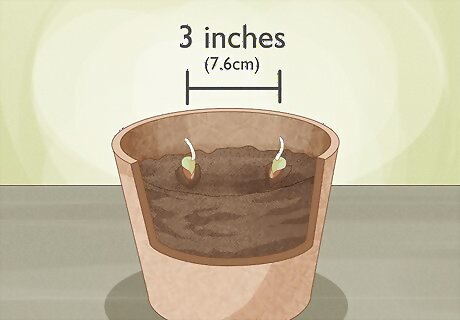
Place two seeds in each pot. After filling the pots with loam soil, poke two one-inch (2.54 cm) holes in the soil of each pot about three inches (7.6 cm) apart, then place a seed in each hole. Because not every seed is guaranteed to grow, plant five to ten times as many seeds as you want apple trees.
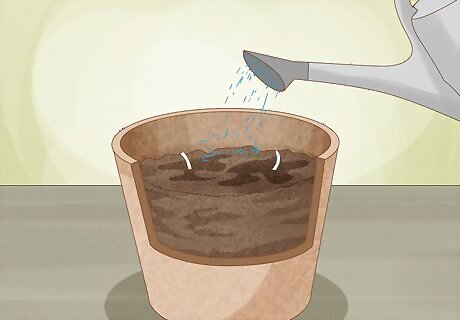
Water and cover the seedlings. After you place all the seedlings in the holes, water the soil in each pot. This should shift the soil so that it covers the seedlings. If the seedlings are still exposed, gently brush soil over them so that they are just covered.
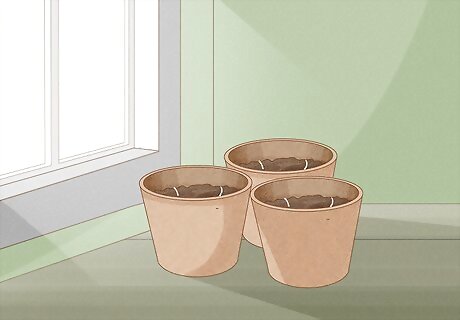
Keep the pot in a warm, sunny location in your house. Move the pots of seedlings to direct sunlight, preferably in a greenhouse, but anywhere in your home that is warm and has plentiful windows. Apple trees ultimately will have to be transplanted outdoors, where conditions are better for growth.
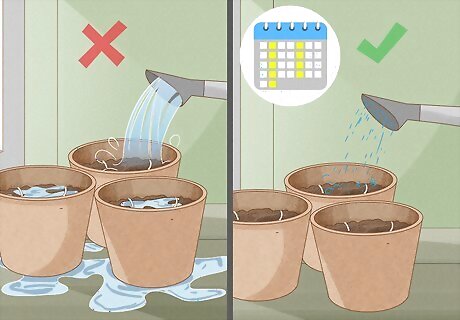
Water the plants twice a week. Because the apple tree seedlings are growing indoors, they will need to be hand-watered twice a week. Water until the soil is moist and dark, but be sure not to overwater and flood the soil.
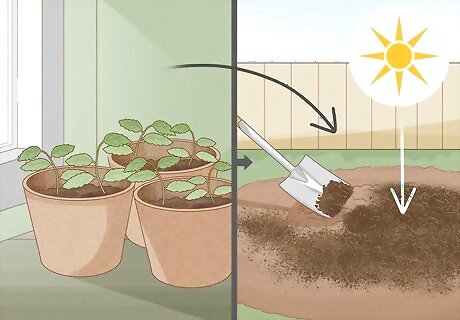
Prepare your outside garden for transplanting. You don't want to keep your apple tree seedlings indoors indefinitely. Apple trees thrive outdoors, where they have space to grow, as well as improved sunlight and soil nutrients. In the fall, when the seeds are dormant, clear an area of garden of weeds and large rocks. Choose an area of your garden with well-draining soil, meaning that when you pour a large amount of water into the soil, it quickly drains into the ground. Also choose an area of your garden that is in direct sunlight. Add a one inch (2.54 cm) layer of compost to the soil to enrich it.
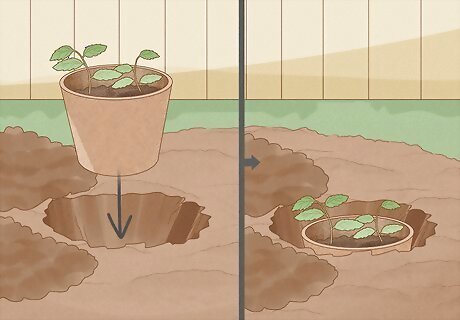
Dig holes in the soil and place the pots inside. Use a small shovel to dig into the soil. Make holes that are the same depth but twice the width of your pots. Then gently place a degradable pot with the seedlings inside each hole. The biodegradable pots will eventually decompose, so that the apple tree seedling will be entirely surrounded by earth. After burying the pot, you should just be able to see the rim poking up out of the soil. Some biodegradable pots come with bottoms that easily pop out. You can also cut out the bottom of the pot to speed up the process of integrating the plant into the soil.
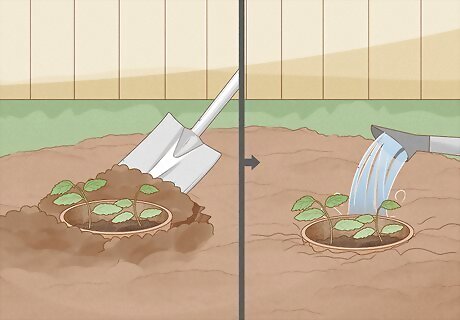
Replace the soil and water. Pat any displaced soil around the rim of the pot until there is no space between the pot and surrounding earth. Then water the plants and soil generously. Consider adding an inch-thick (2.54 cm) layer of sand over the soil if you live in a cold climate. Sand helps prevent the ground from crusting over in colder weather.





Comments
0 comment