views
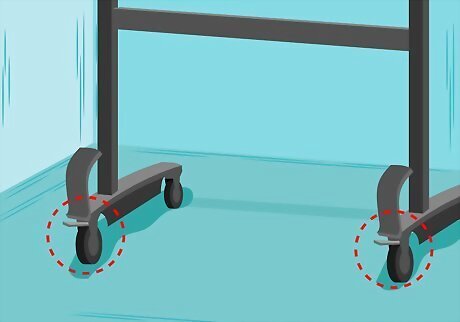
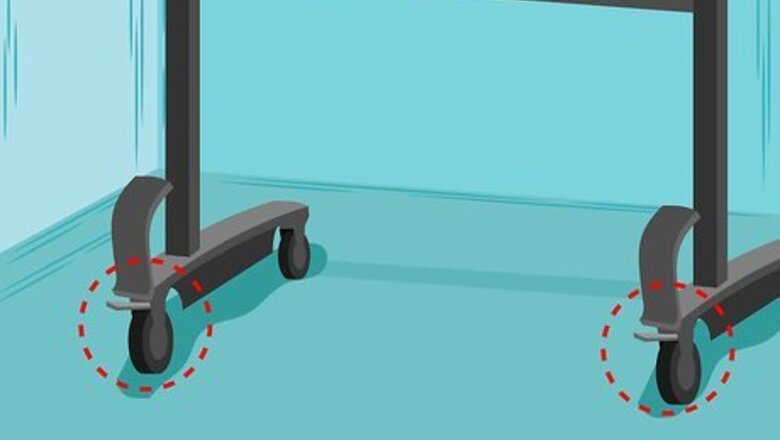
Lock wheels in place. find a good spot in your classroom to put the smart board. When you found a place, lock wheels so the board doesn't move around.
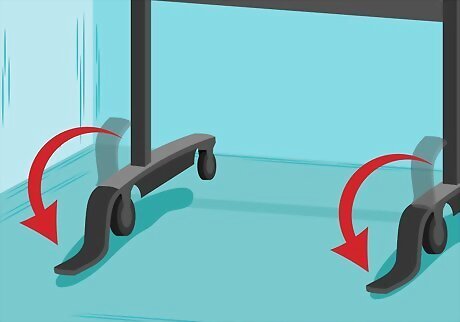
Lower leg braces. this ensures than the smart board won't move anywhere when the students touch it.
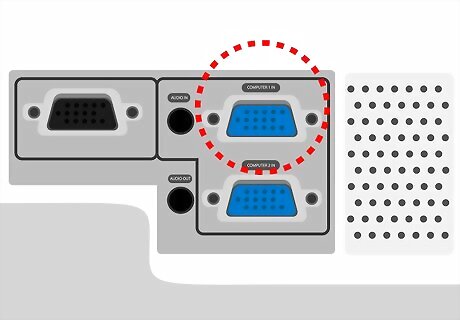
Connect in your projector and laptop using the VGA cable where it says Computer #1 in. Tighten up the screws to ensure safe connection. The smart board does not have an AC adapter but plug your laptop in the wall.
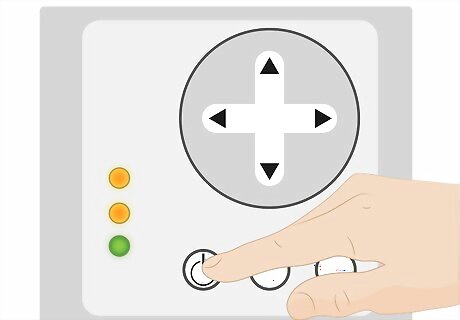
Power on the projector screen until a noise occurs. Push the power button on your projector.
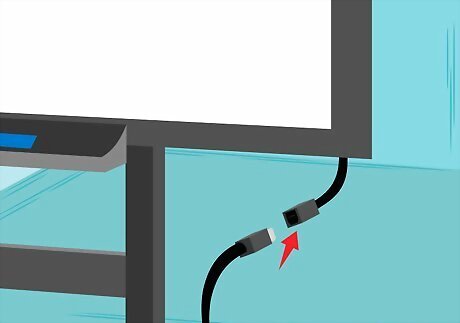
Plug the flatter side of the USB cable provided to your laptop. Plug the square part of the USB to the other cable attached on the bottom right of the smartboard.
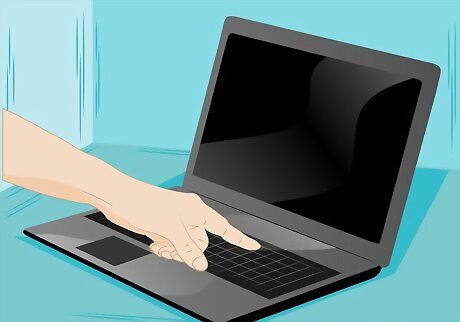
Press the Function key on your laptop which is the "Fn" key and the "F7" or "F4" key on your laptop at the same time.
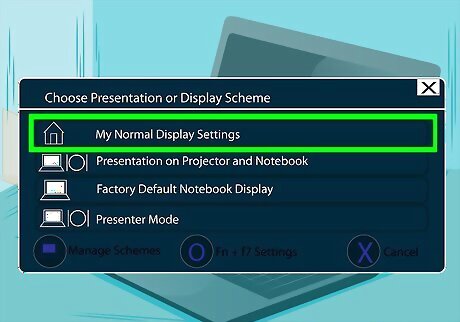
When a black box pops up click on "Presentation on projector and notebook".
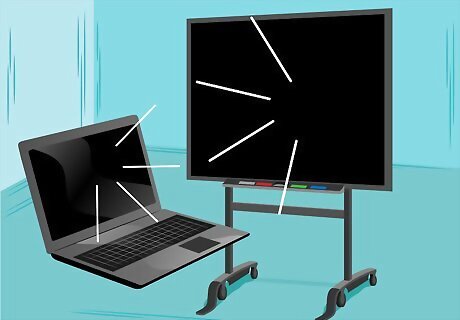
Don't be alarmed or panic when projector and laptop screen flashes black for a moment. The projector and computer is cycling through display mode for the projector screen.
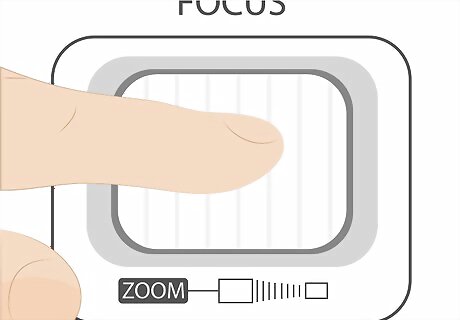
Adjust the zoom and focus of computer projection until the whole smart board is filled up.
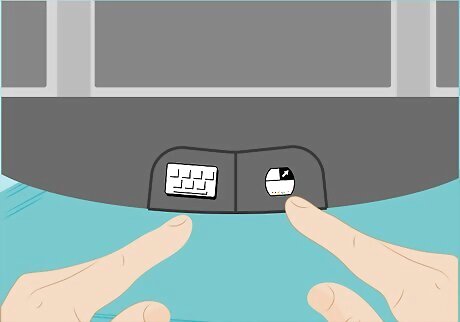
Calibrate the Smart board by pressing the two buttons in front of its tray.
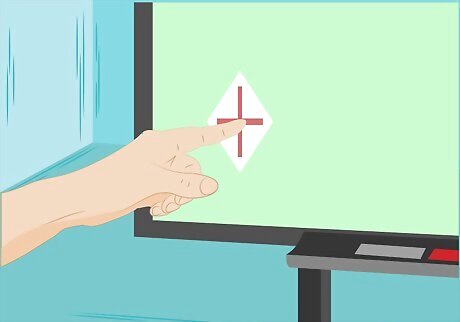
Use your fingers or one of the supplied special pens and touch the targets to calibrate the board.




Comments
0 comment