views
Getting Ready to Start
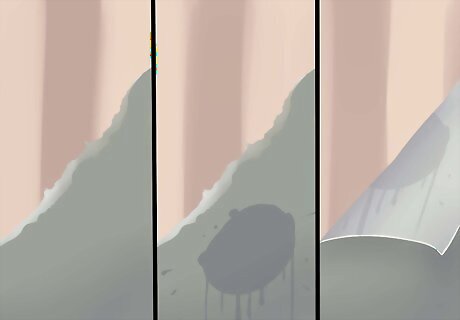
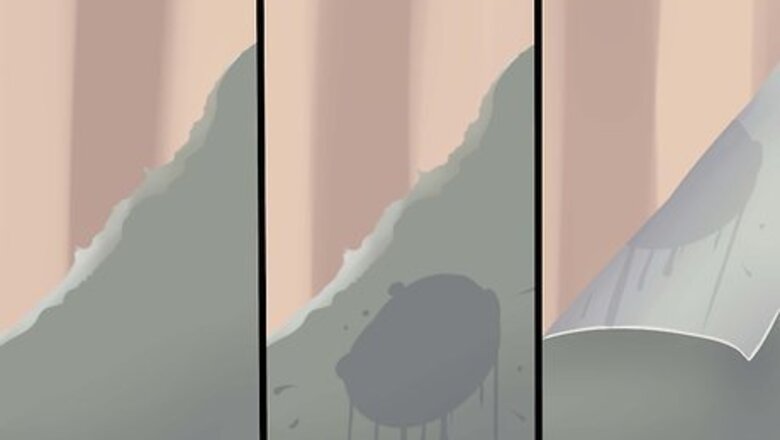
Figure out what kind of wallpaper you have. Depending on how the wallpaper was made, it could be easy to pull off in dry strips or it could be quite difficult to penetrate. The method you use to take it off your walls will differ according to what type of wallpaper you're dealing with. Here are the possibilities: Dry-strippable wallpaper. This is designed for easy removal, and should be possible to strip without using moisture. Try peeling back a corner of the wallpaper; if it comes off relatively easily, it's probably dry strippable. If it immediately tears, it probably isn't. Porous wallpaper. This type of wallpaper may not come off in easy sheets, but it will quickly absorb water and loosen up, making it not-too-difficult to strip. Figure out if it's porous by using a sponge to apply some water to an area. If the wallpaper soaks it up, it's porous. If it drips right off, it's not. Nonporous wallpaper. Lots of wallpaper has a decorative nonporous layer. You'll especially see this with wallpaper that's metallic or has raised parts. This type of wallpaper will need a bit of extra work; you'll have to score it before you apply water, to allow the water to soak in and loosen it.
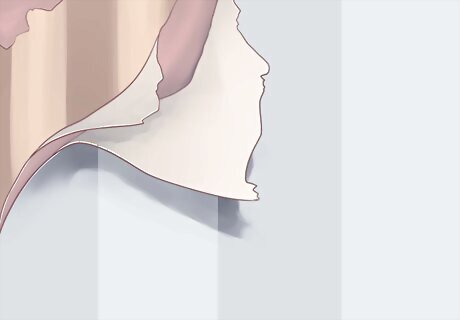
Figure out how many layers there are. One layer of dry-strippable wallpaper will take no more than a few hours to remove, but if you have more than one layer, things can start to get tricky. Peel back a corner of wallpaper and see what's behind it. Do you see plaster, or more wallpaper? Keep peeling until you reach the plaster, and count how many layers you've got to remove. If you have more than 2 layers, it's going to be a very big job. You might want to consider getting someone to help you or renting wallpaper removal equipment to help the job along. If there's a layer of paint on top of one of the layers of wallpaper, that will make things tougher, too. Again, you might need to gear up for some extra help.
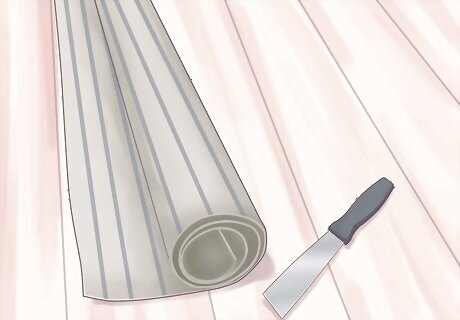
Gather the right supplies. The same basic supplies will be useful no matter what type of wallpaper you're dealing with. If you've got a particularly tricky combination of nonporous wallpaper + 4 layers to remove + coats of paint in between, a few extras will be in order. Here's what you need: For dry-strippable wallpaper: Wallpaper scraper Putty knife For porous wallpaper: Wallpaper scraper Putty knife Wallpaper remover solvent Bucket of water and sponge Spray bottle For nonporous wallpaper: Wallpaper scraper Putty knife Wallpaper remover solvent Bucket of water and sponge Spray bottle Wallpaper perforating tool (or sandpaper)
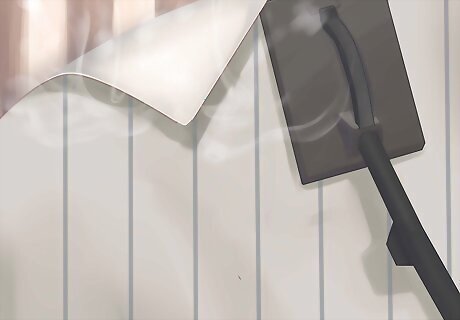
Consider renting a steamer. Wallpaper steamers can be extremely helpful when you've got an especially tough job on your hands. Instead of soaking your walls in water, you'll use the steamer to apply hot steam to the wallpaper, loosening it right up and allowing you strip it away. Steamers aren't expensive to rent for a half-day or day of work - you probably won't pay more than $15 - $30 for the job. You can also buy your own steamer for about $50 if you anticipate needing it for more than one day.
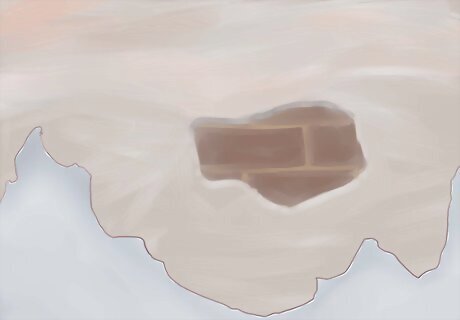
Be prepared for a surprise under the wallpaper. It's not uncommon to find crumbling plaster underneath layers of wallpaper. Putting up wallpaper to hold plaster together is a cheap DIY repair that many homeowners use, rather than forking over the money and effort required to make real repairs. When you remove the layers of wallpaper, chunks of plaster might come off as well. Peeling back the layers may also reveal cracks in the plaster or other problems. Be prepared to fix these issues before you apply paint to your walls.
Stripping the Wallpaper
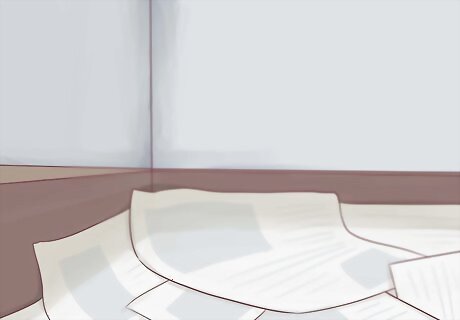
Get ready for stripping. Before you get going, take the time to set up your work area so that you can get the job done as quickly as possible without dirtying your house too much. Lay down some newspaper or a tarp to protect your floor and catch drips and pieces of wallpaper. Have a garbage pail nearby for the wallpaper strips, so you can easily collect them in one place as they come off the wall. Have a ladder handy if your walls extend above where you can reach. Put on some old clothes, as the dust from the old wallpaper and plaster will definitely cling to you as you work. If you're sensitive to dust, you may want to wear a mask as you work.
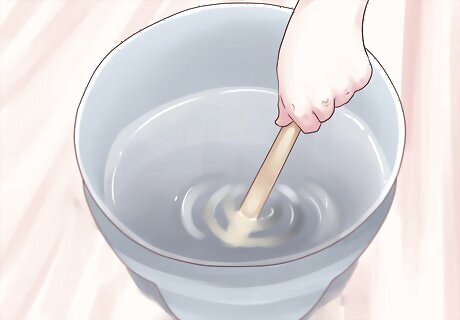
Mix your wallpaper removal solution. Fill your bucket and spray bottle with a mixture of water and wallpaper removal solution. The recommended ration is 5 ounces of wallpaper stripper diluted with 1 gallon (3.8 L) of water. Dividing it between a bucket and a spray bottle will help you reach every corner of the walls.
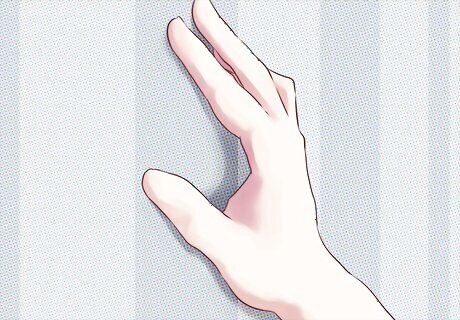
If necessary, perforate the wallpaper. If you have nonporous wallpaper, start by using your perforation tool or sandpaper to perforate the wallpaper. Rather than doing it section by section, it's easiest to perforate all of the wallpaper so you won't have to go back and do more later. Make sure the wallpaper is evenly perforated, from top to bottom and side to side, to ensure it will all be able to take in water or steam. Don't try to perforate the wallpaper using a knife or another sharp point. This could damage the plaster underneath the wallpaper. Perforation tools work by rolling over the wall and puncturing the wallpaper with tiny points, never going deep enough to damage the walls.
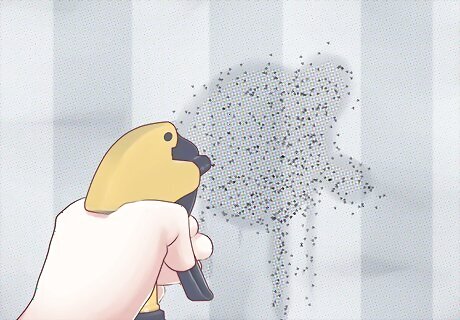
Soak the walls. You can skip this step if your wallpaper is dry-stripping. If you have porous or nonporous wallpaper (not dry-strippable), it's time to wet the walls. Use your bucket and sponge or spray bottle - depending on which section you're working on - to thoroughly soak the wallpaper. Give it about 10 minutes to soak in and loosen the wallpaper. Don't soak all of the walls at once. It's better to soak a section large enough that it will only take you about 15 minutes to remove the wallpaper there. Letting water sit in the walls for a longer period of time could damage the plaster. Try working on a 4' X 10' section at a time. To reach higher areas, you can also use a paint roller or mop dipped in the wallpaper removal mixture. If you're steaming the wallpaper, go over a section with the steamer, loosening the wallpaper along the way. When you're finished, rest the hot steamer head in a baking pan.
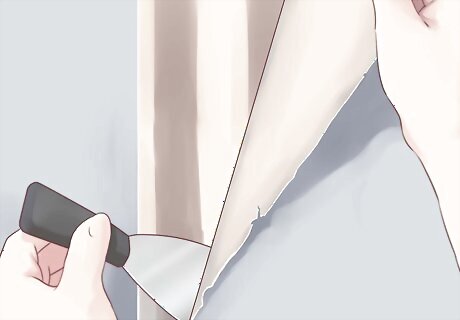
Start stripping. Use the the putty knife and wallpaper scraper to pry up and strip the wallpaper. Pull it back at a sharp angle, rather than straight off the walls; this reduces the chance that you'll pull off plaster, too. Keep stripping until the wallpaper has been removed from the area you wet down. While you're stripping one area, have another area soaking. This will move the job along faster. You may find it difficult to peel back the wallpaper after one soaking. If the wallpaper is stubborn, soak it thoroughly again and wait another 10 minutes.
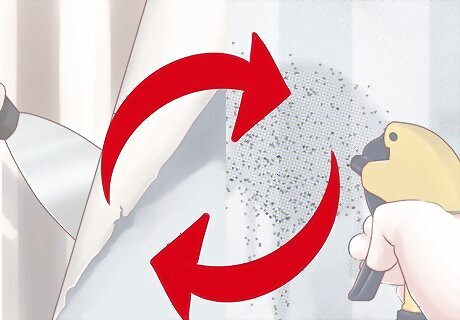
Keep going. Continue the process of soaking or steaming, letting it sit, and stripping until you've successfully removed every layer of wallpaper. Go back over the walls to get the pieces of paper that remain. As long as the wallpaper is wet & malleable, work at it a while, and have your scrubby sponge handy to help it along.
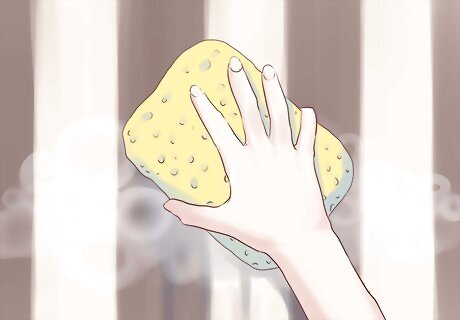
Clean the walls. Once the wallpaper is off, down the walls with clean, fresh hot water. This will prep your walls for whatever you decide to do next, whether it's repairing your walls or painting them. You may even want to hang more wallpaper!





Comments
0 comment