views
- Gmail is a popular tool for creating and setting up free email addresses.
- When you're setting up a new email address, you'll most likely need your phone number, name, and date of birth.
- You can use your real name or a fake name if you're uncomfortable giving out your real name.
Setting Up Gmail
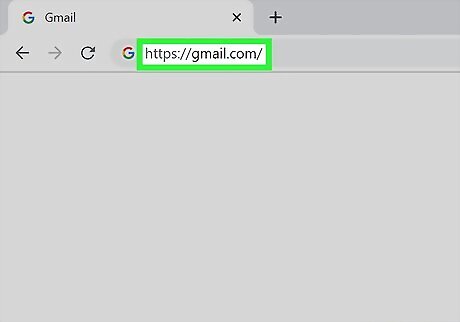
Go to the official Gmail website at https://gmail.com. This is one of the most popular email services, and it's free! Of course, you can pay to upgrade your storage, but creating an account is free. While you can follow these steps in your web browser on a phone or tablet, you can also download and use the Gmail mobile app to set up your account.
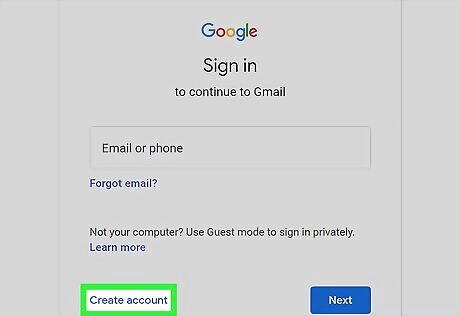
Click Create an account and select an account type. Pick if you're creating an email address for you, for a child, or for a business. The privacy and security options vary for each. For example, a business account has extra tools for promoting your business.
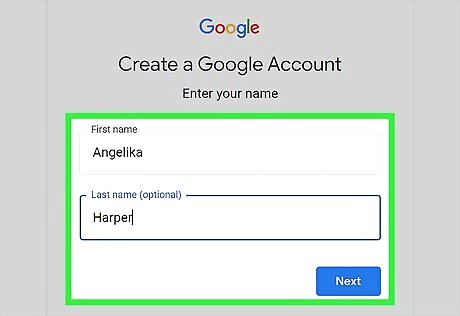
Fill out all fields provided to you on the Google account setup page. You will be required to provide your first and last name, create an email username and password, and provide your date of birth, gender, and mobile phone number. You can use a fake name if you aren't comfortable using your real name, and you can change it later on. If you want to avoid making a bland or boring address, check out our guide to creating a unique address. You'll see an error if the email address you want is taken. Simply enter another email address or select one of the suggested ones. Click Next to continue.
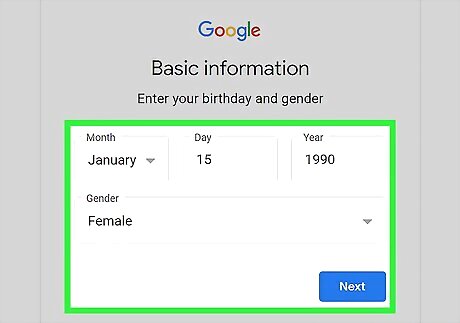
Fill out the fields as needed. Adding your phone number and a recovery email are optional steps, but you do need to enter your birthday and gender. If you entered your phone number or a recovery email address, you'll need to access them to get the verification code. Click Next to continue. Press Skip or I'm in for the phone number prompt, then read and agree to the conditions and terms of Gmail.
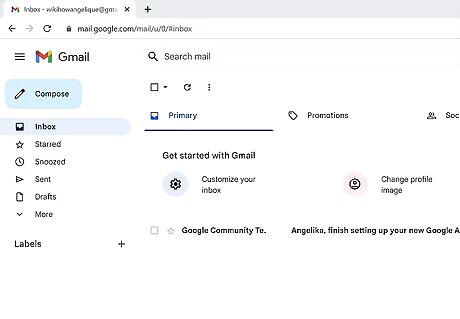
Use your new email account. Once you've finished setting up your Gmail account, you'll be redirected to your inbox. Click the gear icon if you want to change how your inbox appears.
Setting Up Yahoo Mail
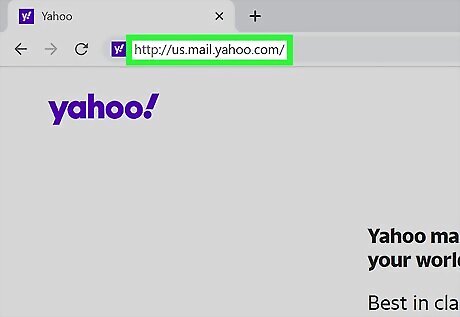
Visit the official Yahoo Mail website at http://us.mail.yahoo.com and click Sign up. You'll see this button in the upper right corner of the page.
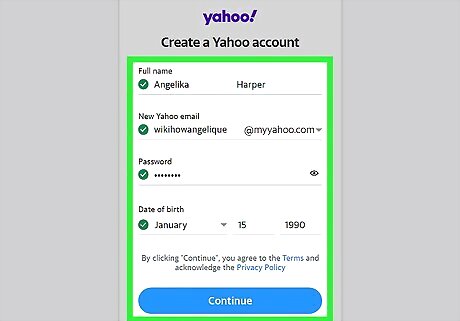
Fill out the fields on the "Create an account" page. You will have to enter your first and last name, create an email username and password, and enter your date of birth. You have the option to use the "yahoo.com" email address or use "myyahoo.com." This is really useful if the "yahoo.com" email address is taken because you might be able to use that address for "myyahoo.com." Click Continue to proceed.
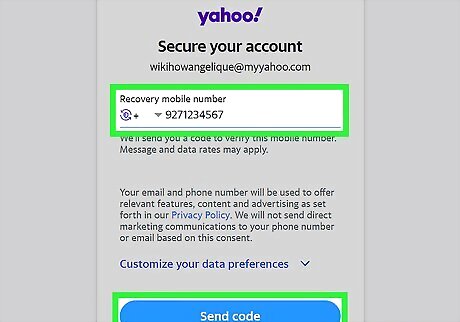
Enter your phone number. To secure your account, you'll need to enter a code that's texted to your phone. If you don't have a phone number, you can get one online with Google Voice.
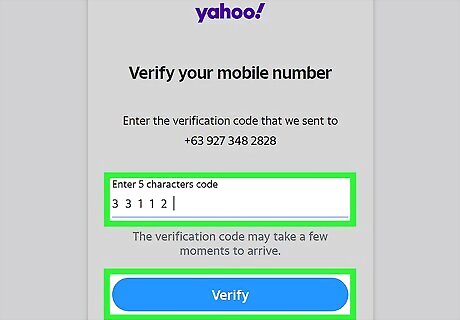
Verify your phone number. Once you enter your phone number, you should be texted a code that you'll enter into the website. After you've done that, the page will reload to say "Success!" Click Done to continue.
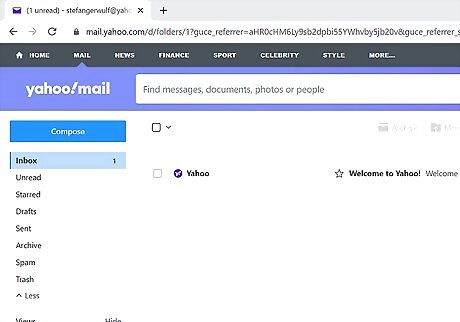
Wait for Yahoo to load your new email account. Click the gear icon if you want to change how your inbox appears. You can access the different sections of your inbox as well as mail filtered as spam in the panel on the left side of your screen.
Setting Up Outlook Email
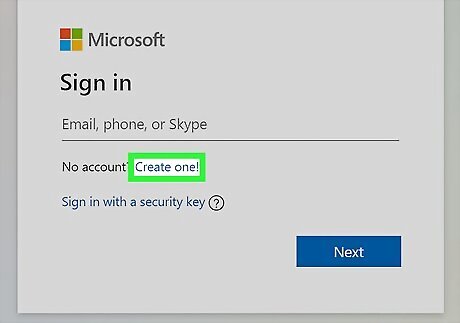
Go to http://login.live.com and click Create one!. You'll see the option to create an account next to the “No account?" text.
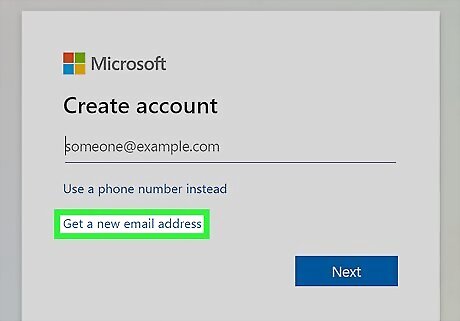
Click Get a new email address. It's below the username field.
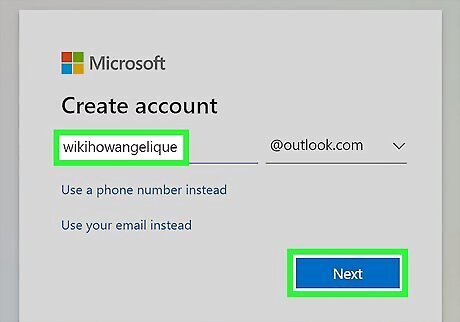
Type the email username of your choice into the username field. You can also click the drop-down to use either "outlook.com" or "hotmail.com." Click Next to continue. You'll see red text if the email address is taken or incorrectly entered (it can only start with letters). Type in a new email address and click Next again.
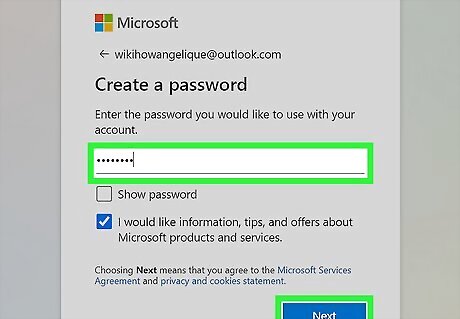
Enter a password. Create a strong and secure password that you will remember. Click Next to continue.
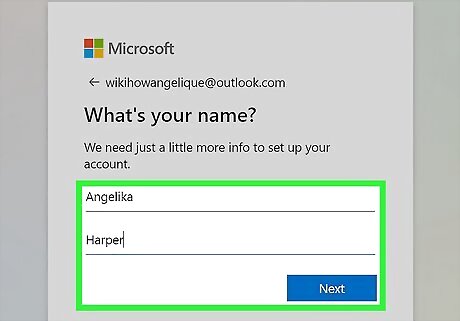
Enter your name. You will be required to enter your first and last name. Click Next to continue.
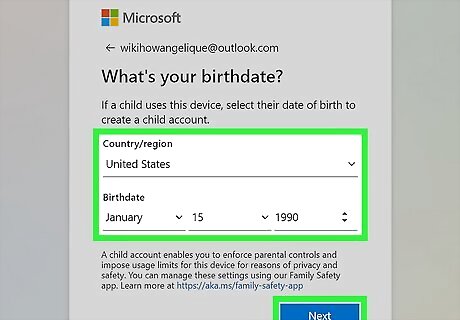
Fill out the required fields. The next page will ask "What's your birthdate?" so you will need to enter your birthday as well as the country/region you live in. Click Next to continue.
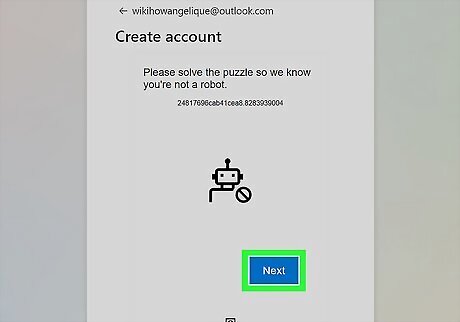
Prove you're not a robot. To prevent scammers from creating temporary emails with bots, Microsoft requires you to solve an easy puzzle before you can make your account. Click Next to go to the puzzle or click Audio if you'd prefer for the puzzle to be audio-based instead of visual. Once you're finished with the puzzle, click Continue.
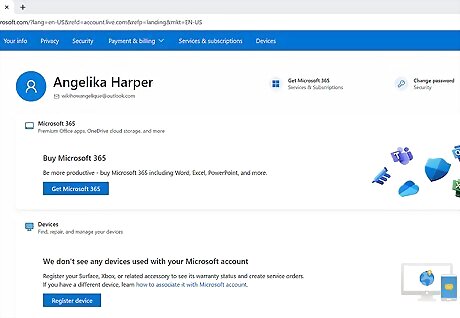
Wait for your Microsoft account summary to load and display on-screen. Your new email address will be displayed below “Account aliases” and will now be ready for use.
Setting Up iCloud Email
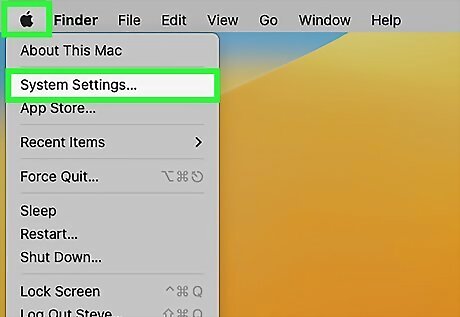
Click the Apple menu and select System Settings. You'll see the Apple menu at the top-left corner of your Mac's screen. If you have macOS Monterey (12) or older, this will say "System Preferences" instead.
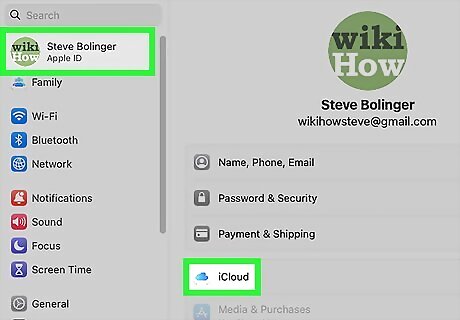
Go to iCloud Mail. Depending on the OS you're using, there are different ways to do this: macOS Ventura 13.3 or later: Click your name > iCloud > iCloud Mail and make sure "Sync this Mac" is enabled. macOS Ventura: Click your name > iCloud > iCloud Mail > and make sure it's turned on. macOS 12 or earlier: Click Apple ID > iCloud > iCloud Mail (Mail).
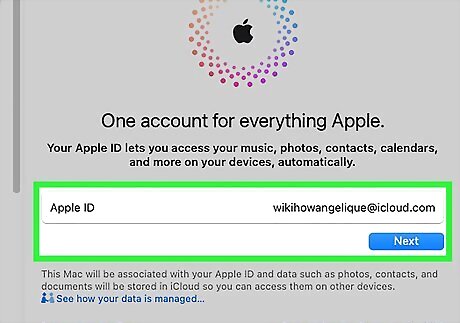
Enter an iCloud email address. If there isn't one listed, make one up and enter it into the field. You don't need to add "icloud.com" at the end because that's already provided.
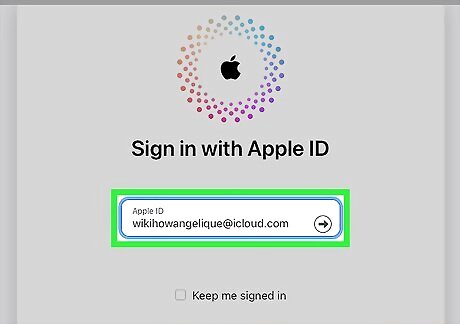
Use your new iCloud email. Go to https://icloud.com/mail and sign in with the new address you just created.
Setting Up Email with Your ISP
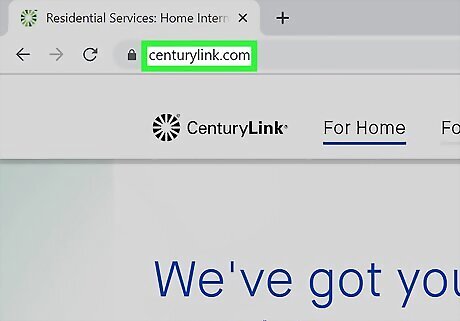
Go to the website for your ISP. If your Internet Service Provider offers web-based email, you can usually find a link to the login screen on their main website. For example, if your ISP is CenturyLink, go to http://www.centurylink.com. If you do not know the website for your ISP, go to Google or your preferred search engine and type the name of your ISP into the search field. If you'd rather use an email client like Apple Mail, Microsoft Outlook, or Thunderbird to set up your ISP email, contact your ISP to find out the following information: Your incoming mail server and port. Whether your incoming mail server is POP3 or IMAP. Your outgoing mail server (SMTP) and port. Your email username and password.
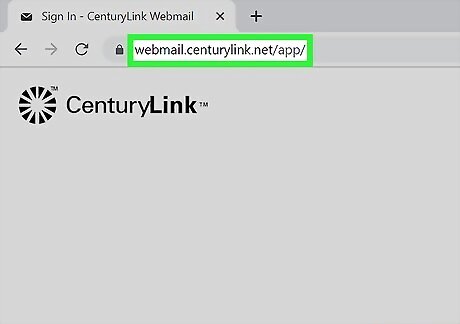
Search the home page of your ISP for any links labeled as Email or Mail. If your ISP offers web-based email, you should find this option. In some cases, the email option may also read as “WebMail" or “Inbox.” Your ISP may also have an easier way to access your web-based email: Centurylink: https://webmail.centurylink.net Cox: http://myemail.cox.net Frontier: https://login.frontier.com/webmail Spectrum: https://webmail.spectrum.net Xfinity: https://xfinityconnect.email.comcast.net
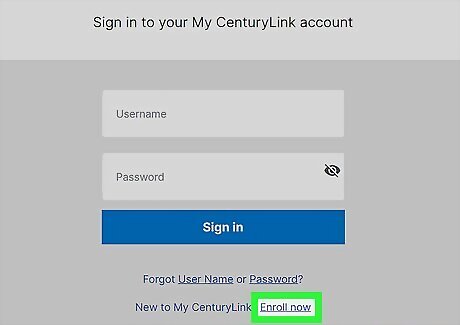
Select the option to create or register for an email account. If you know your account information, you can sign in with it now. If not, you should see the option to create a new email address now.
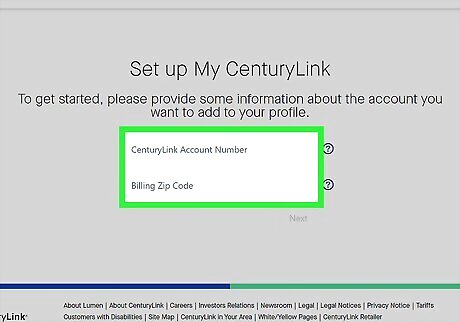
Follow the on-screen prompts to create an email account with your ISP. The process will vary depending on the requirements in place by your ISP. Contact your ISP directly if you need additional support with setting up an email account.




Comments
0 comment