views
X
Research source
If you don’t have a lot of experience working with this metal, it may be intimidating to start a new home improvement or hardware project. While it’s always best to consult a professional for large-scale projects and renovations, you can easily cut galvanized sheet metal, wires, cables, and pipes with a few specialized tools and some elbow grease.
Slicing Through Steel Sheet Metal
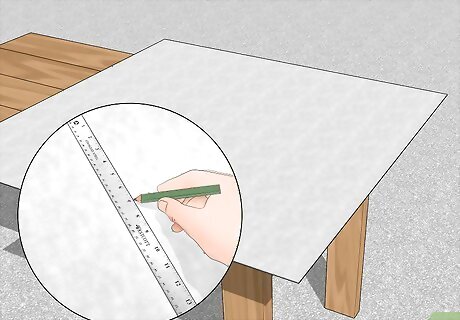
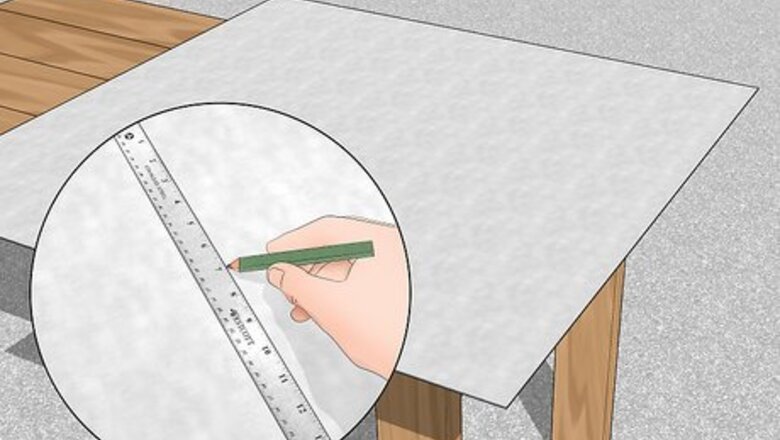
Measure and mark off your sheet metal on a flat surface. Place your sheet metal on a flat surface and extend a tape measure lengthwise on your piece of sheet metal. After this, use a marker to take note of your measurement. To measure the width of the metal, mark along the length of a T-square ruler. If you don’t have a marker on hand, chalk line can also work. A T-square ruler is a metal ruler that forms a right angle at the bottom. Look for 1 online or at a hardware store.
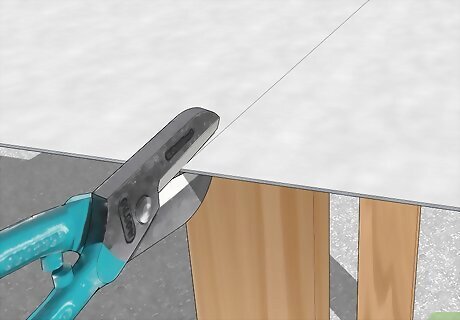
Cut along your measured line with tin snips. Arrange the teeth of your tin snips over the marked line on your sheet metal. Use 1 hand to lift 1 half of the sheet metal while using your opposite hand to cut along your pre-marked line with slow, gradual cuts. The process of using tin snips is very similar to using scissors. Lifting 1 side of the metal helps to give you leverage while you cut. If you’re using a table as your workspace, you don’t need to lift the metal. Tin snips tend to come with red or green handles. Red-handled tools are best for cutting curved edges, while green handles work well when cutting straight edges. However, if you only have red-handled snips, use those to cut straight edges.Tip: Wear thick leather gloves and safety glasses to protect yourself.
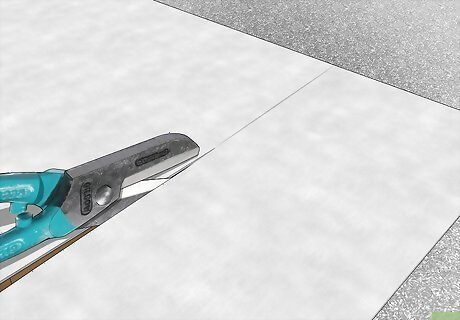
Work in small sections until you’ve cut out your desired portion. Continue cutting along the marked edge of your sheet metal, working in 1 in (2.5 cm) sections as you go. Keep snipping the sheet metal until you’ve successfully cut out a new piece.
Trimming Steel Wire or Cables
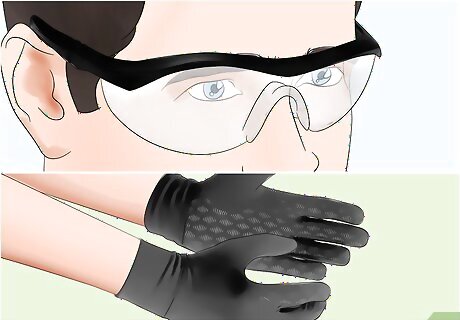
Slip on protective glasses and gloves before trimming the wire. When cutting small portions of galvanized steel, you could get hurt by flying debris or sharp edges. To prevent these scenarios, wear a set of safety glasses and traditional work gloves before handling steel wire or cables. Find this safety equipment at your local hardware store. Make sure that you’re working with your galvanized wire in a flat, secure area. Check that the wire is level, or position it in a table wise to ensure that it’s secure.
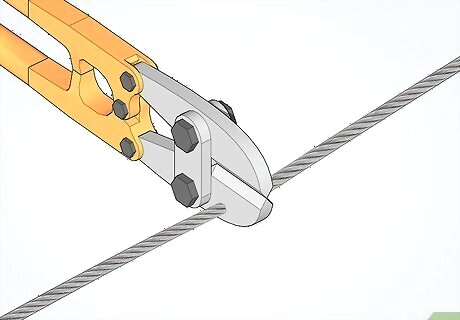
Cut your desired length of wire with steel cable or bolt cutters. Arrange the teeth of your wire or bolt cutters on the section of wire that you’d like to cut. Use 1 or both hands to squeeze on the handle, applying a heavy amount of pressure as you go. Continue squeezing the handle until the wire or cable is cut. If you’re cutting steel cable, invest in a thick, sturdy wire or bolt cutter to get the job done. Look for these tools at a hardware or home improvement store.
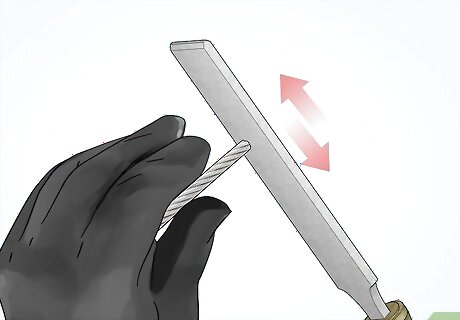
Sand down the rough edge of the wire with a single-cut steel file. Take a rectangular, single-cut steel file and rub it along the rough edge of the wire. Move the file in 1 direction so you don’t create a more uneven surface along the edge of the wire or cable.Warning: Wear a breathing mask before if you plan on sanding or filing down a section of metal, as you don’t want to breathe in any metal dust!
Cutting Galvanized Pipe
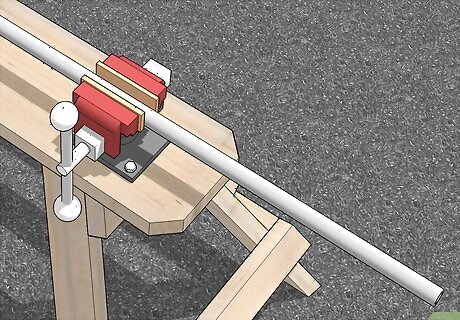
Secure the pipe into the center of a vice clamp. Open the clamp attached to your work table so the pipe can fit inside. Once the pipe is secure, tighten the clamp to hold it in place. If you don’t have a vise clamp, you’ll have to hold the pipe steady to ensure that your cuts are even and smooth. Your pipe should hang vertically or horizontally off the table so you can rotate your pipe cutter around it.
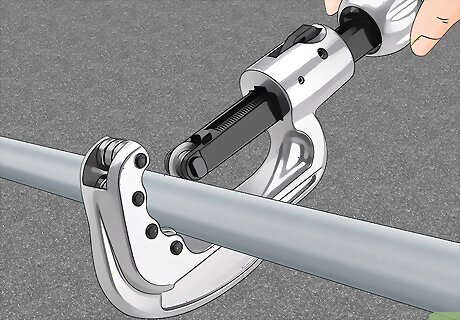
Center a pipe cutter over the section of pipe you want to cut. Select a large or small pipe cutter, depending on the size of your pipe. Rotate the bottom of the cutter counter-clockwise to open the tool. Place the pipe inside of the pipe cutter and turn the bottom of the tool clockwise to tighten the pipe into place. Pipe cutters look like a hand wrench, and have a sharp metal wheel that’s attached to the top portion of the tool. By manually spinning the cutter around the pipe, you can begin cutting through the pipe. To tighten the tool, use the rotating mechanism found on the handle. This can be turned clockwise or counter-clockwise to tighten or loosen the grip of the cutter, respectively. Look for this tool in a hardware or home improvement store.
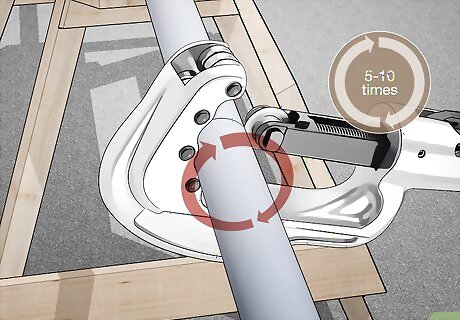
Rotate the pipe cutter around the pipe 5-10 times. Grip the handle of the pipe cutter and move the tool in a circular rotation around the circumference of the pipe. Spin the tool at least 5 times to create a definitive groove on the surface of your pipe. If you’re working with a thicker pipe, you may need to rotate the tool more than 5 times before you notice an obvious groove or cut in the galvanized metal.
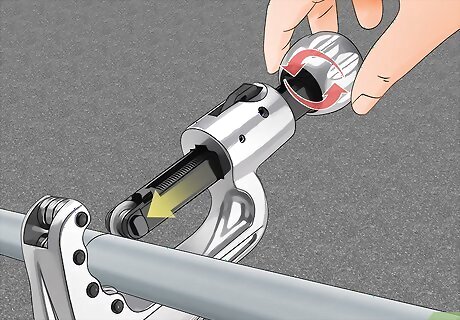
Tighten the grip on the pipe cutter after 5-10 rotations. Rotate the bottom portion of the pipe cutter clockwise so the tool attaches snugly to the groove. Don’t tighten the cutter too much, as you still need to rotate the tool around the pipe. As the cut in the pipe deepens, you need to tighten the pipe cutter to get a more exact cut.
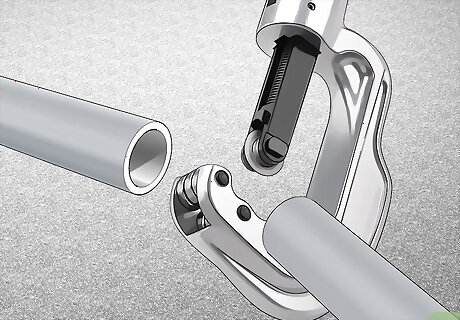
Repeat the rotating and tightening process until the pipe is cut. Keep rotating your pipe cutter around the pipe 5-10 times to deepen the groove on the pipe’s surface. After several rotations, tighten the tool to create a more exact cut. Continue rotating and tightening your pipe cutter until the pipe is completely severed.


Comments
0 comment