views
Pre-Treating the Stainless Steel
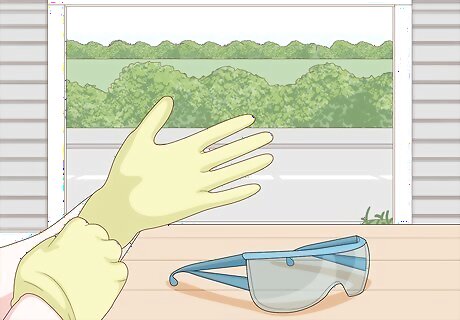
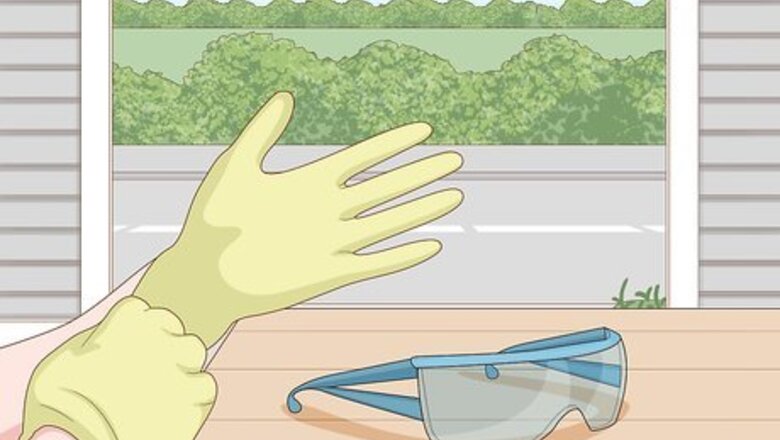
Work in a well-ventilated area and wear protective equipment. Soldering stainless steel requires solvents and other chemicals that could vaporize during the heating process. Do all the work in a well-ventilated area to avoid breathing in any fumes from the process. Always wear eye protection and gloves when you're soldering. Either work outside, in a garage with the door open, or near a window. Wear a dust mask for an extra layer of protection.
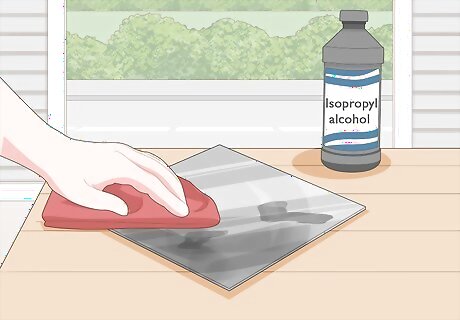
Wipe the stainless steel down with a solvent to remove oil and grease. Surface contaminants prevent soldered material from binding properly. Remove any liquid or grease contaminants with a solvent cleaner. Pour some into a rag and wipe down the area that you’re soldering. Isopropyl alcohol is a basic solvent cleaner that works for in most cases. For pieces caked in grease or oil, use a stronger cleaner like acetone. Acetone is corrosive, irritating, and flammable. Wear gloves when you handle it and keep it away from open flames. If you get any on your skin, hold the area under running water for 5 minutes.
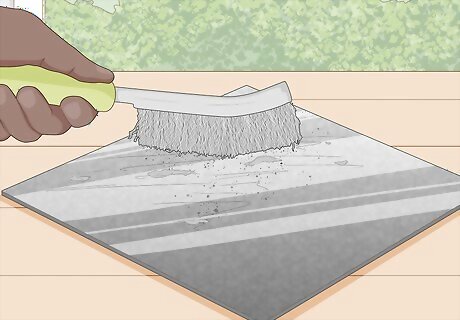
Remove solid contaminants with a metal wire brush. The solvent cleaning may not remove solid contaminants like dust and dirt. Brush down both pieces of metal on their soldering surface to prepare them for binding. Don’t worry if the brushing scratches the metal a bit. A rough surface actually helps the solder bind better.
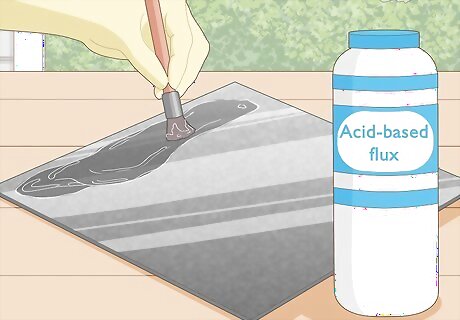
Wipe an acid-based flux onto the steel surface. The key to making solder bind to stainless steel is treating it with flux before soldering. Flux is an oily or watery substance, depending on the type, that cleans metal surfaces so they bind better. For stainless steel, an acid flux removes oxides from the steel surface and helps the metals stick together. Use a strong, acid-based flux. Wet a brush with the flux and apply it to the stainless steel. Look for a flux that is specifically designed for stainless steel use. This is usually printed on the product label. Use gloves and eye protection when handling acids. Other rosin-based fluxes are not effective for soldering stainless steel. Use a stronger, acid-based flux. If you’re soldering 2 pieces of stainless steel, wipe them both with the flux. If you’re soldering stainless steel to another metal, only wipe the steel.
Binding the Metals
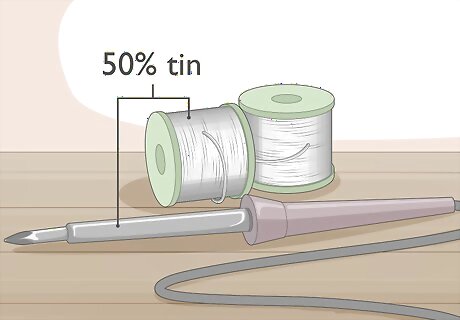
Use a solder that is at least 50% tin for the best bind. While there are many types of solder, a high-tin variety binds best with stainless steel. Tin also matches the color of stainless steel, so it makes for a better visible seal. Solder with some silver in it will also form a stronger seal. Remember that solder with silver takes longer to melt.
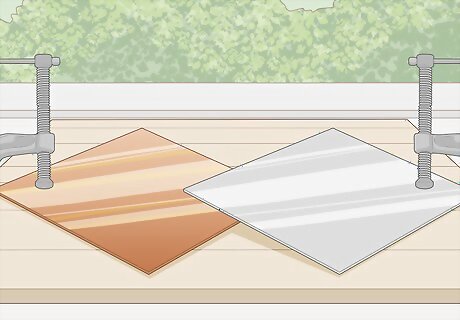
Clamp down the 2 metal pieces you’re soldering so they touch each other. You’ll need both hands when you solder, so secure both metal pieces down. Arrange them at the angle you want them to bind. Then use a clip or vise to clamp them into place. There are special soldering benches with clamps to hold 2 metal pieces in place. Consider investing in one of these if you solder often. Most table vises are also large enough to hold 2 pieces of metal at the same time. If you’re soldering something locked in place, like a pipe, then only secure 1 piece of metal.
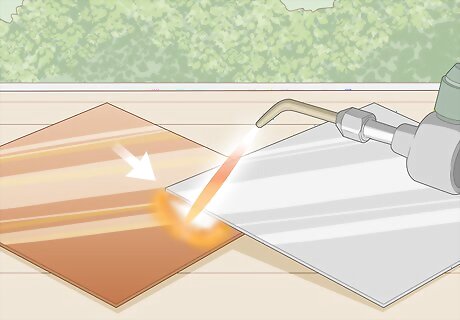
Pre-heat both metal surfaces with your heating unit. Both a torch and a soldering iron work for this. Apply the heating unit to both pieces of metal along the line that you're connecting. Leave the unit on until the metal gets hot enough to melt solder. The flux will bubble a bit when it’s heated. This is normal. To test when the metal is hot enough, touch a bit of solder to its surface without the heating unit attached. If it melts on contact, the metal is hot enough.
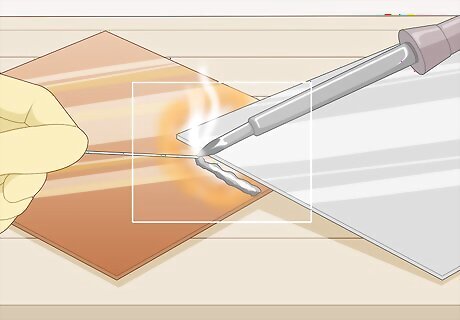
Melt some solder onto the non-steel metal if you’re using one. If you’re binding a different metal to the steel, like copper or tin, pre-treat the surface by melting some solder onto it. This gives the steel a surface to bind to. Heat up the metal with your soldering iron or torch until it's hot enough to melt solder. Then press solder against the metal and let some pool on the area that you're binding to the steel. If you’re soldering 2 pieces of stainless steel, then skip this step. Solder is a thin metal wire that comes in a spool. When you melt it, unroll 6 inches (15 cm) from the spool to keep your hand a safe distance away from the heat.
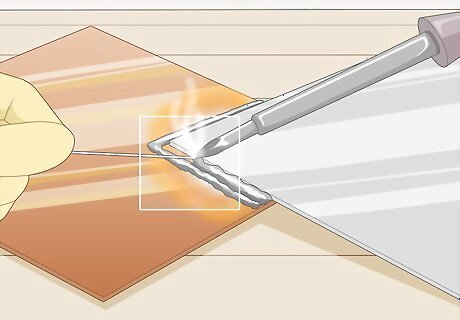
Apply solder at the joint of the 2 metal pieces. With both pieces of metal pre-treated, the solder will bind much better. Touch the solder to the heated metal so it melts. Then spread the solder until you cover the whole joint. Apply more heat if the metal cools off. If you’re using a soldering iron, hold the iron against the joint. Then touch the solder to the iron. Spread the melted solder along the joint as it flows down the iron. If you’re using a torch, don’t touch the solder directly to the flame. Heat the metal up with the flame until it’s hot enough to melt solder, then touch the solder to the metal.
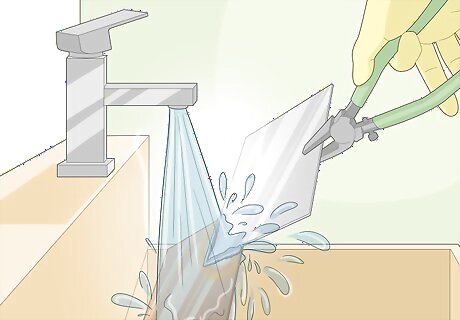
Clean the joint with warm, running water to remove remaining flux. Flux is very corrosive, so leaving it on can damage the metal over time. Let the solder cool for 2-3 minutes before touching it. Then rinse off any remaining flux. Bring the metal piece to a faucet and run warm water over it. Rub with a sponge or toothbrush to remove any leftover flux. If the piece you soldered is too large or fixed in place, bring over a bucket of warm water and scrub the joint with a sponge. Use a mild dish soap if the flux doesn’t come off with a simple scrubbing.


Comments
0 comment