views
GarageBand on Mac, iPhone, or iPad
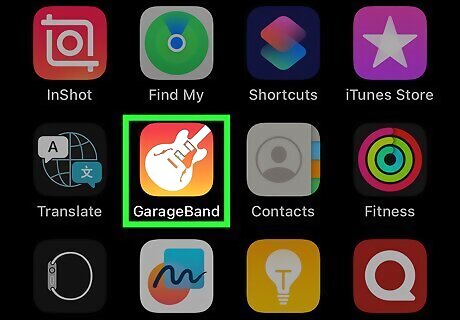
Open GarageBand. Click or tap the guitar icon. If you don't have GarageBand installed on your iPhone or iPad, you can download it for free from the App Store.
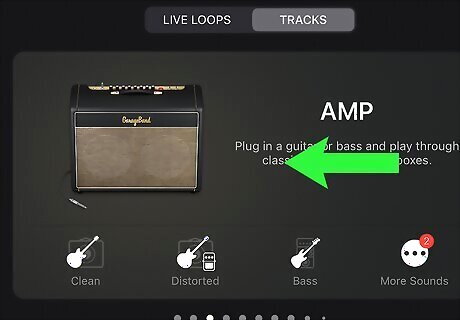
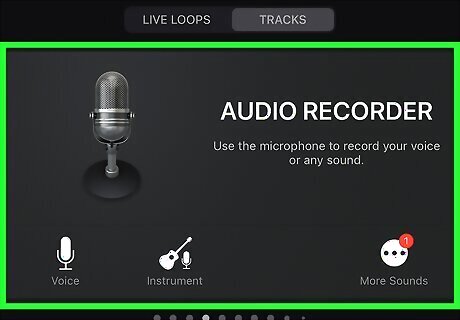
Choose Empty Project (Mac) or Audio Recorder (iPhone & iPad). Click the empty grid icon to select your project type and click Choose. On iPhone or iPad, swipe either left or right across the options until you see Audio Recorder, which has a large microphone icon. Once you're there, tap it to create a new project.
Create your project on Mac. Select the microphone option under "Audio", select the input, and click Create.
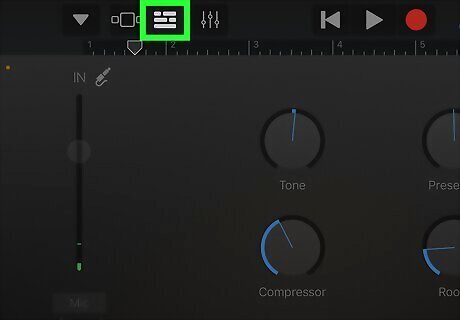
Change how GarageBand functions. On Mac, click the "Metronome" and "Count-in" buttons in the top panels, which simplifies how the application looks and makes editing easier. These are usually purple icons that you can see to the right of the timer. On iPhone and iPad, tap the Tracks View icon. It's in the upper-left corner of the screen and looks like three horizontal lines broken into pieces. This puts Garage Band into Tracks View.
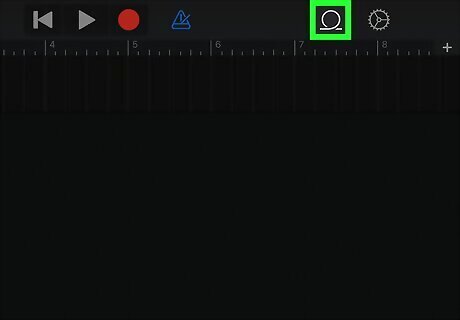
On iPhone and iPad, tap the Loop Browser button. It's in the upper-right corner and looks like a loop of string. Skip this step if you're using a Mac.
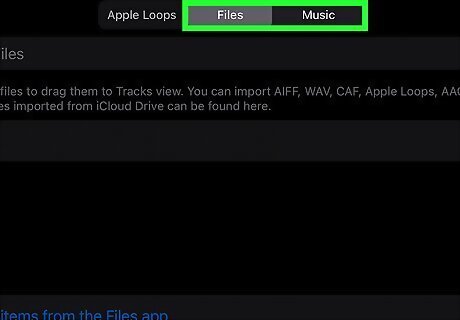
Browse for the audio track you want to edit. On a Mac, simply drag and drop the MP3 from your Finder to the GarageBand project. Tap Music if the song is in your Music library on your phone or tablet. You can then browse by album, artist, genre, playlist, or view the song list. Tap Files if you downloaded the song from the web or copied it to another location on your iPhone or iPad. Then tap Browse items from the Files app at the bottom, select Browse, and locate the audio track.
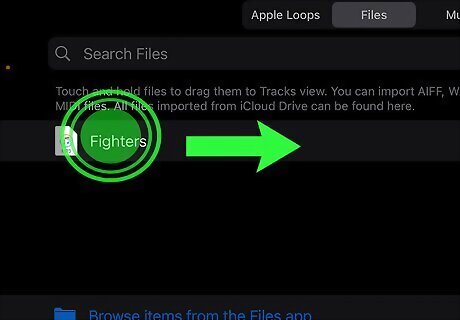
Drag the audio file left or right to bring it into Tracks View. Drag it directly to the first track using your finger or mouse. Align the beginning of the song with the beginning of the track.
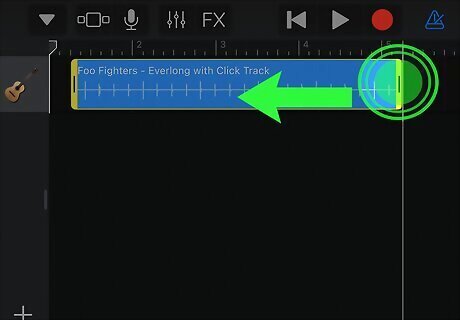
Drag the bars on either side of the track to trim the audio. If you want to cut off the beginning or end of the audio track, tap and drag one or both bars until the part(s) you don't want is removed. Click or tap the play button (the triangle) at the top to hear a preview. Click or tap the curved arrow at any time to undo the last action.
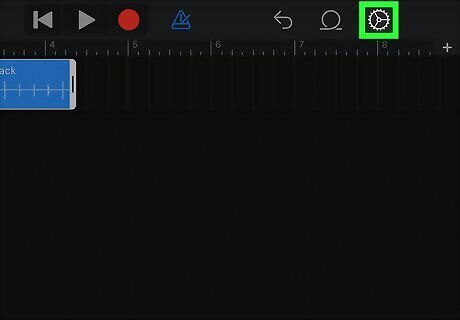
Adjust other track settings (optional). GarageBand has many tools you can use to work with your audio file further. Here are a few things you can do: Click or tap the gear icon at the top-right and select Track Controls. On the left panel, experiment with the Plugins & EQ section by dragging the Compressor, Treble, and Bass sliders. Click or tap the Play button to hear your changes as you make them. The Echo and Reverb controls are at the bottom of the left panel. Drag the sliders to adjust these effects. Click or tap the gear to return to the standard Tracks View.
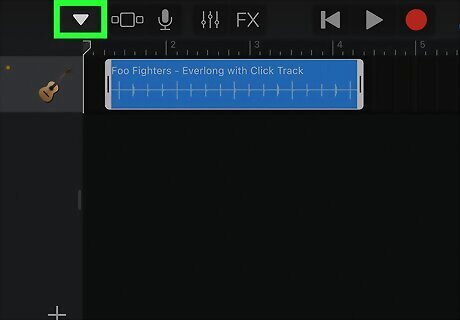
Click or tap the down arrow to close the file. When you've edited the track as desired, this will take you to your recent files.
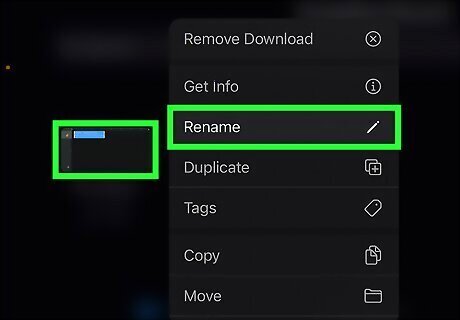
Rename the project file. Your new edit will be saved with a generic name like "My Song 1." To change its name, tap and hold the file, select Rename, enter a new name, and then tap done.
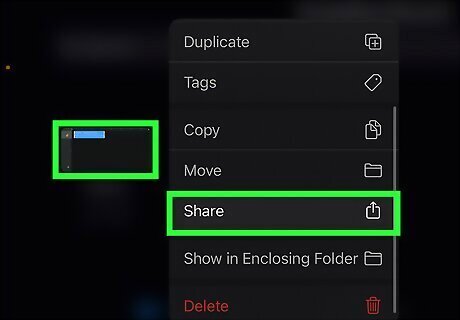
Save the new audio file. Here's how: Tap and hold the file and select Share. Tap Song. Select an audio quality—High Quality is selected by default. Scroll down and edit the info, such as artist, composer, and album, if you'd like. Tap Share at the top-right corner. Tap Open In. Select Save to Files to save the song to your phone, or choose an app you'd like to use to listen to the file. If you save it to your phone, choose a saving location (it can be on your iCloud drive if you want) and tap Save.
Clipchamp on Windows and Android
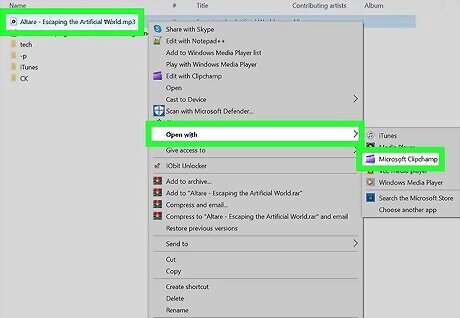
Open your MP3 in Clipchamp. You can do this in various ways: Right-click the MP3 in File Explorer and select Open with > Microsoft Clipchamp. Open Clipchamp, then select Import media and select your file. Open Clipchamp, then drag your MP3 from your File Manager. Clipchamp is a free video editor for Windows that also allows you to edit audio since the built-in Media Player does not feature audio editing. You can add a video to your audio clip if you'd like, or you can convert your MP4 to MP3 file after you've used Clipchamp.
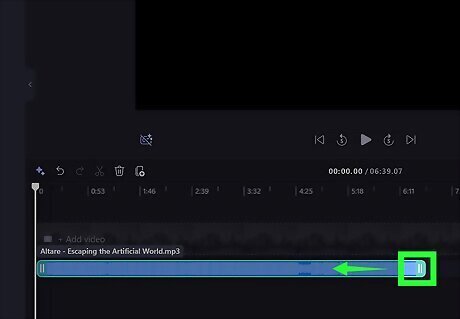
Trim the audio. Drag the right green handle left to shorten your clip, or drag the left green handle to the right to shorten the beginning of the clip. You'll need to click in the middle and drag the clip left again to make sure it doesn't start with white noise.
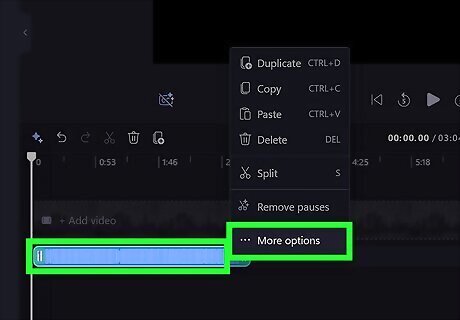
Experiment with other editing options. Right-click the audio and select More Options, and more editing options will appear in a panel on the right. Using the Speed tab, you can make your audio playback faster or slower. Additionally, you can increase or decrease how loud your audio is.
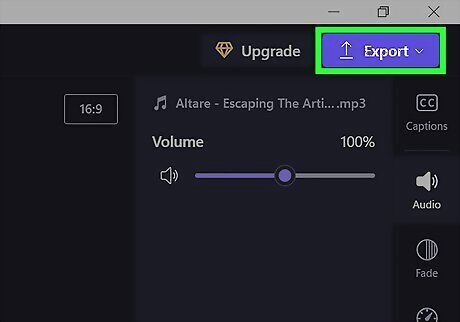
Export your file. Click Export in the top right corner. By default, your file will save as an MP4. The file immediately saves to your OneDrive if you're signed in, but you can also use the options in the center to choose where you want to save the file. You can opt to save the file as a GIF, too, which is handy if you want to make your own GIFs.
Audacity on a Computer
Open Audacity. Click or double-click the Audacity icon (it looks like a set of headphones on a wavelength) to open the program. If you haven't already, you can download Audacity from the Audacity site for free for Windows, Mac, and Linux.
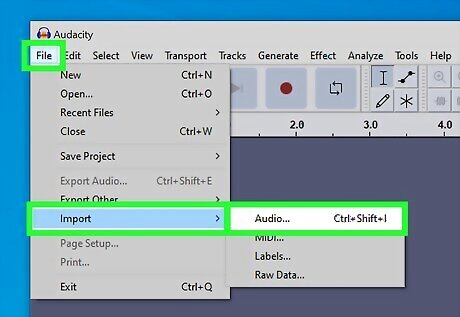
Import your MP3 file. Click the "File" menu, then select Import > Audio…. Alternatively, press Ctrl + Shift + I (Windows)/Opt + Shift + I (Mac) on your keyboard to access the import audio dialog. Double-click the file to automatically import it.
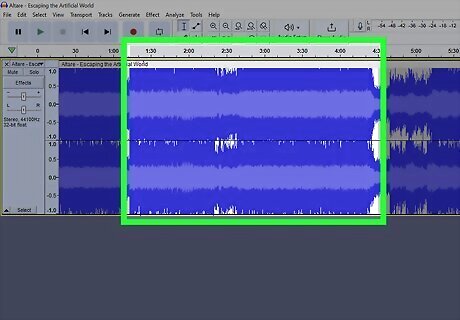
Select audio to trim. To select a certain portion of the audio file, click and drag your mouse from the beginning to the end of the audio track. This selects that portion of the audio, allowing you to edit it. Press Ctrl + X(Windows)/Opt + X (Mac)' to “Cut” or delete the highlighted section of audio you’ve selected. This method can be used for deleting portions of a song, shortening the length of the audio, and more. Alternatively, click the “Trim” button (the small wavelength icon in the toolbar) to keep only the selected region and cut the rest of the audio.
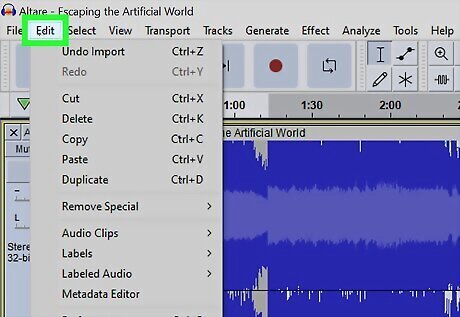
Click the Edit menu to access most other editing functions. Alternatively, right-click (or hold down Ctrl/Opt on a Mac and click the mouse) the highlighted clip, and you'll find the same options in the "Edit" menu. These consist of basic editing options. If you go to the "Remove Special" sub-menu, you'll find more advanced editing options including “Split Delete”, “Join”, “Duplicate”, and “Silence Audio”.
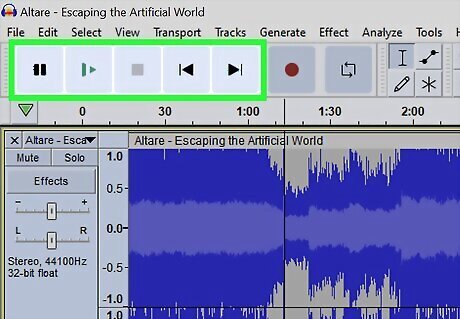
Press the space bar to start and stop playback of the audio. You can also use the controls in the application's upper left corner.
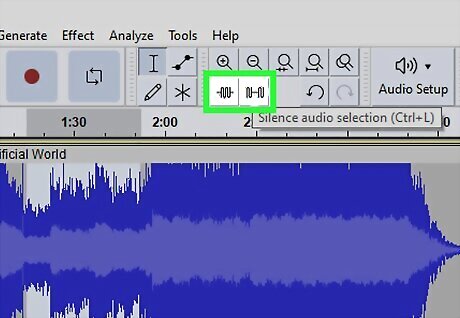
Experiment with other toolbar options. For example, click the “Silence” button to silence the selected region of audio without deleting it from the timeline. Go to the Effect tab and apply effects like Change Pitch.
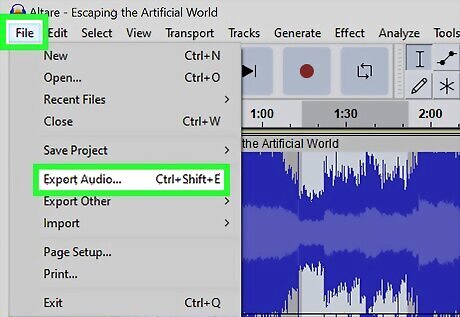
Save your edited file. Click the File menu followed by the Export Audio option to export your edited file from Audacity.
Online Tools
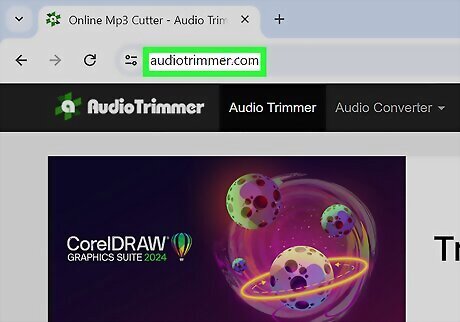
Find an online tool. Sites like AudioTrimmer and Clideo offer to edit your music easily. These services might not be free for longer audio files, so make sure you check to see the limitations of these tools. Since you don't need to download or have specific software for editing audio, you can use these online tools from a computer, phone, or tablet!
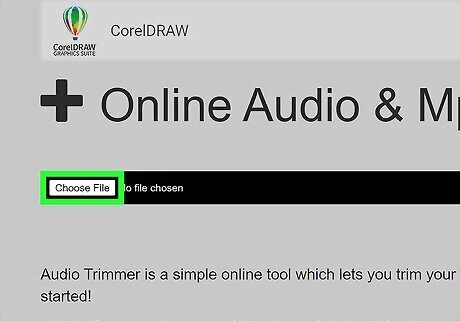
Upload your MP3. Every site is different, but there should be a Choose File button with similar wording. This will open your Finder, phone or tablet music library, or File Explorer.
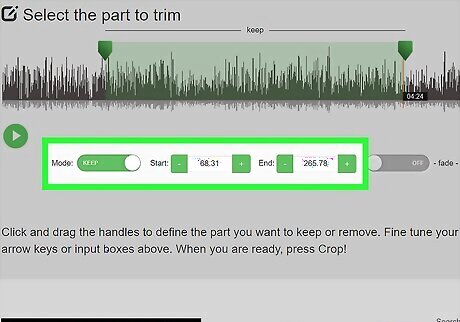
Edit your audio. Once you've uploaded your file, you'll see a wavelength representation of it. Each site is a little different, but you can use your mouse or finger to select the portions of audio you want to delete or trim. Read the site's instructions thoroughly to understand what you need to do. Many sites require you to highlight the area of the wavelength you want to keep and then press Crop.
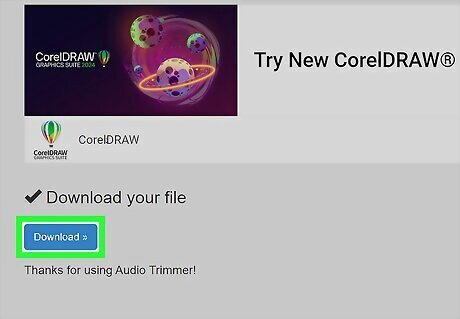
Save the file. Most sites automatically go to a download page once you've cropped or trimmed out audio. Click Download to get the edited audio on your computer, phone, or tablet.


Comments
0 comment